Trip to Alaska

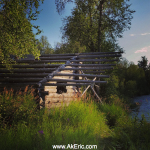
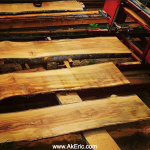
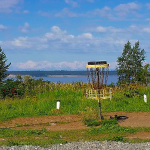
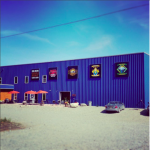
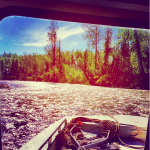
Spent just over a week back home in Alaska, in and round Anchorage & Talkeetna.  Weather was amazingly beautiful, and there were nearly zero bugs (mosquitoes).  Below are some pics from my Instagram page:

New 3d prints: More big vases on the c-bot

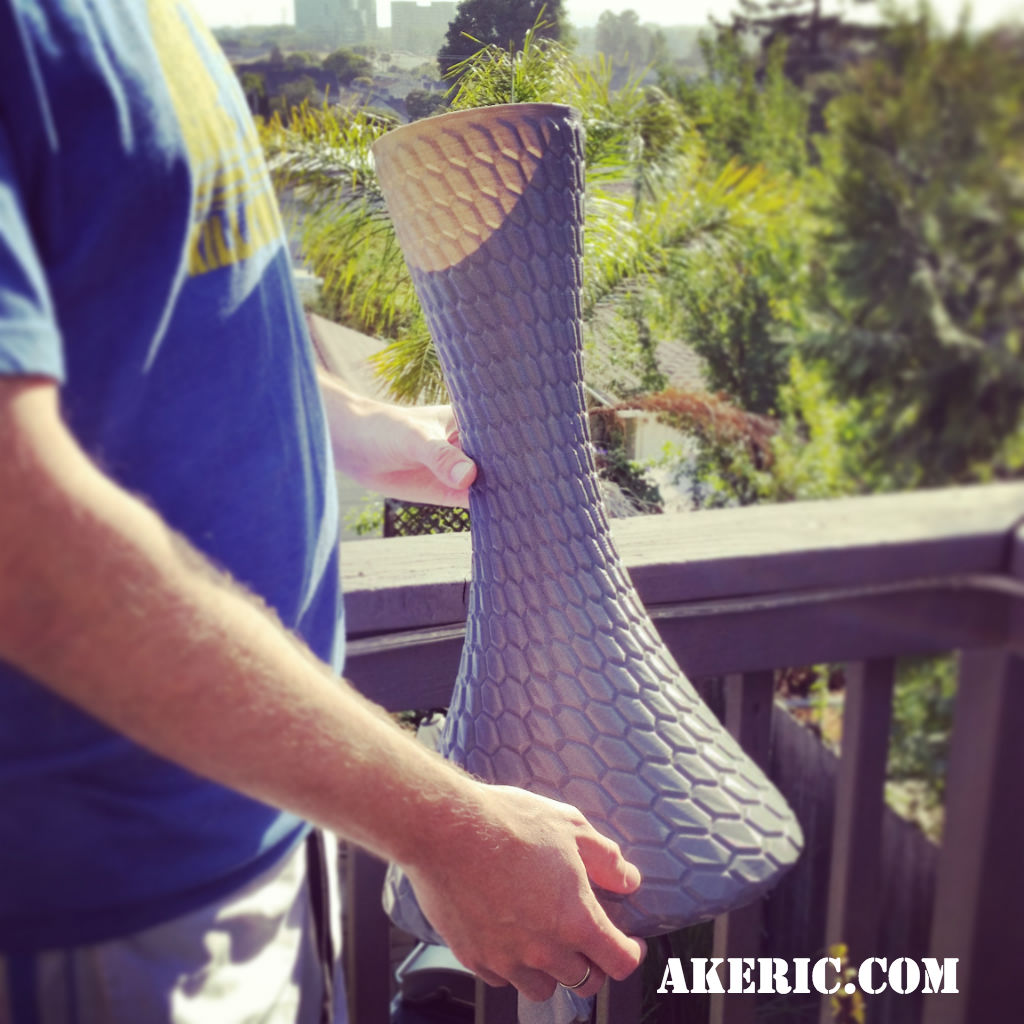
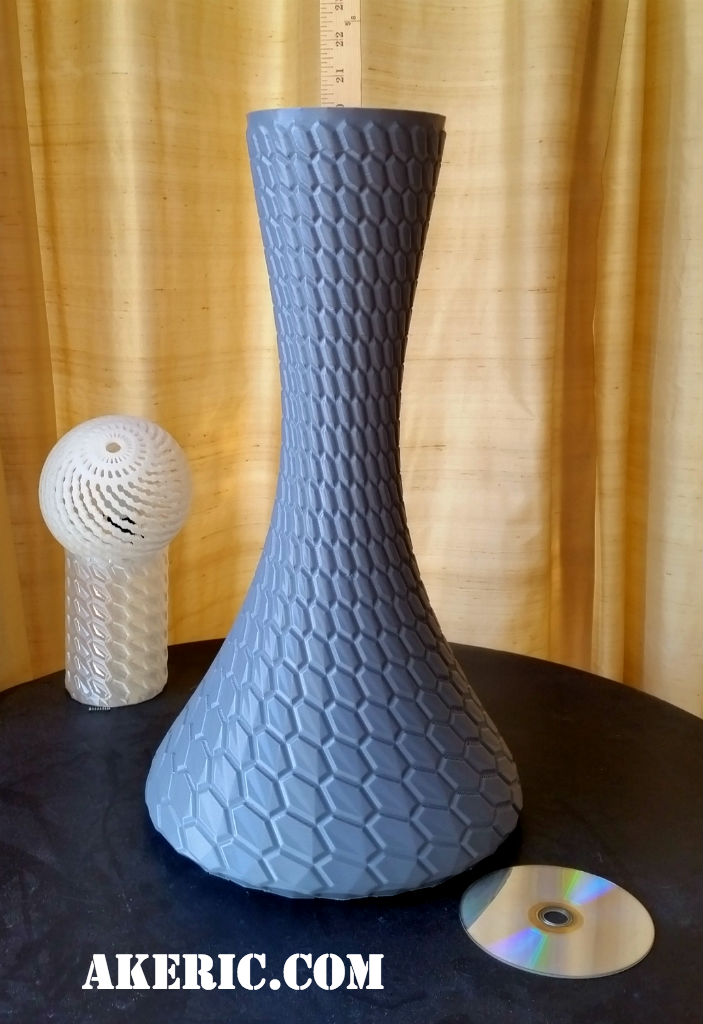
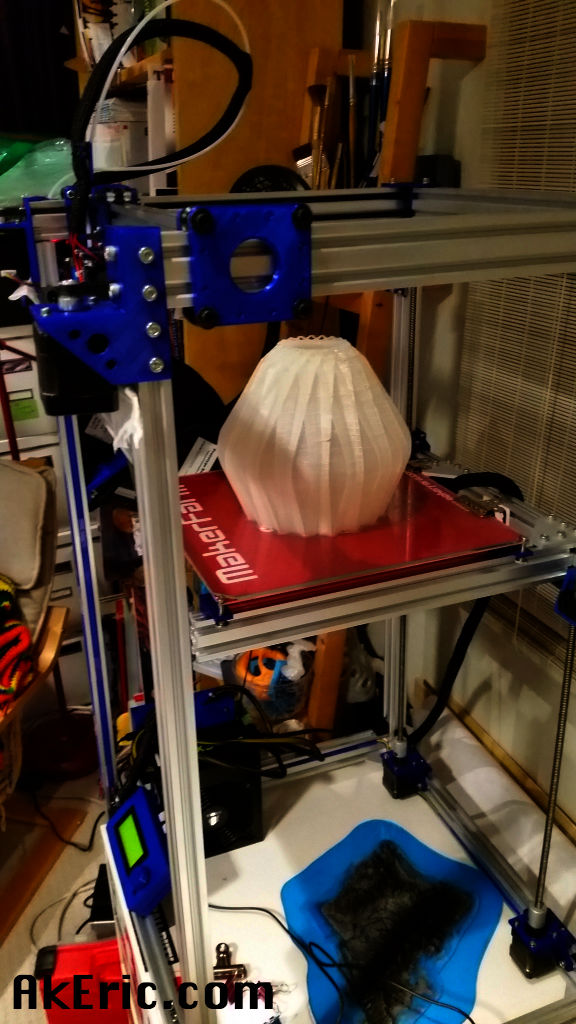
As I continue to calibrate the c-bot, I continue to crank out vases.  The big one below is just about 21″ high, took around 4.5 hours.  The smaller one took around 3 hours.  Each have one shell, printed in “vase mode” in Simplify 3d.  They both have bases and also make good drums :)

The smaller one definitely suffered from some gaps in the layers.  Not sure what this has to do with yet:  Questionable filament, filament not being cooled fast enough, not sure.  But they currently look good next to my fire place 😉

You can download them from Thingiverse here.

cbot-vases02

Building the C-Bot 3D printer: Part 27 : First ‘really big’ print

Jump to C-Bot blog index to see all the posts.


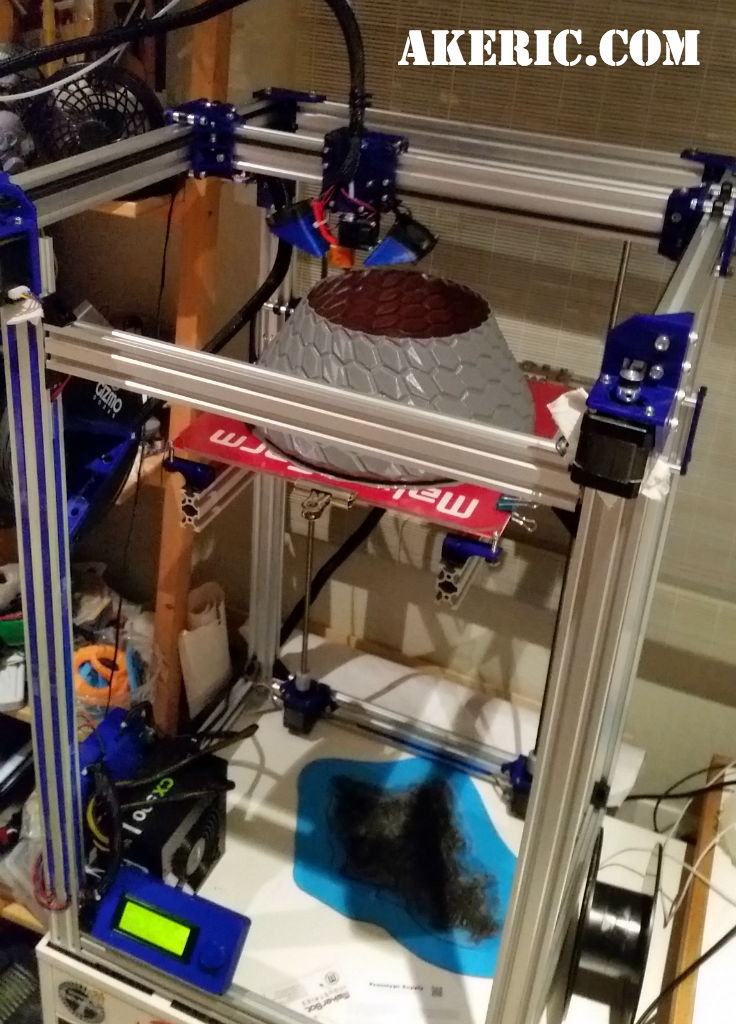
Emboldened by the success on my previous ‘big print‘, I thought I’d go for a ‘really big print’:  Something that would really take up the whole build volume.  In Maya, I quickly modeled up a simple vase, sliced it in Simplify3D, and a few hours later, I had a… really big vase :)

Print specifics:

  • Size:  20″ tall, base diameter of 11″.  Could go an inch larger in each direction, but didn’t want to push it (yet).
  • Sliced in Simplify 3D, ‘vase mode’: 1 shell (plus no floor or roof, its a tube)
  • Gray PLA
  • 500 micron layer height, 1.0mm E3D Volcano nozzle
  • 250 deg extruder temp, 50 deg bed
  • Print bed:  Glass, slathered with wood-glue/water mix.
  • Print speed:  45mm/sec
  • Total print time:  3 hours, 9 minutes.  Adding a floor would have definitely pushed the time up.

Learnings:

  • I’m happy with the print quality, but I can see where the neck narrows how the filament isn’t being cooled enough (gets slightly lumpier compared to the larger base):  I have a pair of 20cfm fans on order to see if this helps:  My current fans are around 4cfm each, which isn’t nearly enough considering this machine easily pushes out 3x the volume of material compared to my Replicator1, at a higher temp.  And the cooling fan I have on my Rep1 has around 8cfm.
  • Once I bolt the printer down to the table it’s on, it should help lessen the vibration that comes from all that moving mass up on top, and get better quality.  On the todo list…
  • Even though I have all my stepper voltages tuned in, my Bowden extruder stepper was still getting pretty warm after about an hour, so I pointed a fan at it.  Didn’t want a repeat of before

Jump to C-Bot blog index to see all the posts.

C-Bot 3D Printer: Resource Page

Jump to C-Bot blog index to see all the posts.


This page is a collection of resource for building my Core-XY C-Bot printer:  Electronics, hardware, software related.
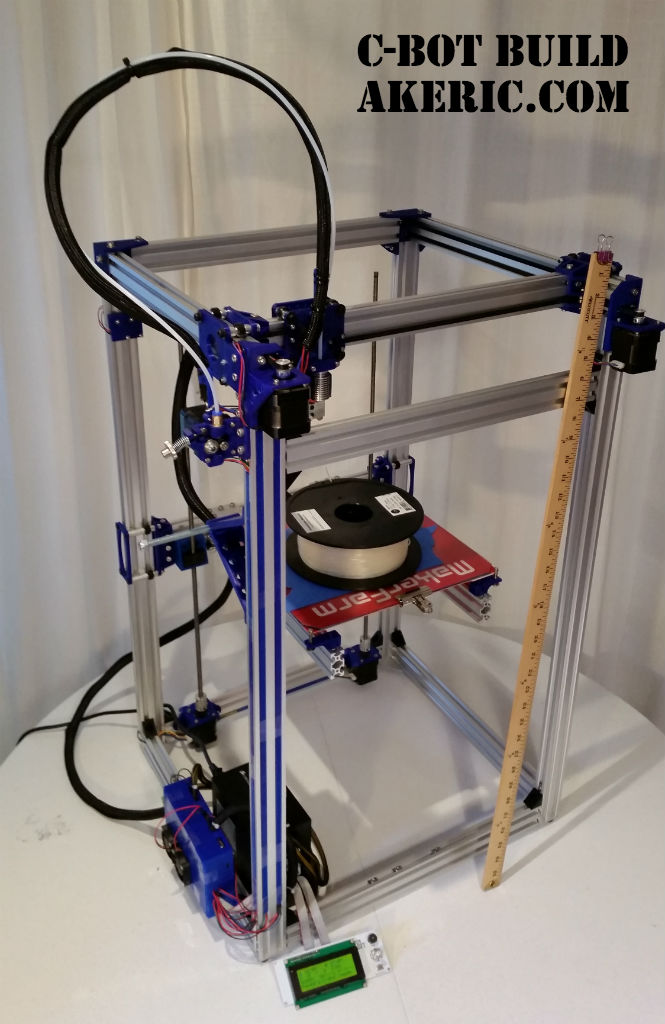
Finished C-Bot!

Finished C-Bot!

OpenBuilds Links:

  • Main C-Bot page : Includes printed part picture links, and external 3d files that are needed (for the Bowden extruder, etc).
  • C-Bot Forum : Fantastic Resource
  • C-Bot File List : Original BOM, assembly guide, and all the stl’s to print.
  • Link to my BOM.  This is a modified version from the OpenBuilds page based on my specific needs.
    • Note when ordering the hardware:  Think about the overall color of the printer:  Many nuts and bolts can come in silver or black:  Do you care? Should they all be one or the other?  Worth considering.

Hardware:

Core-XY Mechanics Theory Link

To build the 12″ x12″ x24″ build volume, these were my extrusions lengths:

  • The below labeling corresponds with the Assembly Guide updates (above link) that Mason Sheffield made.
  • 20×40 OpenBuilds V-Slot Extrusions:
    • A : Vertical Legs : 4x 820mm
    • B : Top/Bottom Horizontal X : x4 440mm
    • C : Top Horizontal Y : 2x 450mm
    • D : Base Horizontal Y : 2x 420mm
    • E : Print Bed Supports (Mounts to G) : 2x 395mm
    • F : Top XY-Gantry (what extruder mounts to) : x1 464mm
  • 20×60 OpenBuilds V-Slot Extrusions:
    • G : Rear Z-Slider : x1 428mm
  • ACME Leadscrews : 2x 705mm

Important notes though:

  • Using the E3D Volcano Extruder subtracts 2″ from your build height based on how much it hangs down.  And, the above calculates on the Z-axis were still off, so right now I’m at a practical 21″ build height not 24″.  To resolve a few options:
    • Cut longer A lengths.
    • Redesign the extruder holder to move it ‘up’ more.
    • Since my z-gantry is a 40×60, I could actually move the whole build-platform down by 20mm by sort of ‘reversing’ it.  however, I feel that design would give less overall strength to it.
  • Basically, calculate your extruder length into your overall height.

Electronics


Software/Firmware


Jump to C-Bot blog index to see all the posts.

Building the C-Bot 3D printer: Part 26 : First ‘big’ print

Jump to C-Bot blog index to see all the posts.


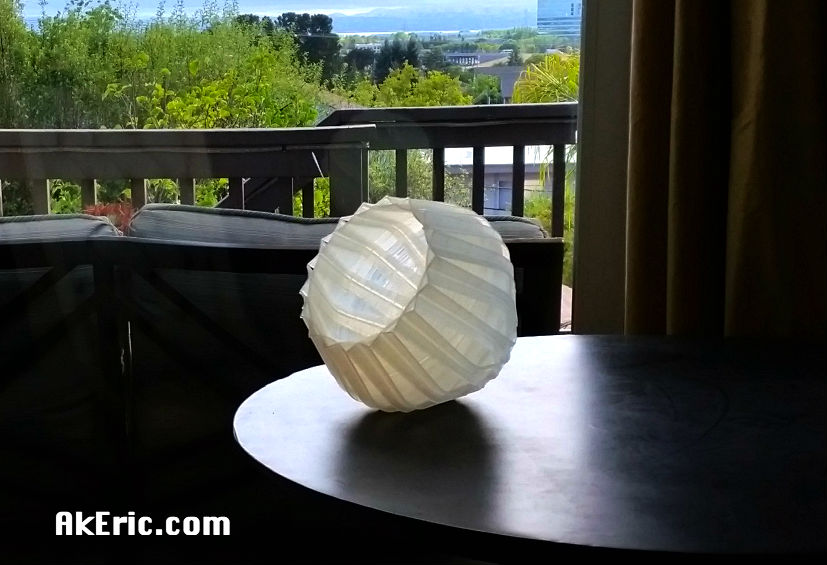
I’m still heavily tuning the extrusion, but wanted to print something ‘big’ to see what the machine could do:  Ran across the ‘Zuzanna Lamp‘ on Thingiverse, thought I’d give it a shot, it’s about 10″ across:

Print settings were:

  • 1.0 Volcano nozzle, 500 micron layer height.
  • Extruded @ 200 deg, HPB @ 60 deg.
  • ‘Natural’ PLA.
  • Took about 6.5 hours @ 30mm/sec.

Things learned:

  • Still having a hard time getting each layer to stick together:  Many horizontal cracks showed up during printing, where the layers were delaminating.
  • The print quality towards the top really fell-off : The filament would really ‘wick up’ at the end of an extrusion.  I feel its not being cooled fast enough.

So a lot more tuning is needed, but hey, at least it printed something bigger than my Replicator 1 ever could! :)


Jump to C-Bot blog index to see all the posts.