Jump to C-Bot blog index to see all the posts.
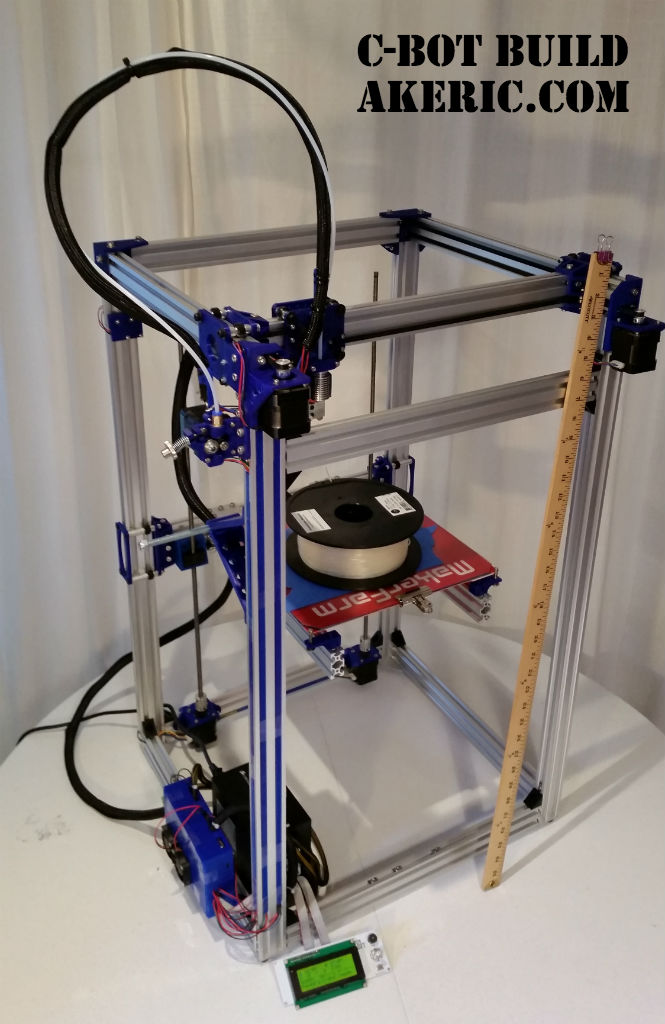
Sneak peek of the final result:

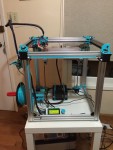
Finished C-Bot!
This series of blog posts tracks my progress of building a “C-Bot” 3d printer. All the pages should be considered living documents, and will get updated throughout the build as I learn/understand more of the process.
This is not a ‘printer build howto’, but rather my experience during the build.
Also, this is by far the most complex thing I’ve ever built: While I’ve been actively 3D printing for three+ years now, have built quite a few electronic/robotics projects (as covered by this blog), and have no fear of programming, I definitely feel like an explorer who just crested a rise to see a fascinating valley full of unknown wonders I must traverse. I hope the locals are friendly…
I’ve owned a Makerbot Replicator (1) 3d printer since early 2012 (when they were first released). Like all 3d printers it took some time to get ‘tuned in’, but overall it’s been an extremely reliable machine, and I haven’t had any problems with it for over a year. However, I’m yearning for something more. Specifically, something bigger.
The idea of a cubic foot is enticing, but limiting: At that size, my first (and really only, based on my specs) choice was the Type A Machines Series 1 ($2749, or $3199 for the new Pro): I love everything about it, and they make it close to where I live. I was almost ready to pull the trigger on it, when my friend and co-worker Mason Sheffield did some research, and decided to build the “C-Bot“, over on OpenBuilds. He’s been blogging about his experience here. The C-Bot was designed by Carl Feniak, and seems to check all my boxes:
- Core-XY mechanics.
- Modular size: make it any size\shape you want (within reason).
- High-resolution, fast.
- OpenBuilds V-Slot linear-rail system for all moving parts.
- You choose the electronics.
Carl did a great job with providing build documentation and a BOM, considering he’s releasing it all for free. Mason took that improved upon it with more info, and even redesigned some of the printable parts. All told he probably spent around +-$1200 (+ his time) for a great printer with a square foot build volume.

The rear of Carl’s C-Bot
Mason’s C-Bot
The closest competitor doesn’t even come close to that cost: The F306 (which looks amazing) is around $4k, and the Makerbot Z-18 is $6500. I liked the size and specs of the gMax 1.5 XT ($1895), but I’m not a fan of moving build platforms. The Rostock Max kit is also a great value ($1k), but talking with their support and users, it just didn’t have the speed I was after. I should note I’m not trying to speak ill about any of them, they all seem like solid offerings.
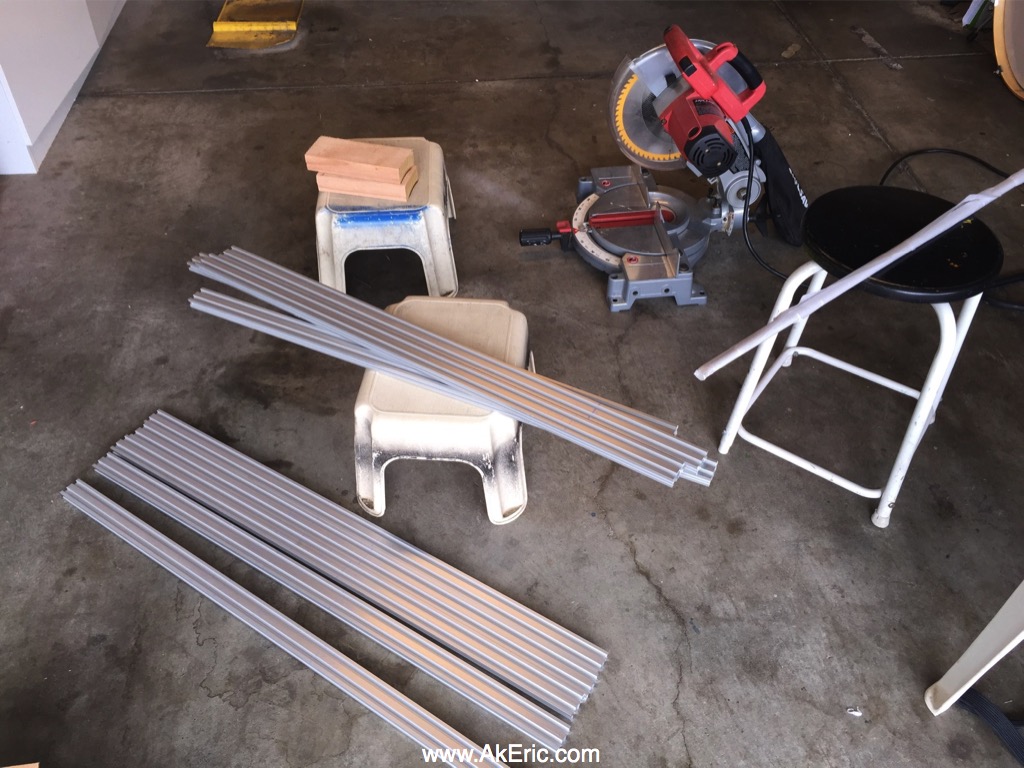
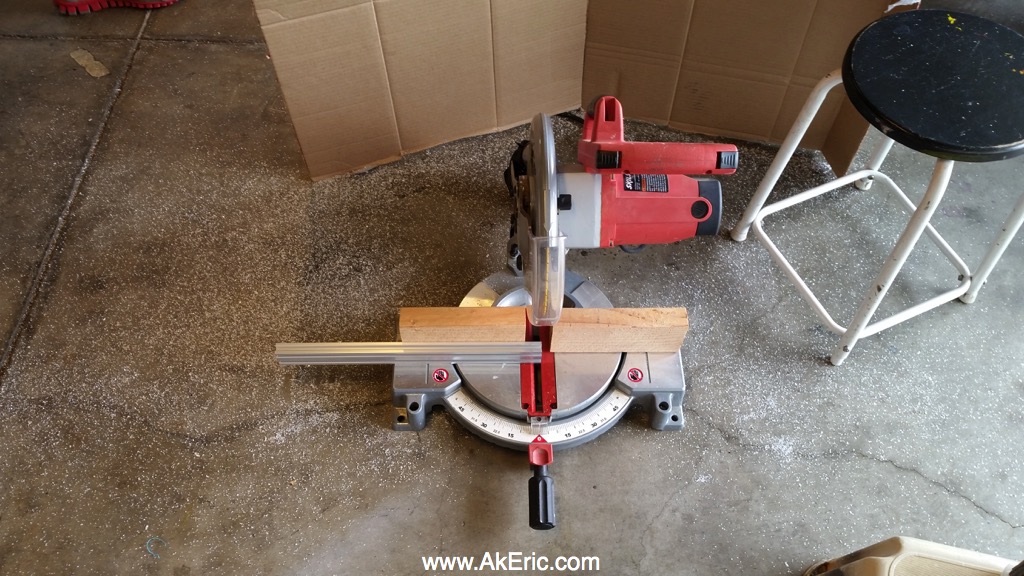
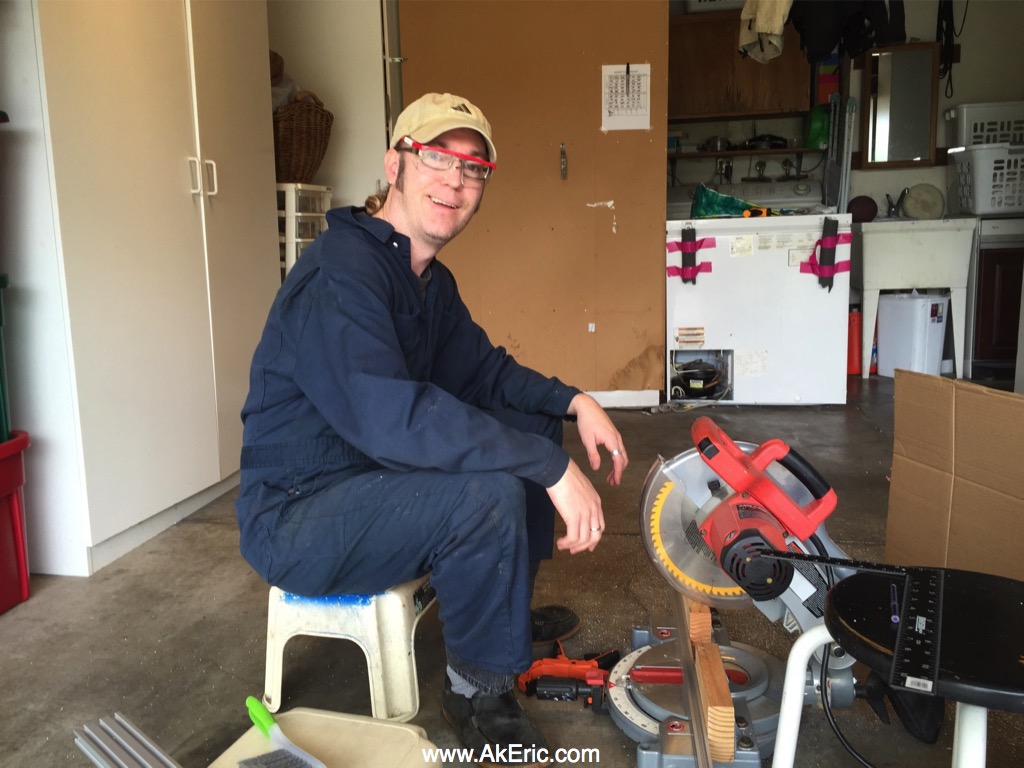
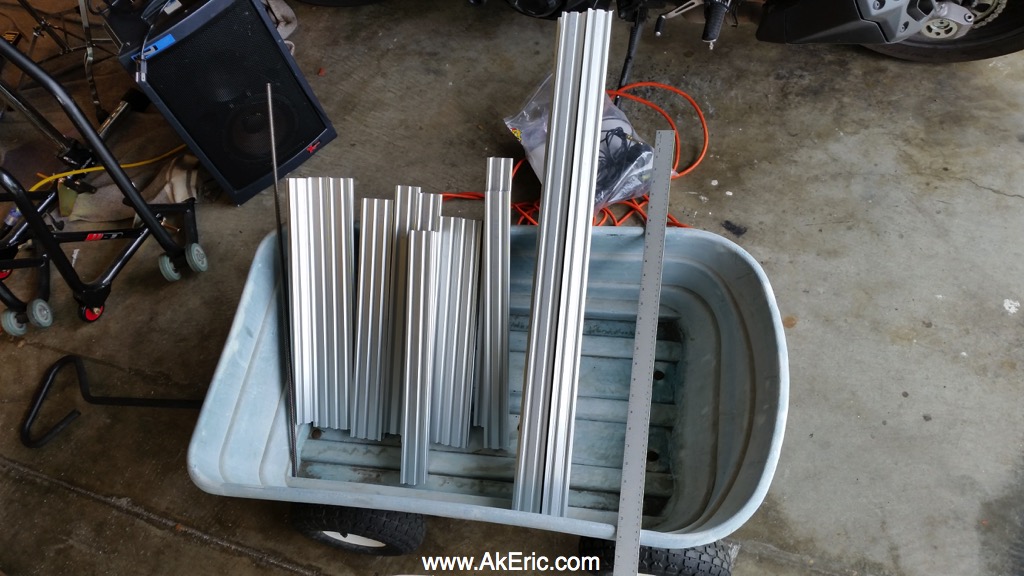
While I was on vacation I loaned my Replicator to Mason, and he printed out all the parts for his printer (and mine, before I was even sure I wanted to build one). When he got his printer assembled & running, and started bringing the results into work, I knew it was the time: Armed with Mason’s updated BOM, over the course of two days I ordered all the parts, and am currently eagerly awaiting their arrival. The only difference between mine and his: Mine will have a build volume two foot tall, with a negligible impact on price: just some longer aluminum extrusions & wires.
That means I’ll have a core-xy printer with a two cubic foot build volume, for around $1300. Presuming I can actually build it 
Current Hardware\Firmware highlights:
- Print volume: x/y 12×12″ (305x305mm), z 24″ (610mm) = 3,456 cubic inches (56.75 liters). My Rep1 has around 300 cubic inches (5 liters)…
- XY Mechanics: Core-XY
- Z Mechanics: Cantilevered bed, dual lead screws.
- Mainboard: Rumba (based on RAMPS 1.4), 12v
- + LCD Screen & ctrl pad, SD card, USB, allowing for untethered printing.
- Firmware: Marlin
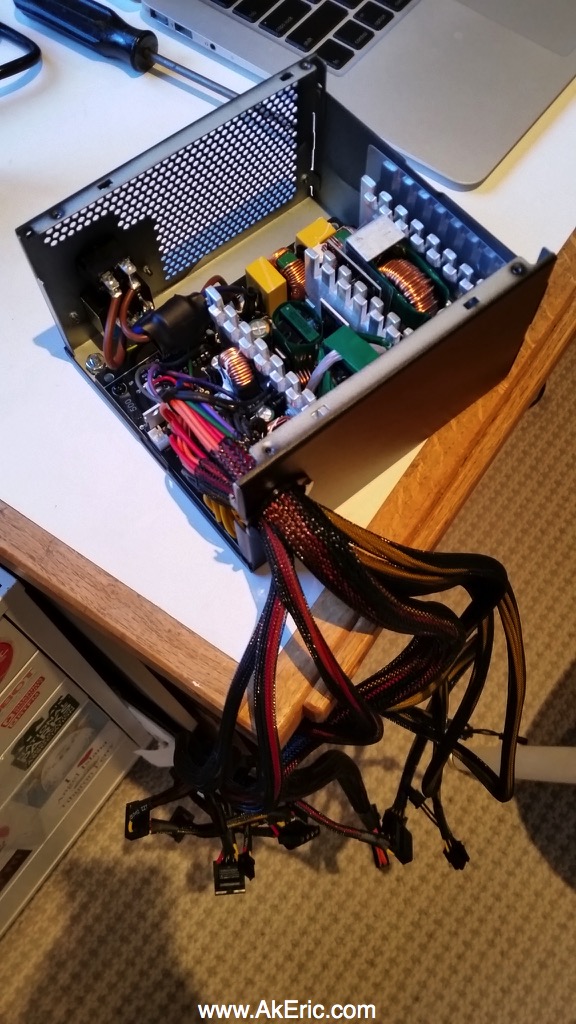
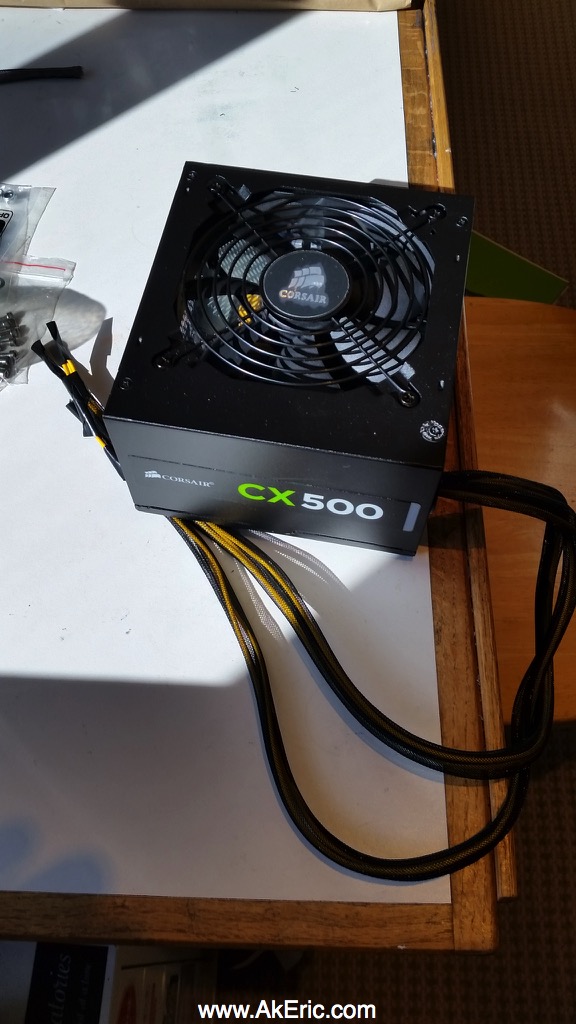
- Power: Corsair CX500 : 500w, 38A, 12v, PC Power supply
- Steppers: Nema 17, 76oz torque
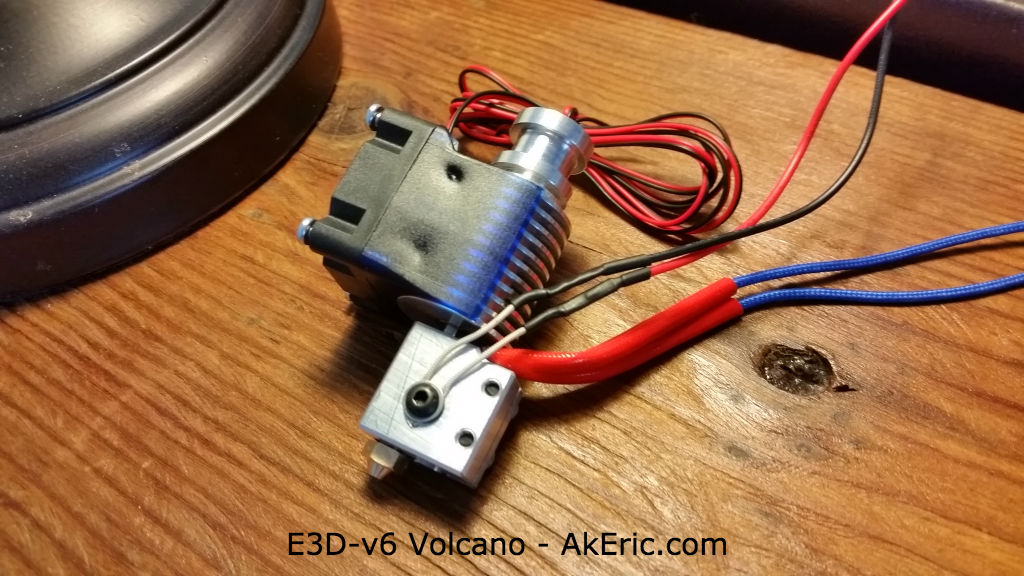
- Extruder: E3D Volcano, Bowden , 1.75mm filament, 12v (see Step 2)
- Heated bed: MakerFarm 12×12″, + custom cut removable glass bed.
- Linear Rail : OpenBuilds V-Slot
- Wheels : OpenBuilds Delrin Mini V Wheels
- Slicer : Simplify 3D
- + many other bits from multiple distributors…
Future posts will cover the build process as the parts arrive!
Jump to C-Bot blog index to see all the posts.