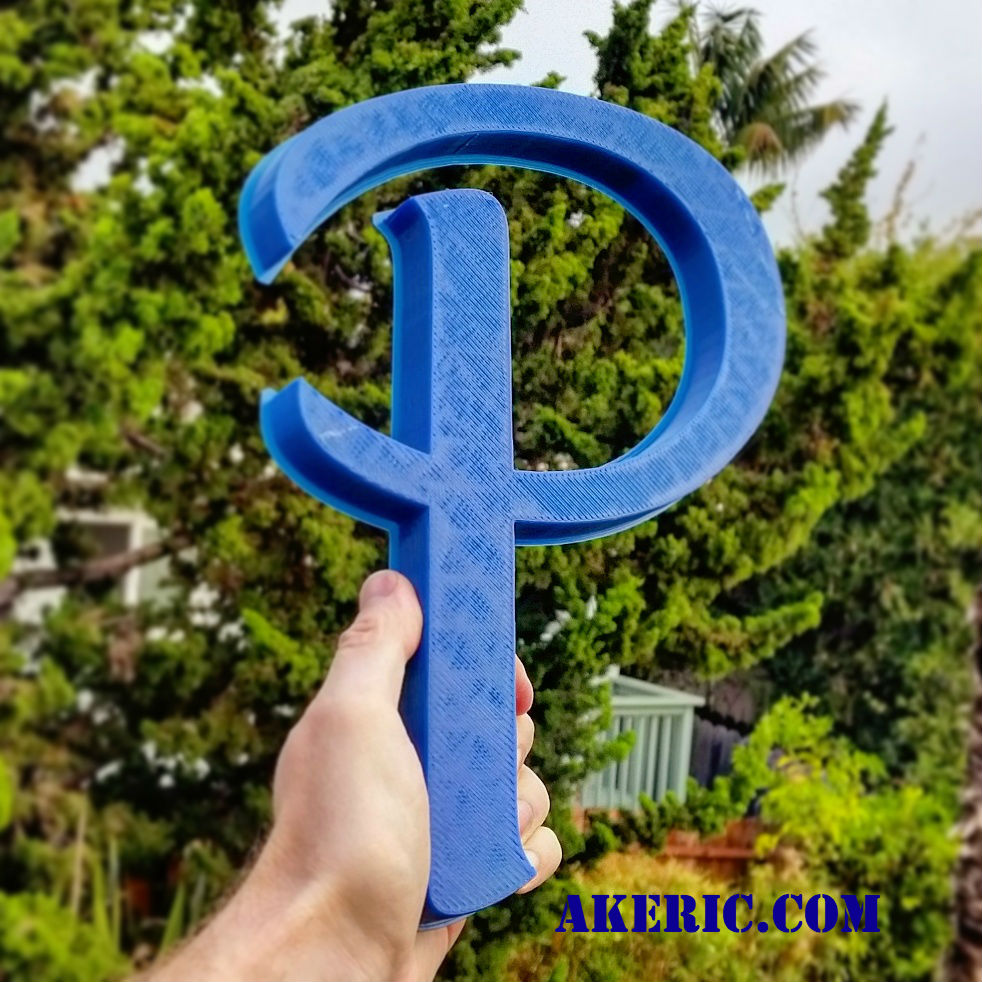
Visual comparison of 1mm 3d printer nozzle overhang tolerance
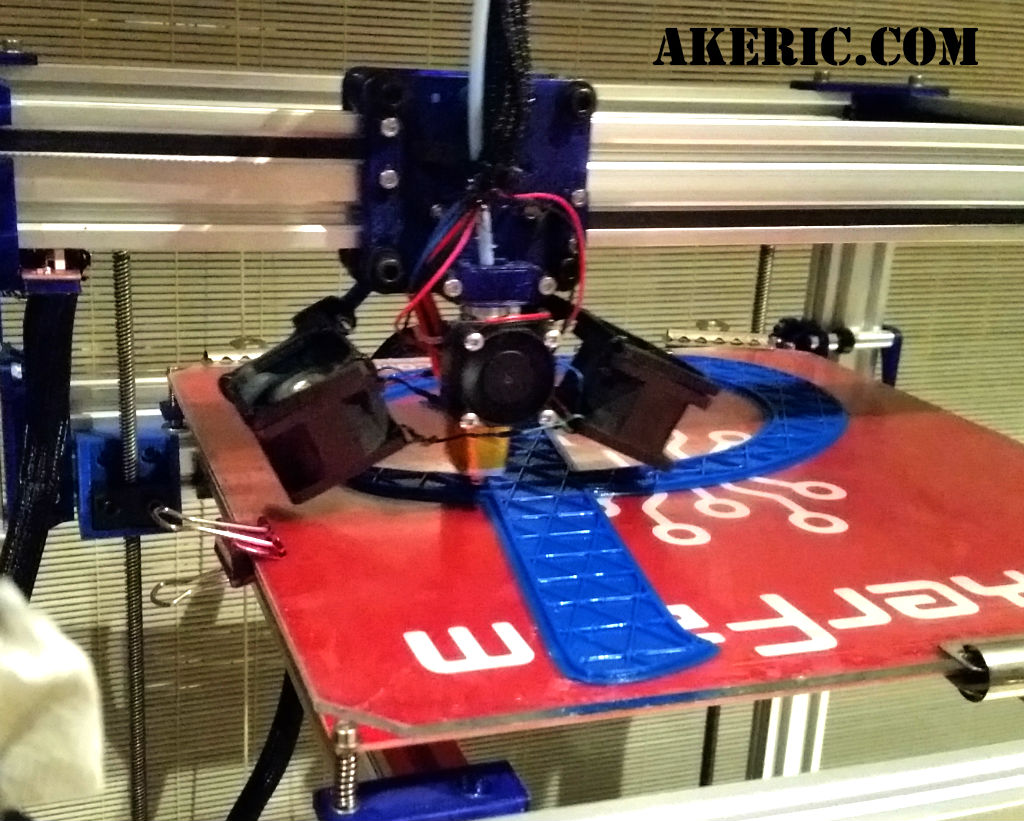
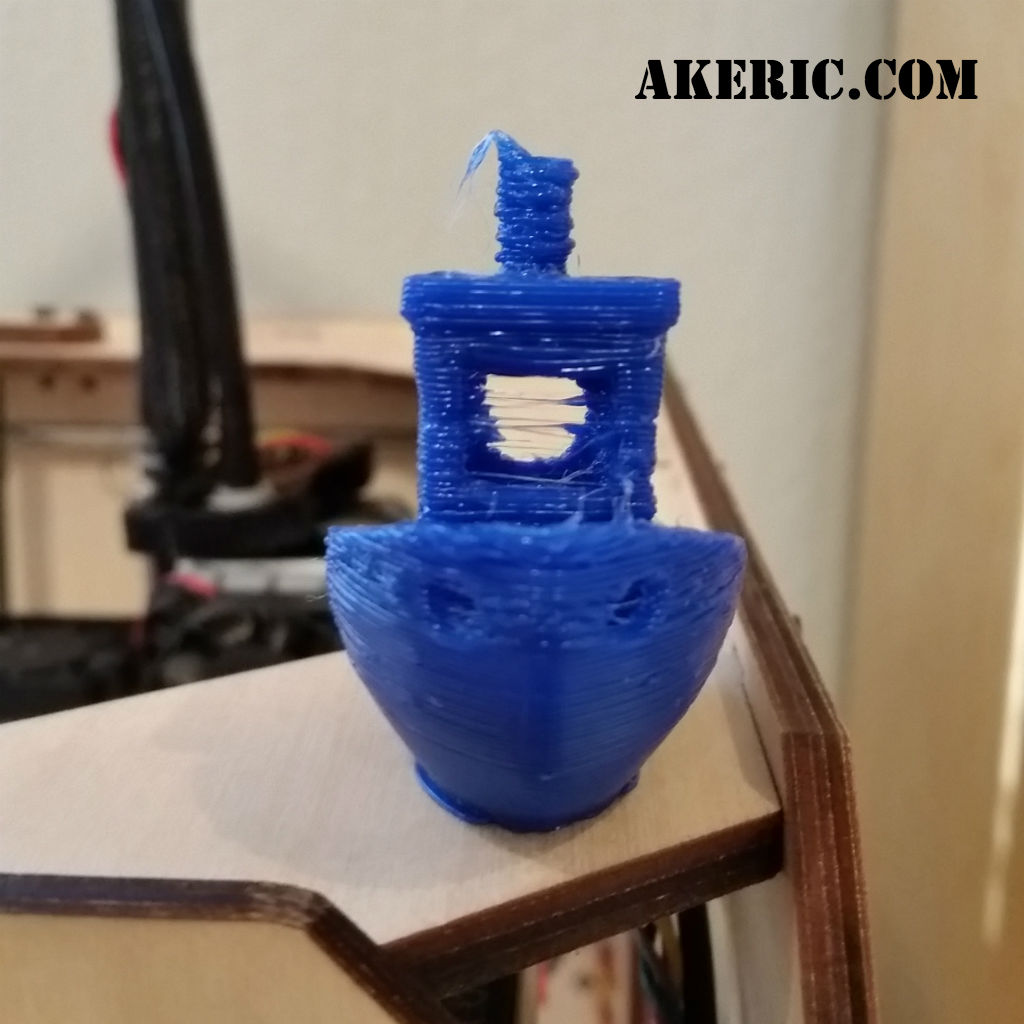
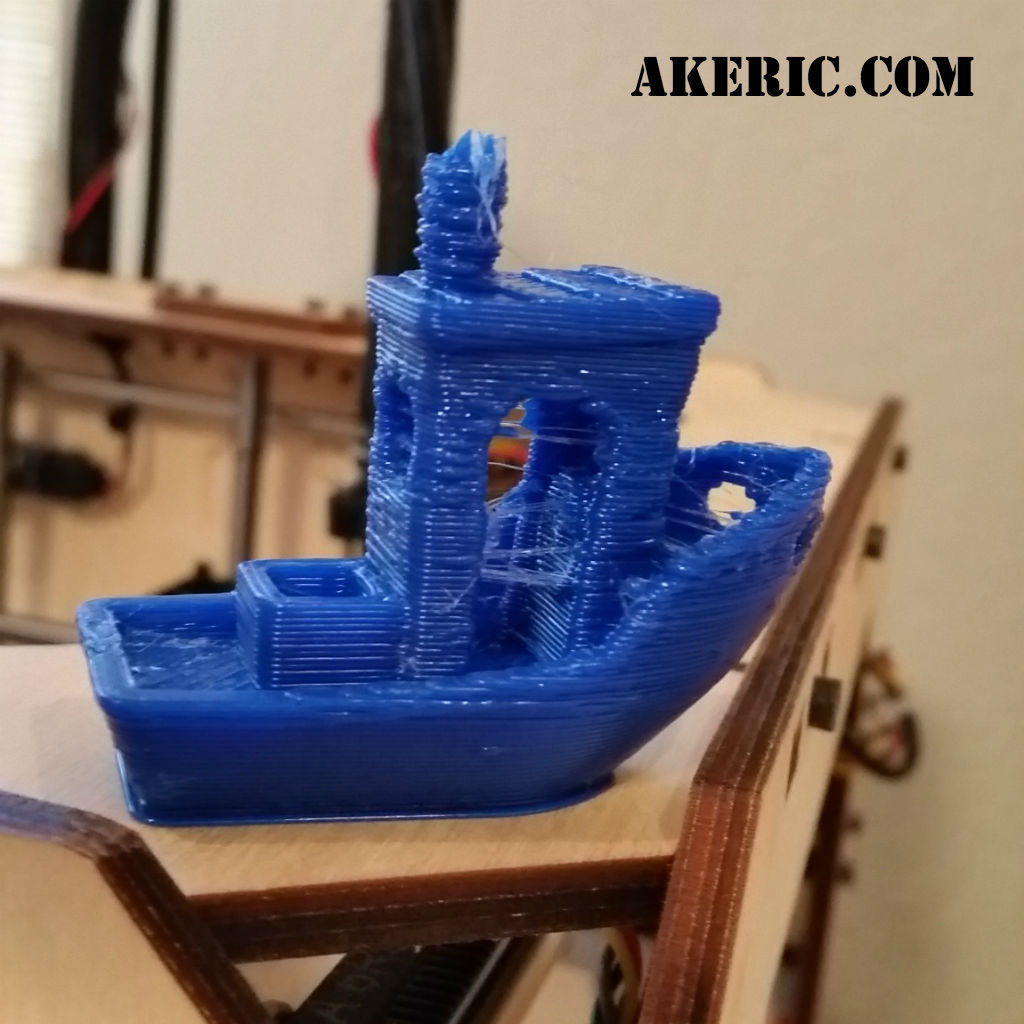
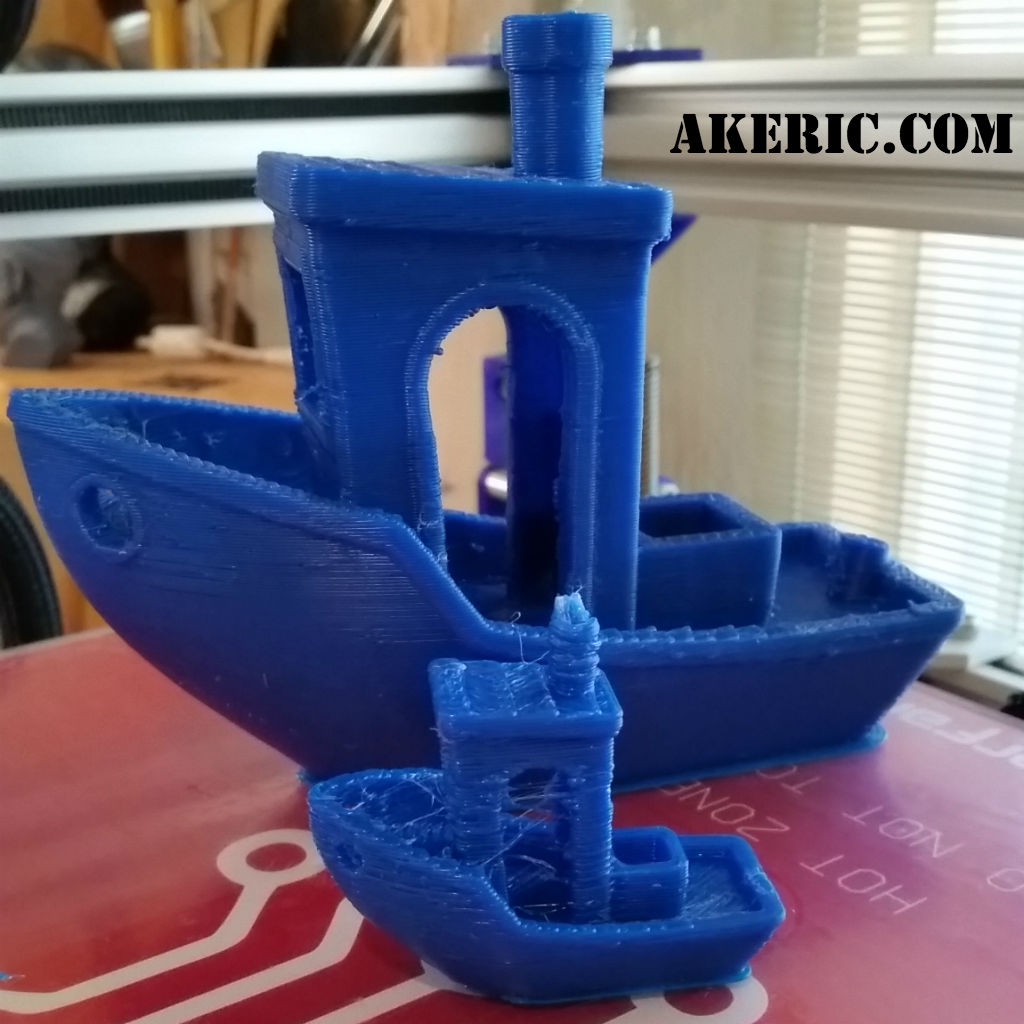
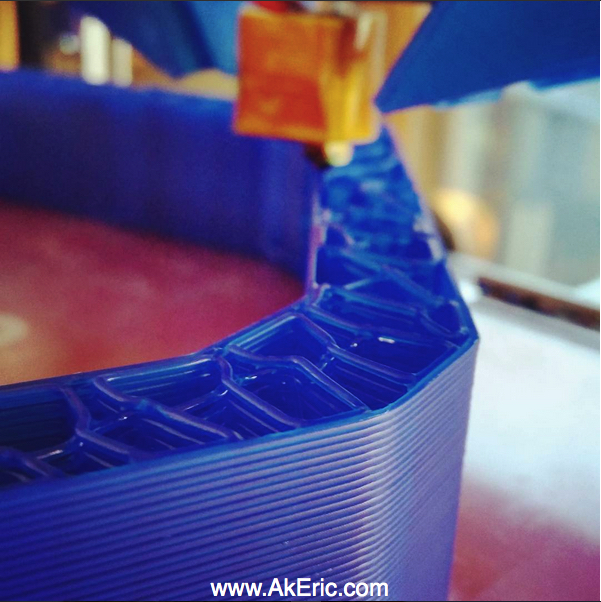
Since I’ve been printing with a 1mm E3D-v6 Volcano nozzle on my C-Bot, overhang has become more of an issue than on my Replicator 1: The thicker the layers get, the less overhang you can support. I could ‘sort of visualize this’ in my head, but I wanted to get it down on paper where it truly makes sense.
I mocked up nozzle diameter, layer thickness, and print/overhang angle in Maya, below are the results. Very quickly you can see how the thinner your layers are, the better overall overhang you can support. I did this presuming only one shell was being used. Using two shells would support better overhang, since the outer layer would have the inner one to stick to.
1mm nozzle, 500 micron layer height:
 Success with one or two shells.
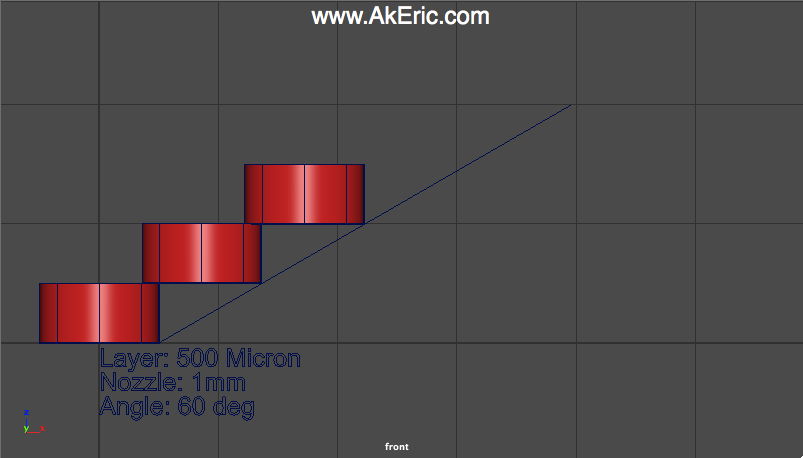 Fail with one shell, possible success with two shells.
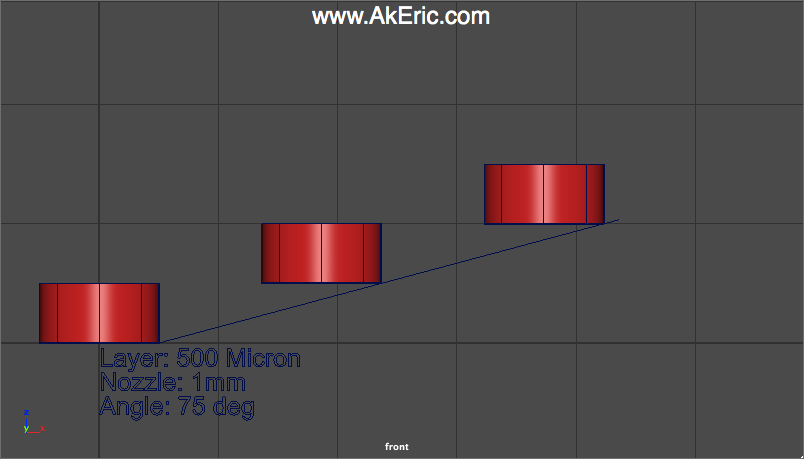 Fail with one or two shells.
1mm nozzle, 250 micron layer height:
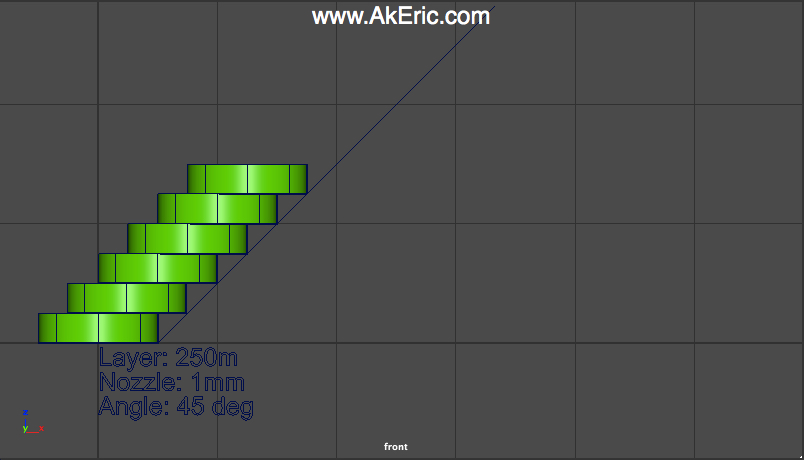 Success with one or two shells.
 Success with one or two shells.
 Fail with one shell, possible success with two shells.