Posts Tagged ‘ cooling fan

Building the C-Bot 3d Printer : Part 32 : New Cooling Fan shroud, and bulldog clips

Jump to C-Bot blog index to see all the posts.


New Cooling Fan Shroud:

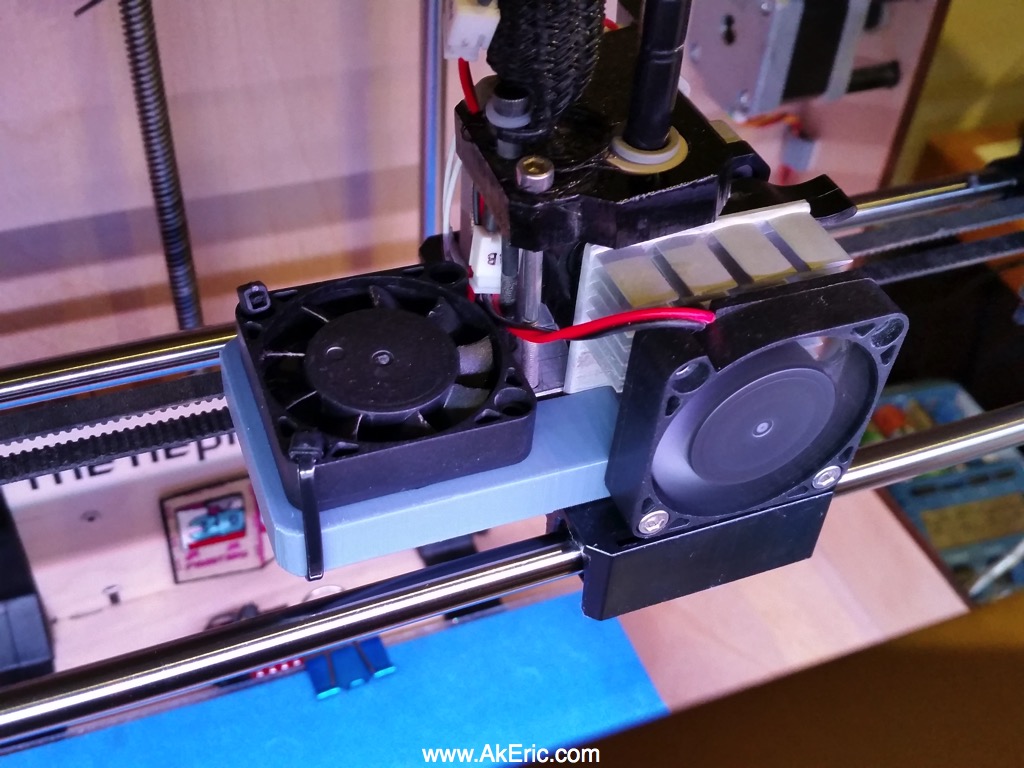
Running PLA out of a volcano nozzle means you need a lot of cooling.  I’ve tried a number of solutions in the past, all of which were mainly just “point a really big fan at the hotend”.  I don’t think this is the best technique (although better than nothing) :  You want airflow directed at the filament immediately after it is extruded.

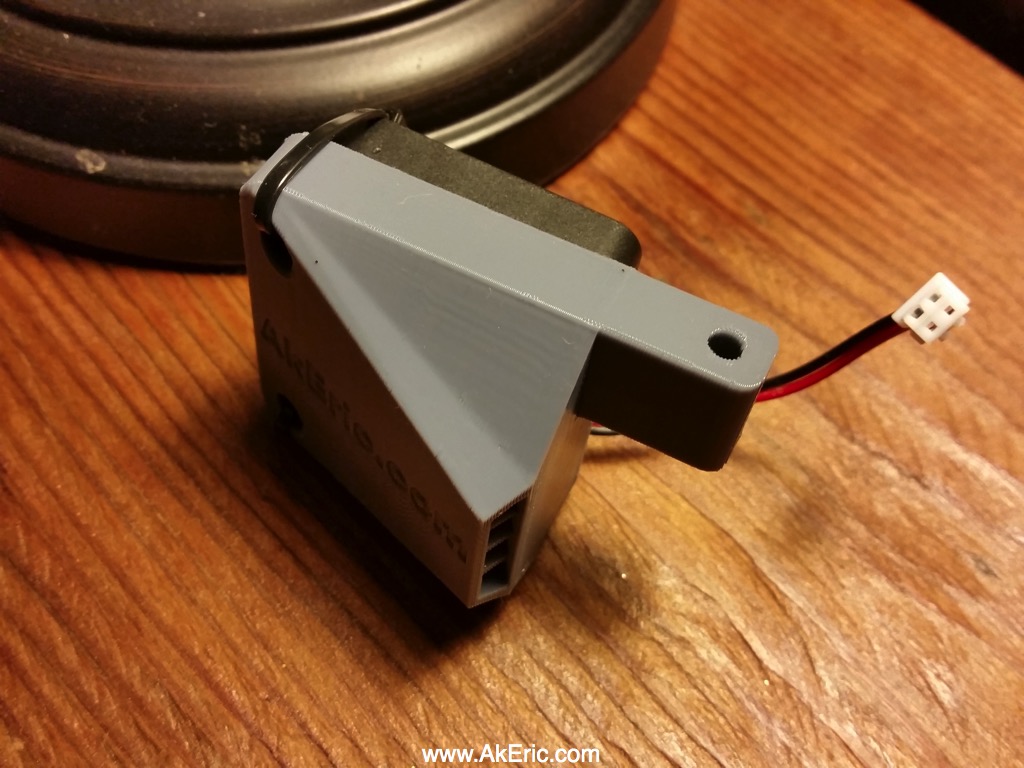
So I buckled down and designed a new cooling fan shroud in Autodesk Maya, specifically designed for the C-Bot, and the E3d-V6 Volcano nozzle I have attached to it.  You can download this file for print from Thingiverse here.  The most recent update allows you to adjust its mount location, hopefully allowing it to work with a greater variety of extruders on the C-Bot:

epfs_B03

Screenshot from Maya of B03

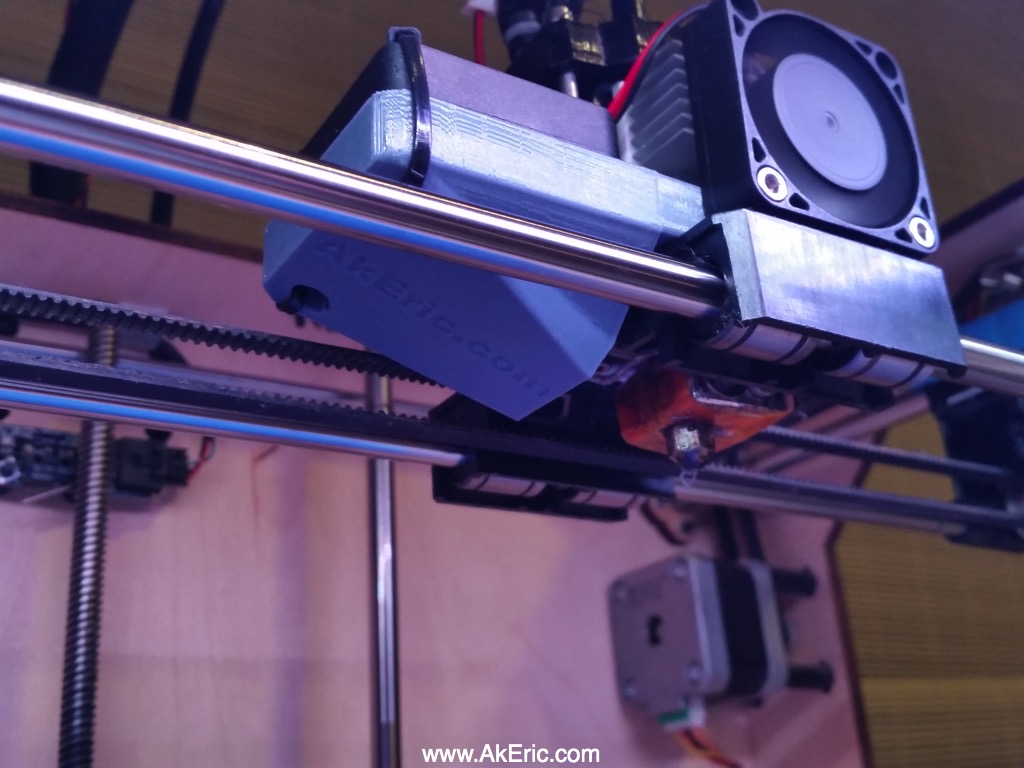
Here’s the previous version (B02) on my C-Bot:

cbot_filament_cooler

Low Profile Bulldog Clips

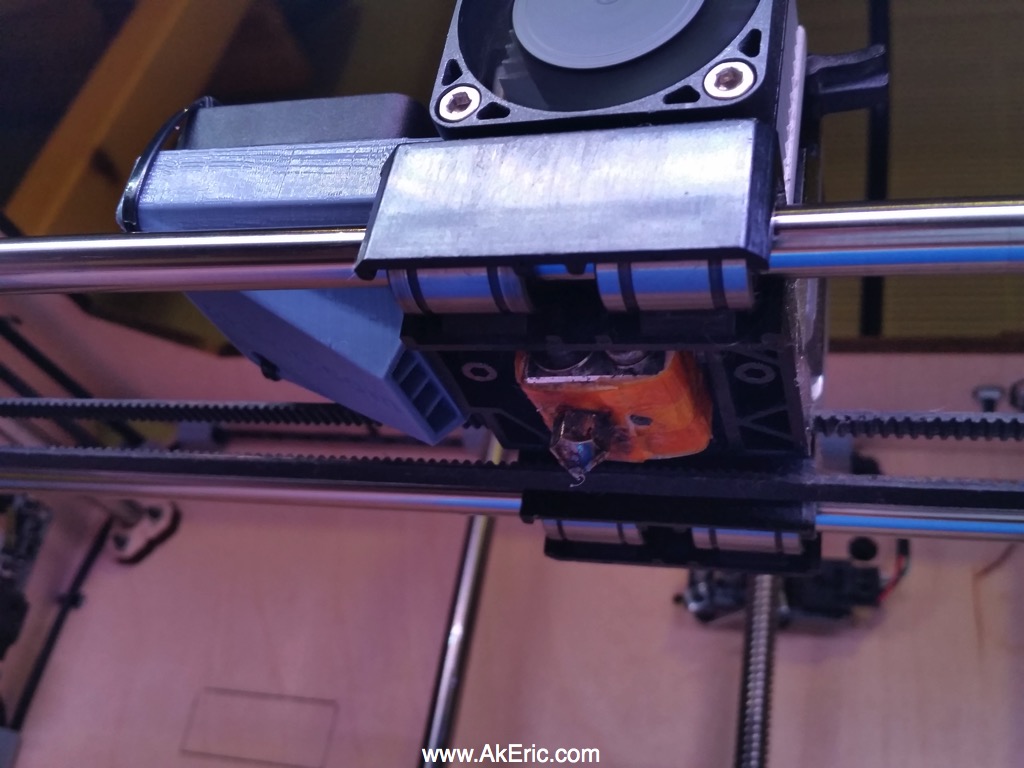
After installing the new shroud, it sits so close to the build platform, that it hits the side and rear bulldog clips I am using to secure the glass plate.  I looked all over the web for any sort of ‘low profile’ versions of these clips, but couldn’t find anything.

After a bit of thinking, I realized I could modify my existing clips instead:  Presuming you have two pairs of needle-nose pliers, a hammer, and a vice, you can do this too:

low_profile_bulldog New in front, old in back.

  • To get the clips out, jam one needle-nose into the hole of the clip, slightly opening it.  Use the other one to pull out each of the tabs.
  • Put the tabs together in a vice (with the lips of the tab in the vice), and pound it with the hammer over until they’re both 45 deg or more.
  • Slide one tab back into the clip.  Holding the clip with a needle-nose, work the other one in.  That’s it.

Next up, install on your removable bed.


Jump to C-Bot blog index to see all the posts.

C-Bot 3D Printer: Upgrading the cooling fans

Jump to C-Bot blog index to see all the posts.


Back on part 23 I added dual 12v 40x10mm cooling fans to the C-Bot: I’m guessing each was around 4cmf, for a total of 8cfm.  About the same cfm as the single 24v 40mm fan on my Replicator 1.  Thing is, the 1mm E3D-v6 Volcano nozzle I’m using is 2.5x as wide, and printing layers 2.5x as thick as the .4mm Mk8 nozzle on my rep1:  So, a huge increase in volume being extruded, but same cooling.  The results was, negligible:  Turning the fans on\off seemed to have no effect on the prints.

So, after much research online, I found a 12v ‘High Speed Delta Cooling Fan‘ on ebay, 40x30mm rated at 24cfm : I bought a pair of those, modeled a modified fan bracket based on what Carl Feniak had made (download the stl’s from Thingiverse), and hooked them up:

keep_cool

Pros:

  • Huge amount of cooling, 48cmf combined.  If you point them towards the ground they act like hovercrafts.
  • Don’t need any ducting, so much power.

Cons:

  • Noise:  They sound like little turbines at full power.  Causes the stinkeye from the Mrs.
  • On a torture test, the pressure actually blew a tower off the build platform (it was only anchored by a few mm of footing though).

Other:

  • This could be a pro or a con based on how you look at it:  They cool so well, that the nozzle’s heater block couldn’t keep up:  Set at 210 degrees, it would steadily lower under 200 until I shut it down.  I had to use a spare strip of ceramic insulation tape (for a Replicator 2, fits great on the volcano though) to cover the heater block, then surround that with probably four layers of aluminum foil.  Now I can run the fans at 90% and not loose temp.

The Result:

  • They definitely cool the pla down quickly, compared to no cooling at all.  Currently my biggest hinderance is that I’m low on filament, and the spools I have left have absorbed moisture, causing popping sounds during print, so I can’t get an accurate read on final quality.
  • I can report though that bridging is much better:  I used to have to print three top layers to get a good finish, but I can drop that to two now.

Other things I’ve learned in the process:

  • Hairspray : No good as a binder between the PLA and glass build platform:  The volcano prints pop right off within a few layers.  A 50/50 mix of wood glue & water though, like I have been using, works great.  On my rep1 I can use hairspray ok though, I figured it would work here too.
  • Temp:  At 30mm/sec, I’ve been printing gray PLA at 210 deg successfully.  Tried lowering the temp to 200, but no dice:  The Bowden notched the filament.

Jump to C-Bot blog index to see all the posts.

Designing an extruder cooler for my Replicator 1

I purchased my Makerbot Replicator 1 nearly three years ago.  I don’t think at that point it was wide-spread knowledge that PLA likes to be cooled as it extrudes and  thus, no extruder cooler.  Most modern PLA printers have these standard.  Up until now, I’ve pointed a desk fan at my prints to provide cooling.

This weekend I decided to model up (in Maya) a fan mount to use as an extruder cooler:  Works great, uses the stock hardware so nothing new (other than the fan) is needed.  I use a removable glass build plate affixed with springy metal clips. These clips stick up off the build platform and will hit anything slightly lower than the gantry. Because of this, I designed this to shoot a jet of air just below the tip of the nozzle, but keeping the whole apparatus above the base of the gantry.

Download the model and get install directions over on Thingiverse.

[sketchfab id=”9e317b81ac7342dea61df0332dad8a28″]