Posts Tagged ‘ makerbot replicator

Raspberry FM Part 2, the sequal

Nearly a year ago I wrapped up a project I called “Raspberry FM“:  A Raspberry Pi based internet radio streamer coupled with a MaKey MaKey as the interface.   Why the name Raspberry FM?  It’s a mashup of a Raspberry Pi, and my favorite internet radio station, Soma FM.   It worked, but had a few problems:

  • There was no visual feedback, the MaKey MaKey was purely an input.
  • I was having a hard time getting Python to interface with with MPlayer (probably due to my own ignorance), the audio player I had chosen, so everything was done via bash.

Fast forward nearly a year:  After learning about the Mpd audio player/server, and (one of) its clients Mpc, it re-piqued my interest in programming a Python app to play music on the Pi.  Second time around, it all turned out really well:  New software combined with new hardware and a 3d-printed case turned it into a good looking compact unit.

Overview of the whole process below (pic on top, video on bottom).  During the development I decided to write my own Python music player around mpc & Adafruit’s LCD library.  At this point there are several others online, but I enjoyed coding it from scratch.

adaLcdCase

Raspberry FM Features:

  • Auto-on with the Pi
  • If no internet is present or it drops out, app will go into holding pattern until it returns.
  • Can change between any number of stations. (left\right buttons).
  • Stations are easy to add via the commandline:  No need to update Python source: SSH into the Pi, and add\remove what you need.
  • Increase\decrease volume (up\down buttons).
  • Station and song info is displayed and auto-scrolls.
  • Shutdown Pi  (select+left) or turn off program (for debugging, select+right)
  • Lots of color changing when buttons are pressed!

Hardware needed:

  • Raspberry Pi (I used a B model)
  • Adafruit RGB 16×2 LCD+Keypad Kit : Solder and install!
  • Optional:  Custom 3D printed case I designed (well, I designed the top part), download on Thingiverse.  Print & install!  Took me about an 1:20 on my Makerbot Replicator (1).
  • I stream the internet radio over cat5, but I’ve also had success with wifi.
  • I use the headphone jack for audio out.

Software needed:

  • This was all done on the Raspbian distro via NOOBS.
  • My “Raspberry FM” Python program.  Find on Bitbucket.
  • You’ll need Adafruits CharLCDPlate library.
  • FYI, I coded this all via the Adafruit WebIDE, I’d recommend anyone else to use it as well to help manage the various Python modules on the Pi.
  • MPD & MPC:  sudo apt-get install mpc mpd

Steps:

  • I presume you already have your Pi setup.  If not, see my notes here on the general steps needed to get a Pi live and kicking.
  • Setup Pi to auto-login.  See notes here.
  • Download the Raspberry FM Python program to a folder of your choosing.  Since I coded this via the WebIDE, both the creation of my code and the integration of the Adafruit LCD modules was all handled via the WebIDE.  Make sure you download all the Adafruit CharLCDPlate modules as well and put them in the same directory.
  • Install MPD & MPC.
  • Add stations to MPC.  This is super easy on the commandline.  May I recommend anything from SomaFM?
    mpc add http://ice.somafm.com/groovesalad
  • Setup Pi to auto-run a program on start.  See notes here.  You will point that script to wherever you saved the Raspberry FM Python script.  For example, my startup.sh script looks like:
  • #!/bin/bash
    echo startup.sh : Launching raspberryFm.py
    sudo python /usr/share/adafruit/webide/repositories/my-pi-projects/Adafruit_CharLCDPlate/raspberryFm01.py
  • Restart the Pi and listen to the music!

The final result in action:

Latest 3d print: Hatchet

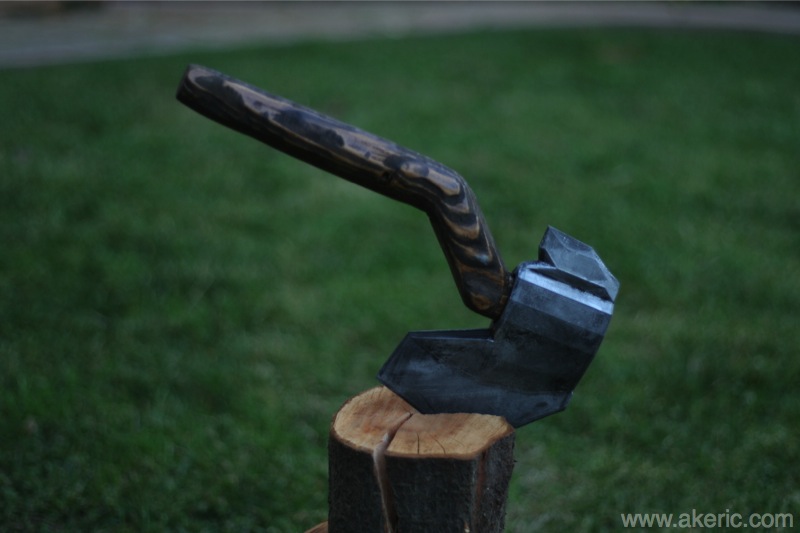
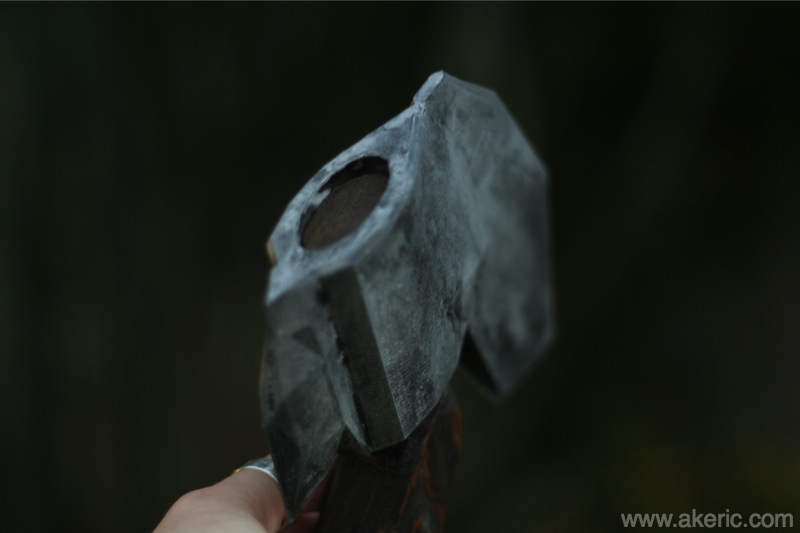
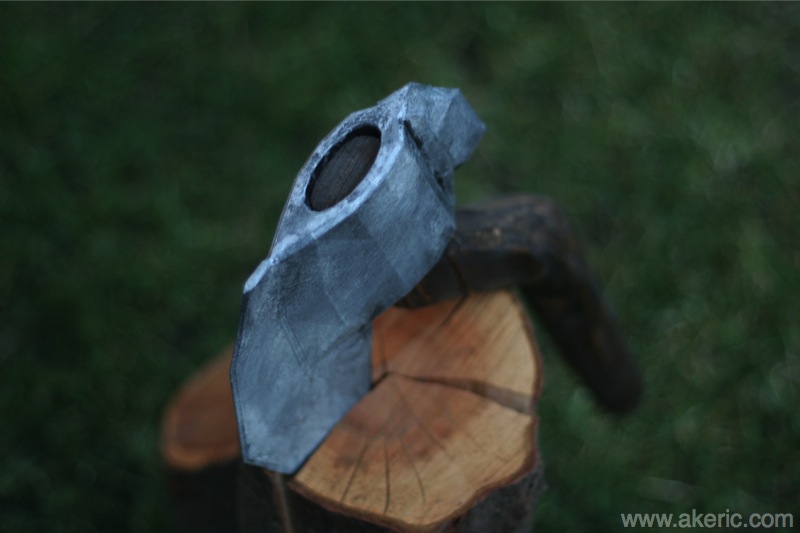
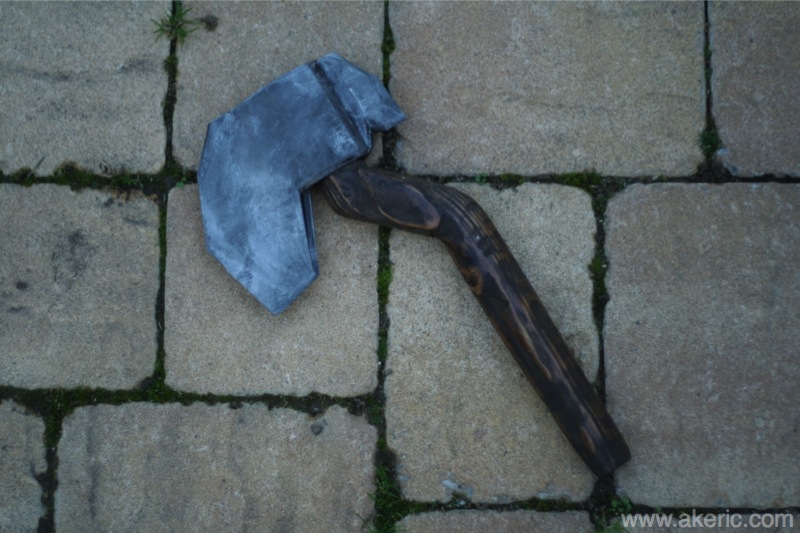
I thought I’d try my hand at “making a hatchet”: The print will obviously not hurt anything, but it was a fun process to design (in Maya), print, and combine with a hand-carved wooden handle.  Printed on my Makerbot Replicator (1).  Get more info and download the stl over on Thingiverse.

hatchet01hatchet04hatchet05hatchet06

Merry Christmas!


Latest 3d print: Orbus

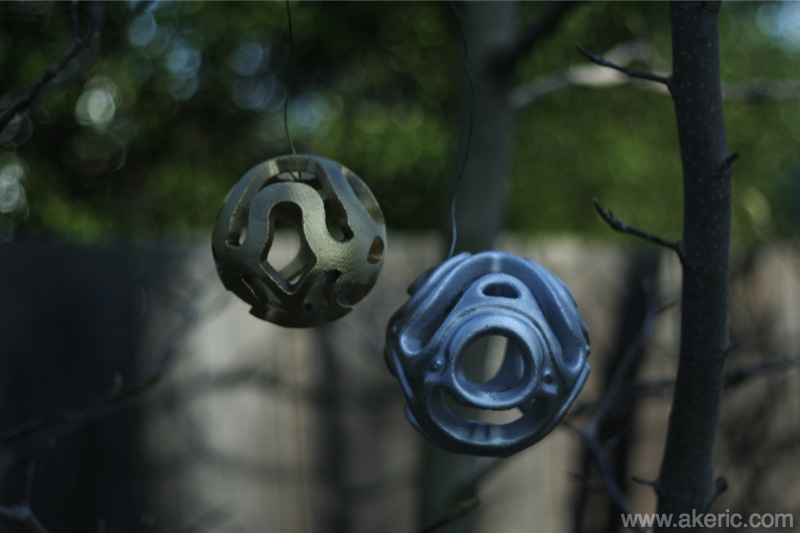
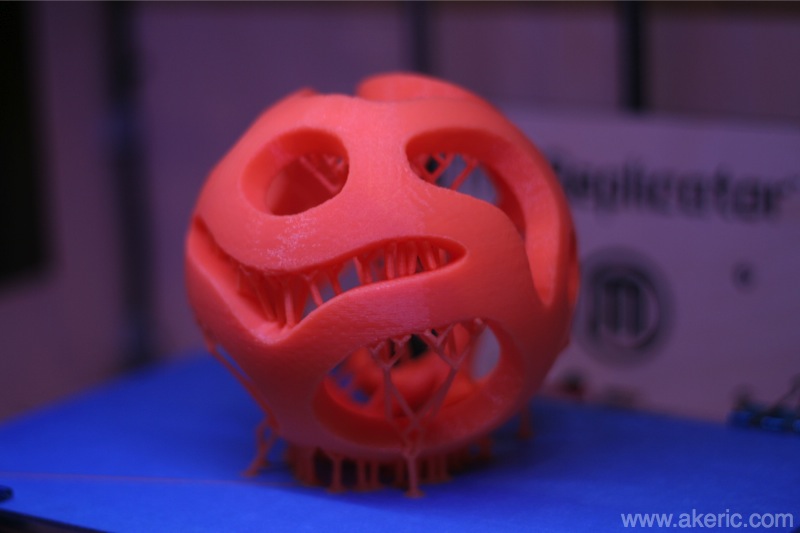
These two “orb” sculptures were the result of teaching myself the latest version (2.0) of MeshMixer: I wanted to see how easy it would be to draw a symmetrical stencil on a sphere and extrude it, turning it into it’s own volume. Turns out to be pretty easy.  Get print info, see more pics, & download the stl’s over on Thingiverse.  Printed on my Makerbot Replicator (1).

orbusA

Hangin’ on the tree…


orbus01_printedSupport

Showing the auto-generated support structures that MeshMixer creates.

Makerware print time & weight estimates

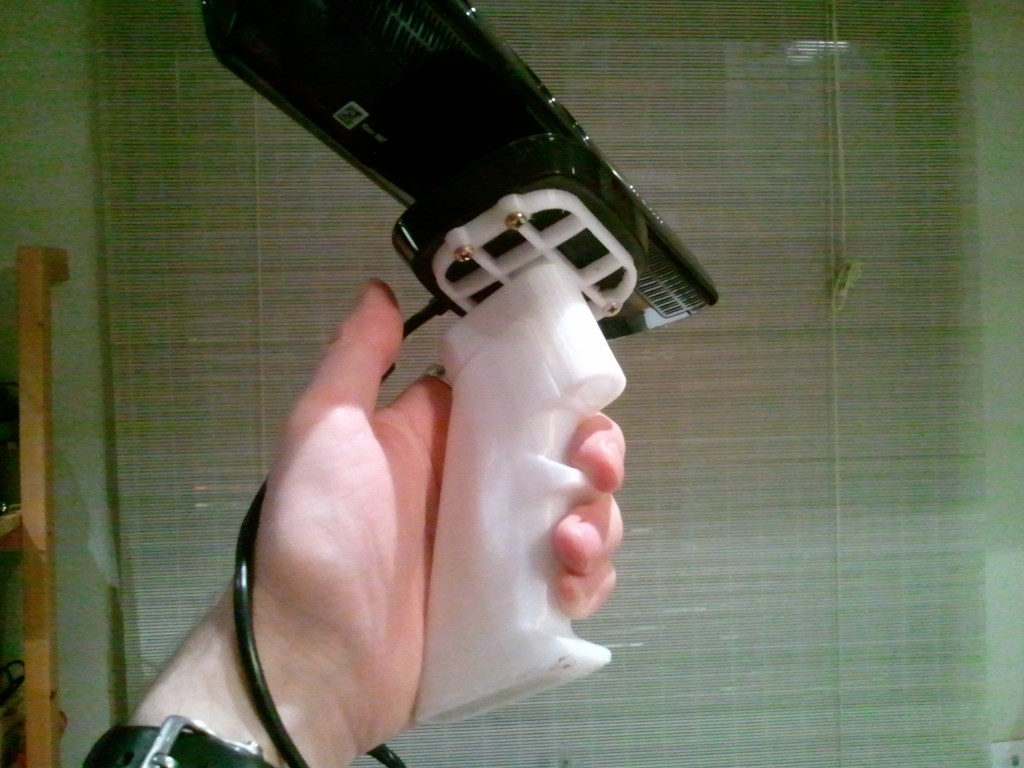
The latest versions of Makerware allow you to preview the print before completion in full 3d.  Great feature.  It also estimates both the time it will take to generate the print, and the weight of the filament used.  I thought I’d compare this on the latest print I made, “The Hammerhead – Handheld Kinect Grip“:

hammerhead

I printed it in Taulman 618 nylon (just because that’s what I had installed in the printer).  The weight estimates are based on  PLA, so presumably the nylon weights would be off.  But time estimates should be correct.  The print settings I used were:

  • 2 shells, 10% infill.
  • 270 micron layer height (low res, for speed).
  • HBP off.  Extruder temp 240c.  Printed on blue painters tape on a removable glass platform.
  • Travel rate 150mm/sec.  Extrude rate 90mm/sec.
  • Raft, no supports.

Based on those values, these were the time estimates & final time, weight estimates & final weight for the 3 separately printed pieces as made on my Makerbot Replicator (1):

  • Handle (the thing you grab)
    • Time estimate \ Final time : 120 min \ 101 min
    • Weight estimate \ Final weight : 32g \ 31g
  • Kinect Mount (the thing screwed to the Kinect)
    • Time estimate \ Final time : 50 min \ 40 min
    • Weight estimate \ Final weight : 13g \ 13g
  • Tripod mount (the thing connection the two):
    • Time estimate \ Final time : 45 min \ 35 min
    • Weight estimate \ Final weight : 12g \ 11g

So in all cases, it actually printed faster, about 20% faster than expected.  And I don’t know the different in weight between the nylon and PLA, but those estimates look to be pretty spot on.

3D Hubs meetup @ Techshop SF

I recently registered my Makerbot Replicator with 3D Hubs as a sort of experiment:  I’ve been printing stuff for people I know, how would it be to print something for someone I don’t know (for $)?  That site seems like a good vehicle, and I’m now part of the “San Francisco Hub“.  But it’s all very new, a relatively recent startup, and they’re doing a nation-wide tour this month.  Tonight they were at Techshop SF.

Kendra Egle from 3D Hubs started things out talking about their missions and vision for the company.  She was followed by Aaron Kemmer from Made In Space.  He discussed the process they went through to develop the first 3d printer that will be launched into space thanks to a grant from NASA.  Finally Brian Allen from Smith|Allen talked about their 3d printed Echoviren installation in the redwood forests north of Mendocino.  I found it to all be an engaging set of presentations.

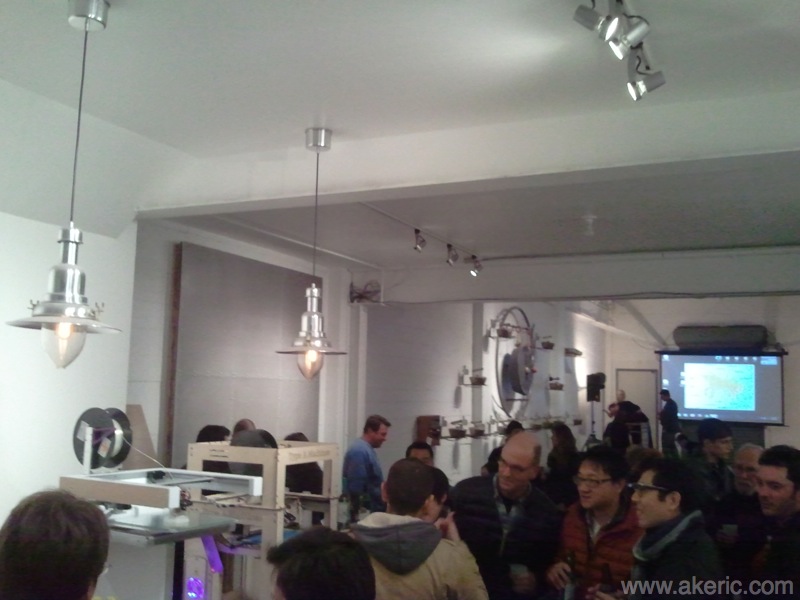
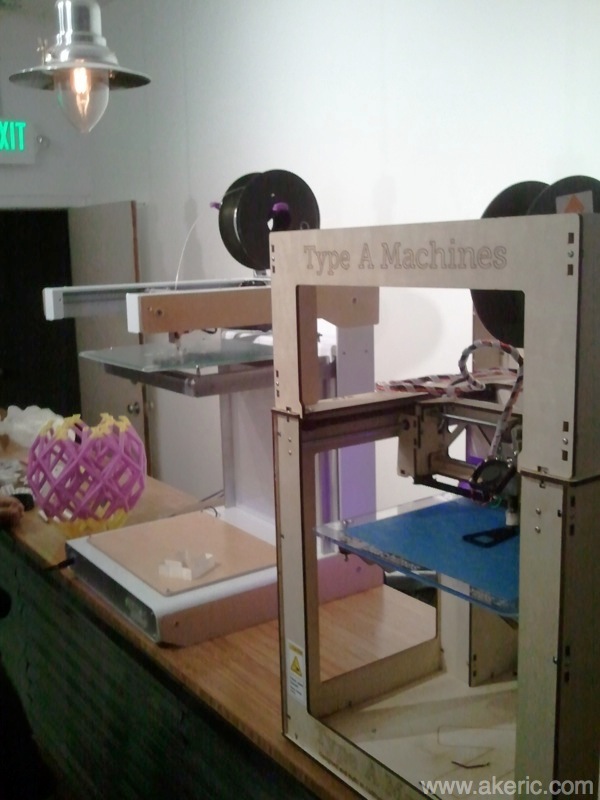
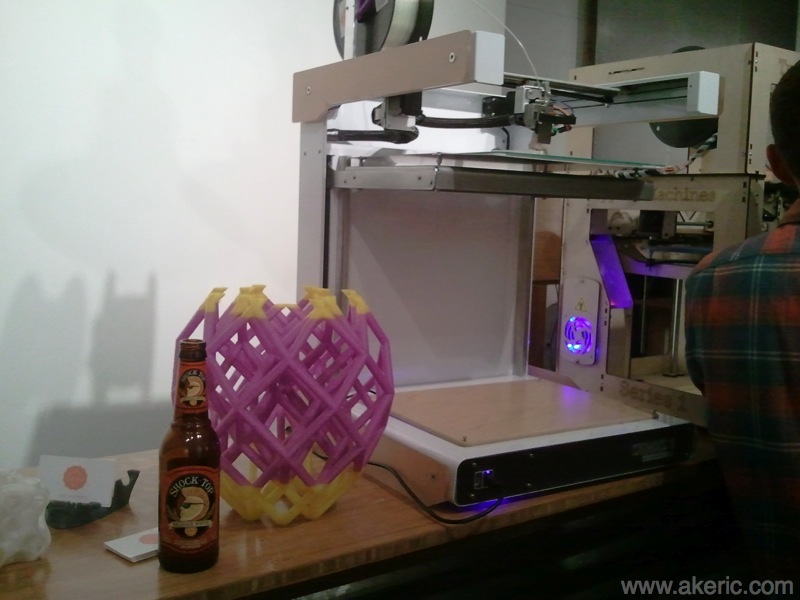
In addition to milling about, talking to various folks, and drinking the free beer, Type A Machines was there with their latest Series 1 printer.  It is big (cubic foot build volume) and looks beautiful.  I can easily envision it in my workshop…..

The venue

New and old

Beer for scale, that thing is big!