Based on my previous post, I wanted to get better results from my sand-cast. Things I learned from last time:
Even though I had a split mold, the vertical edges caused the mold to tear-out during removal. I have a feeling this is due to the ‘ridged’ sides the 3d-printing causes, making the walls ‘grip’ more. Because of this, I adjusted my 3d model to have slightly tapered sides.
The extruded text on my first model suffered the same problem as the above issue. To resolve, I simply made the text extruded much less.
The previous split mold only had one anchor point, in the middle, to join the two sides: When connected it gave more yaw-play than I wanted. The new version has two anchor points on either side.
I watched a bunch of sand casting videos and read over multiple sites to make sure I got the sand cast itself created properly.
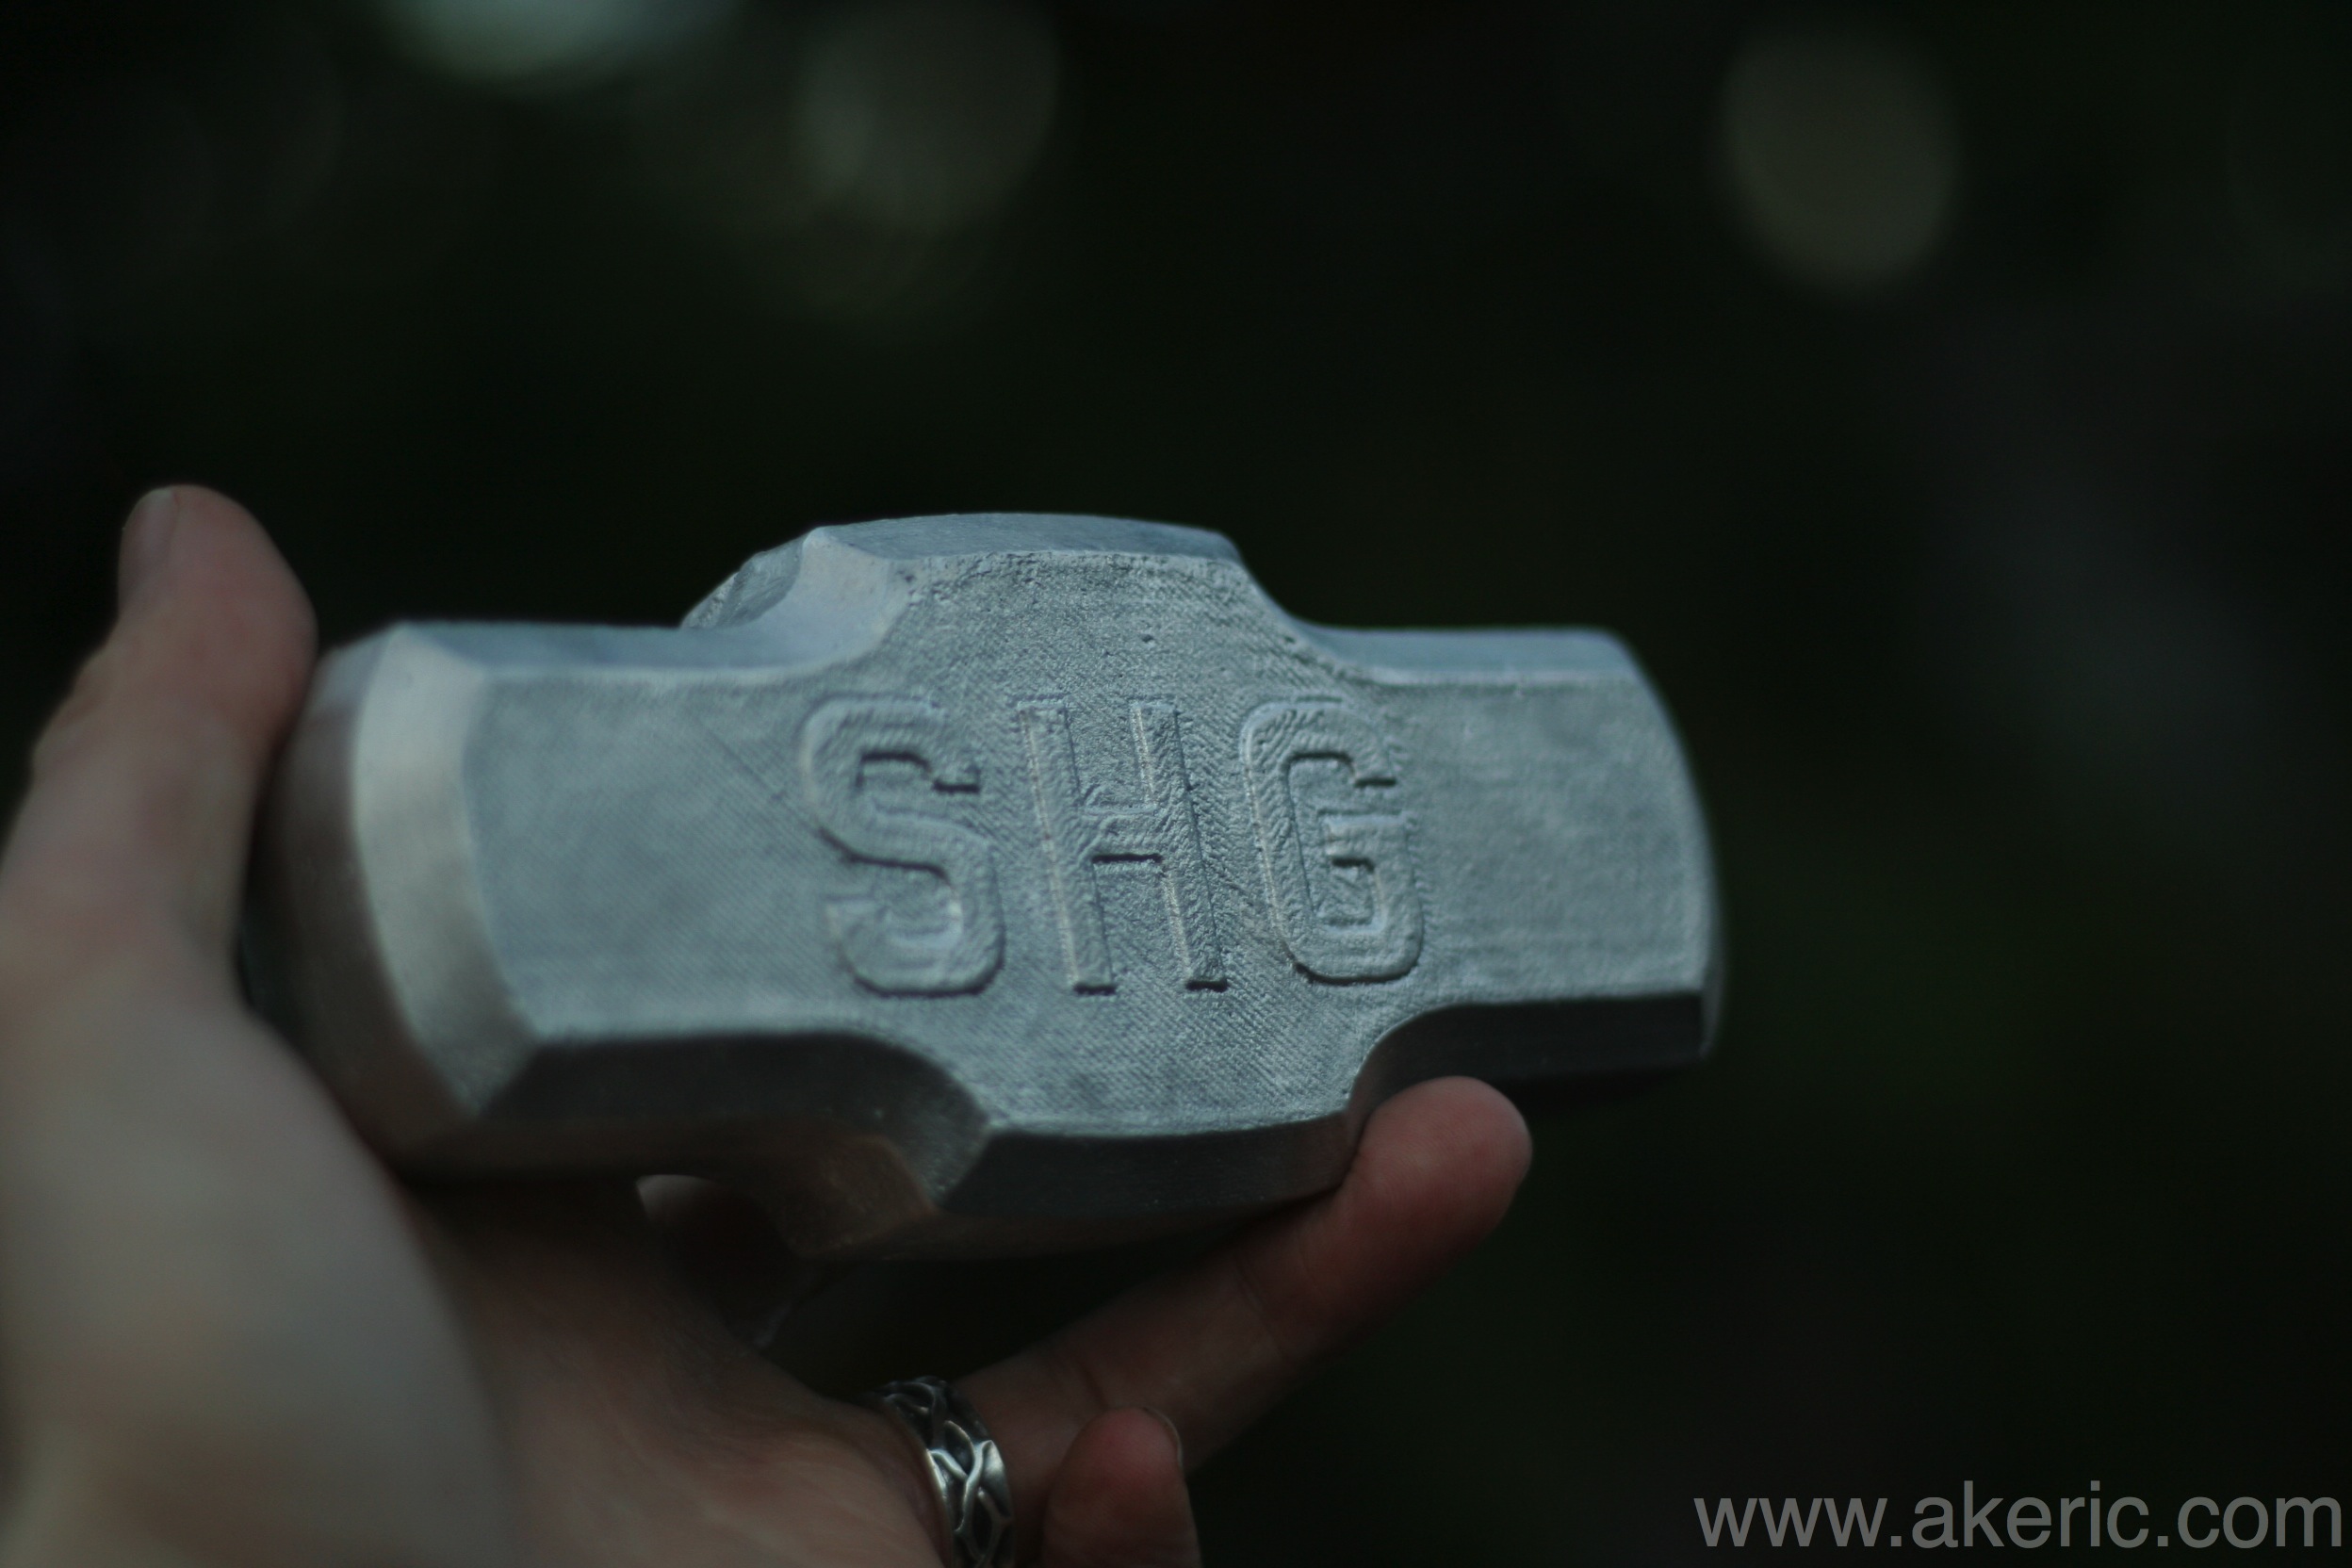
Based on all that, the end result turned out really nice: Sprue cut off with saws-all, imperfections ground off with an angle-grinder, and polished with a Dremel:
Here’s a shot of it freshly pulled from the cast with the sprue still connected:
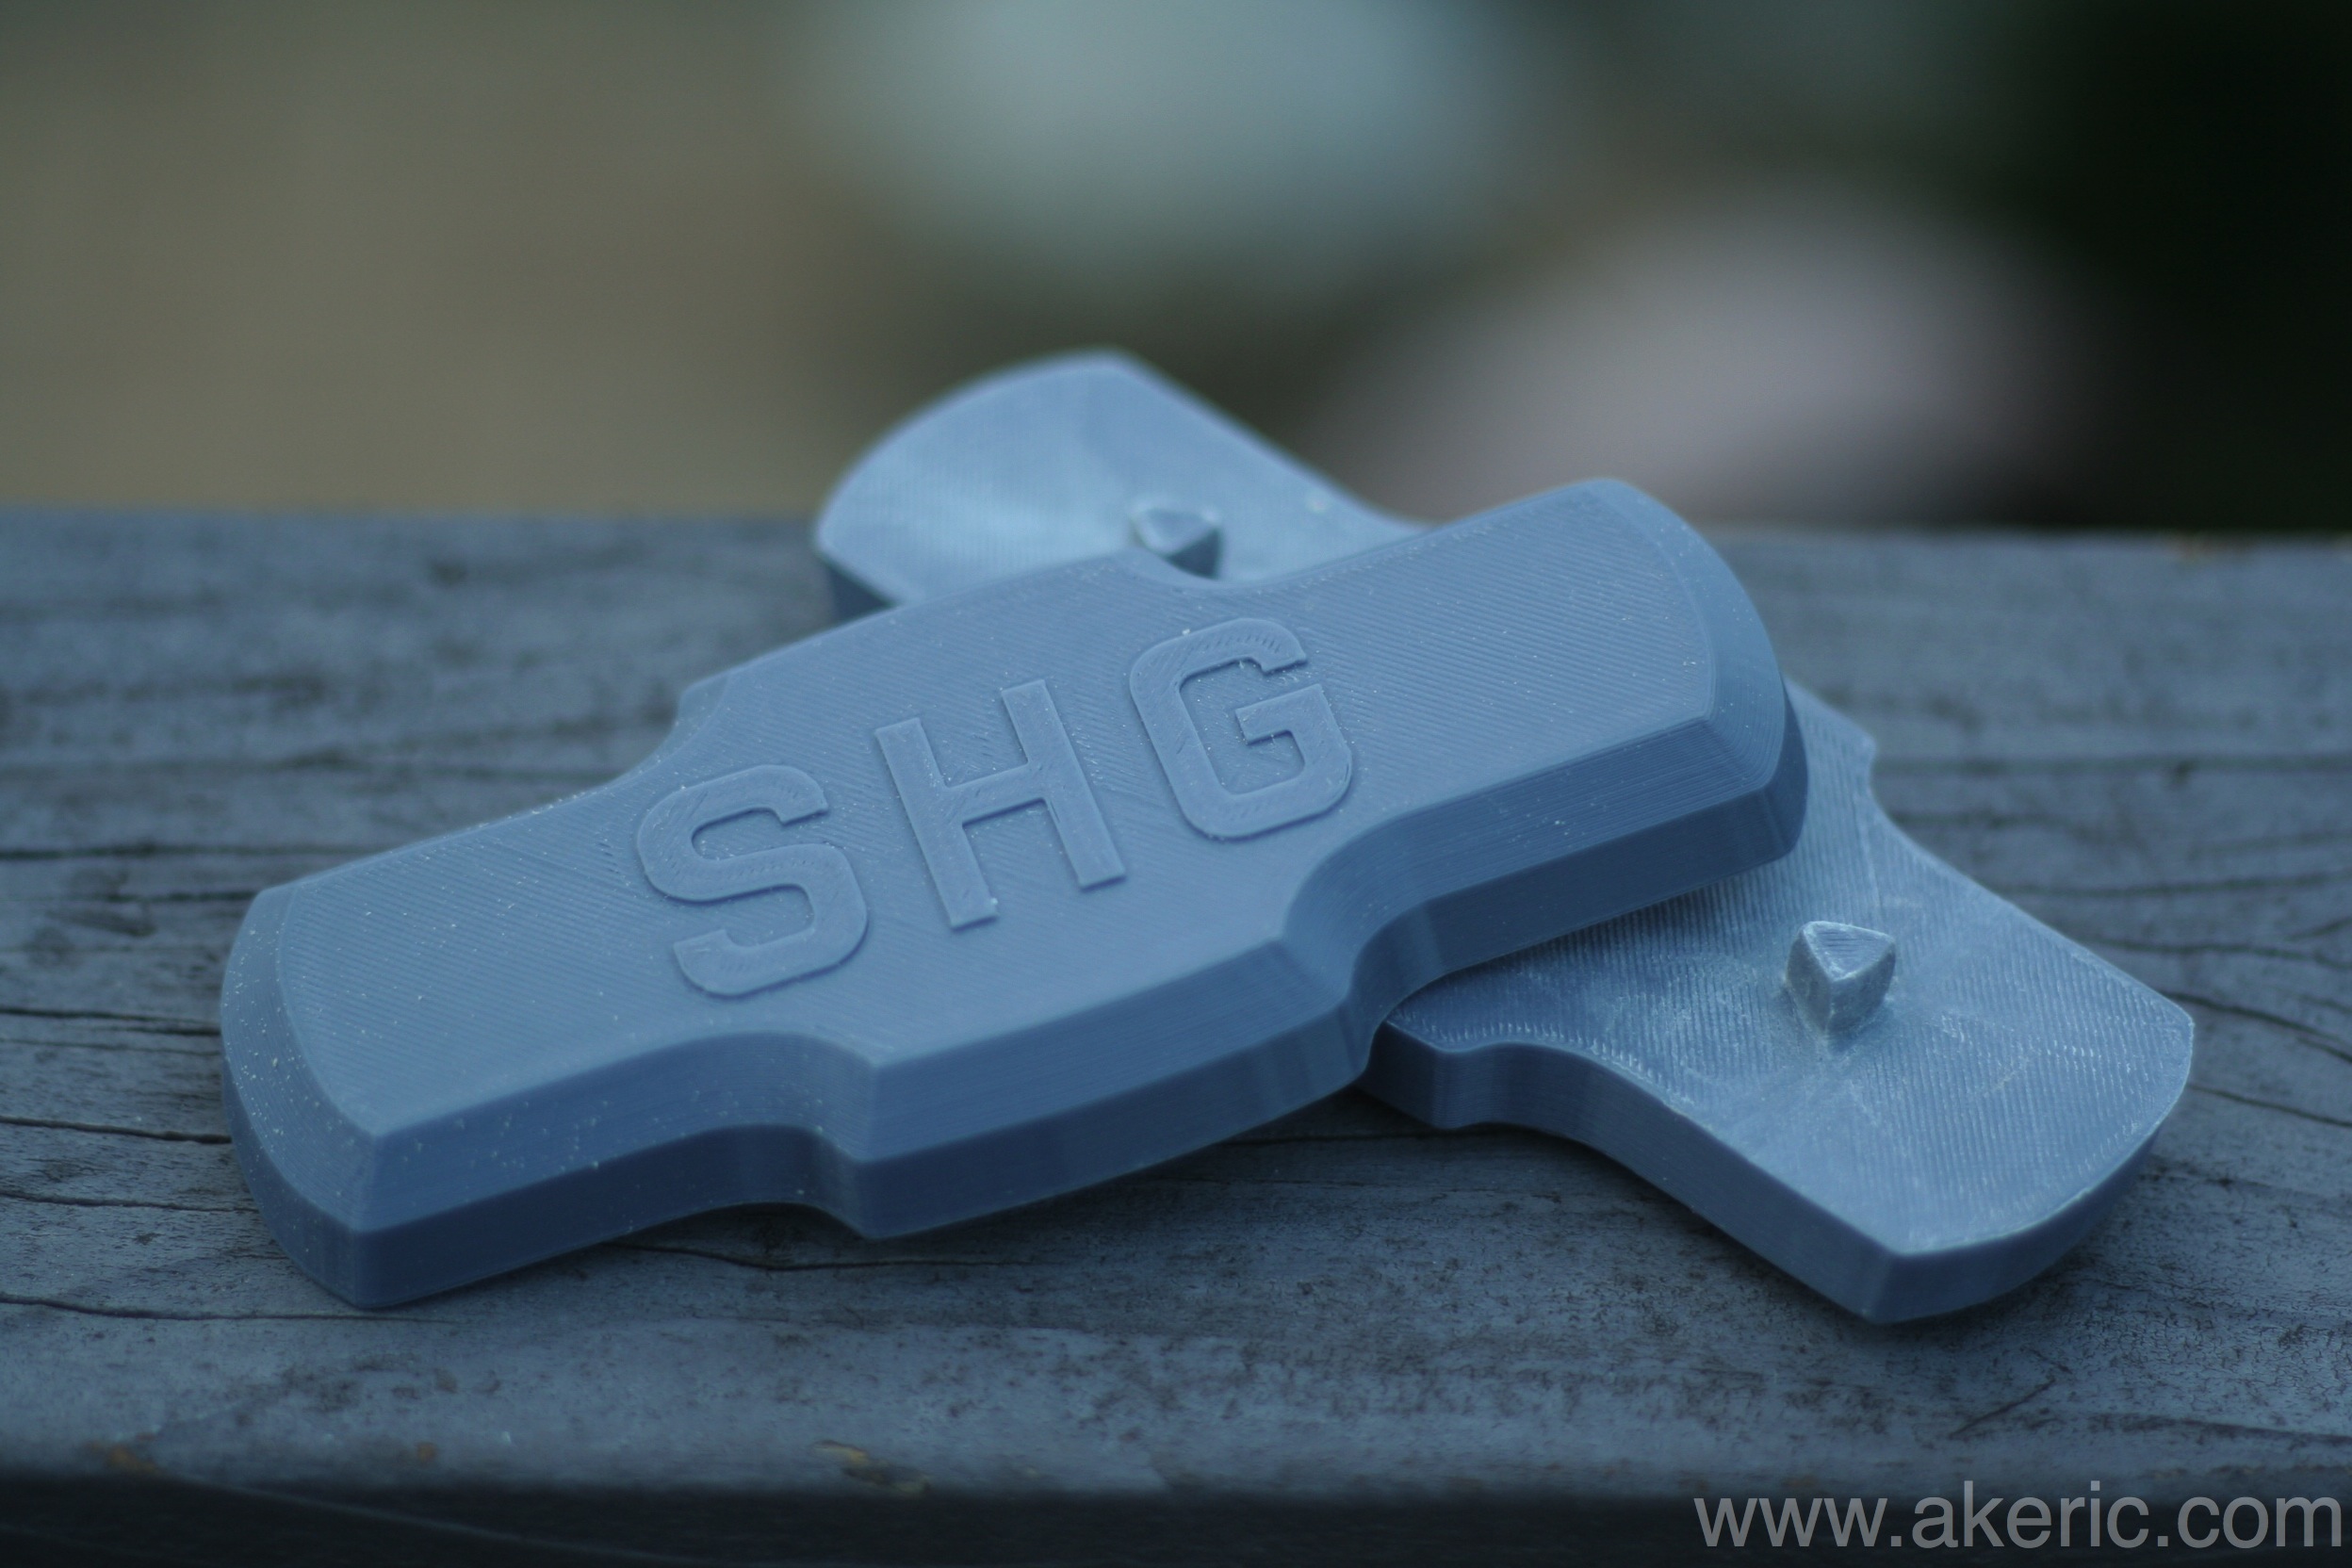
And here’s a shot of the 3d-printed two-part mold. It took just under 4 hours to print on my Makerbot Replicator. 200 micron layer resolutoin, gray PLA, 220 deg C on a glass build plate covered in blue painters tape:
And finally, here’s a movie of the furnace just before it was time to pour:
I shot it with bare hands: I got really hot, really fast 😉
Thought it would be fun to setup a time-lapse rig with my Raspberry Pi & it’s camera, having never tried that type of photography before. A bit of afternoon coding, and success:
11 hours compressed to 60 seconds.
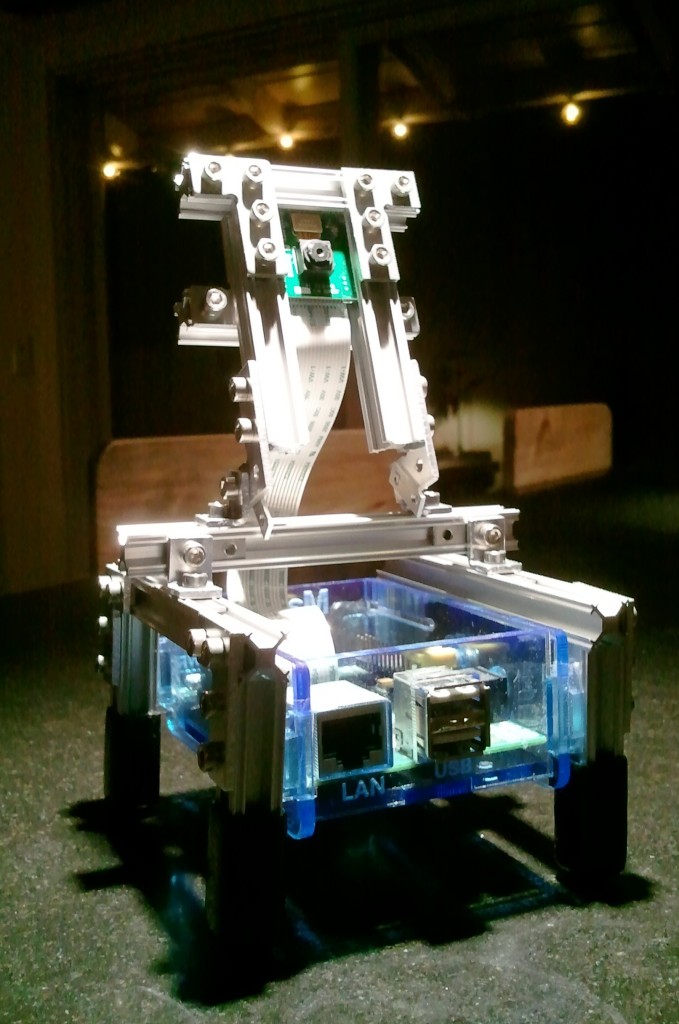
This is what the camera-rig looks like:
Used some MircoRax to create a simple frame for the Pi & its camera.
Install dependencies
You can download my Python time-lapse code here. For the below examples, just stick it in your home (~) folder.
Executing the timelapse.py code is easy: It will create a /time-lapse subfolder where it will place all the jpgs. It doesn’t need any arguments to run: In that case, it will record for an hour, with enough images to make a one-minute long video at 30fps: It’s designed to take the guesswork out of trying to figure out how many frames to render at what interval based on the framerate. It handles it all for you behind the scenes. Plus it’s all configurable. To query the help:
$ python timelapse.py -h
usage: timelapse.py [-h] [-ct float] [-dur int] [-fps int] [-xres int]
                    [-yres int] [-q int] [-y int] [-m int] [-d int] [-hr int]
                    [-min int] [-s int]

Time for time-lapse! To start recording at a certain time, pass in any or all
of the time related args. If no time-related args are passed in, recording
will start immediately.

optional arguments:
  -h, --help            show this help message and exit
  -ct float, --captureTime float
                        in HOURS, default 1.0
  -dur int, --duration int
                        of final movie in SECOMDS, default 60
  -fps int, --framesPerSecond int
                        of final movie (default 30)
  -xres int, --Xresolution int
                        of image (default 1280)
  -yres int, --Yresolution int
                        of image (default 720)
  -q int, --quality int
                        of jpeg from 1-100 (default 85)
  -y int, --year int    ...to start recording
  -m int, --month int   ...to start recording
  -d int, --day int     ...to start recording
  -hr int, --hour int   ...to start recording
  -min int, --minute int
                        ...to start recording
  -s int, --second int  ...to start recording
So for example, to capture for 12 hours, and end up with a 1 minute long video:
python timelapse.py -ct 12.0 -dur 60
It also supports a delayed start, if you pass in any of the time values. For example, if you pass in an hour, it will wait for that hour to start recording. If you pass in a minute, it’ll wait for that minute of the current hour, etc. You can pass in any of the year, month, day, hour, minute, second, or none. If none, it starts capturing immediately.
Finally, I’ve learned that if you’re logging in via ssh, you should launch your code via nohup:
nohup python timelapse.py -ct 12.0 -dur 60
If you don’t do that, when you close the remote shell, it’ll kill the process, and no timelapse for you!
Make a movie
After you capture all the stills, how to make into a movie? The mencoder software can be used on the pi for that. I found a tutorial here that provides a solution. To install:
sudo apt-get install mencoder
First make a list of files from your /time-lapse folder (from the above tutorial link):
cd time-lapse
ls *.jpg > stills.txt
Then, to convert them into a movie with mencoder (modified version of the above example):
This will create a new avi file on the Pi. To get that moved to your PC, on Mac/Linux you can use scp (below example is my Pi’s IP, change it to match yours). Note, the below code is executed from your PC, not the Pi, and copies it to my Mac’s home folder:
Or you can use this great tutorial on how to use SFTP via FileZilla, if you’re more comfortable in a windowed environment.
Once I got my first movie copied over, I couldn’t play it (on my Mac) via the Quicktime player. However, my install of VLC opened it no problem. From there it was uploaded to YouTube: Done!
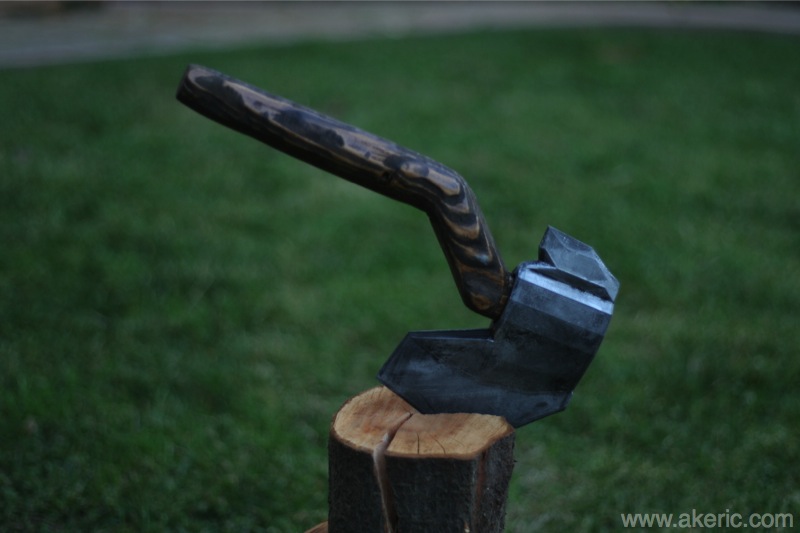
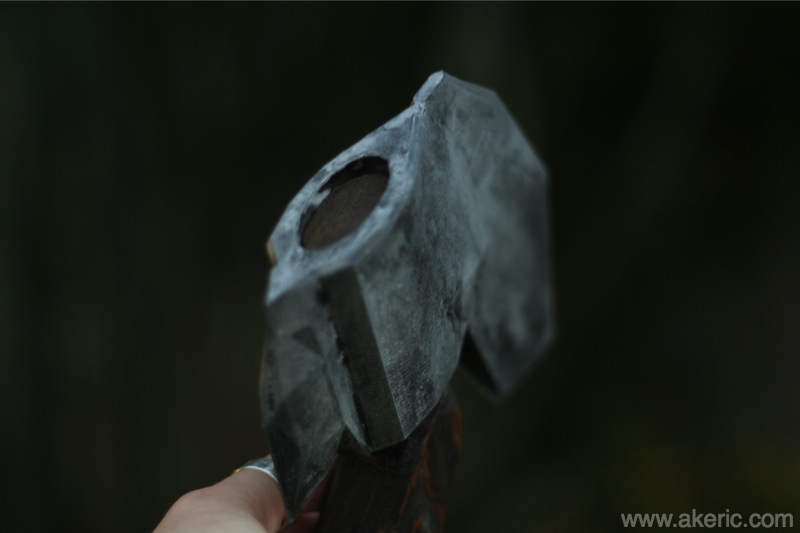
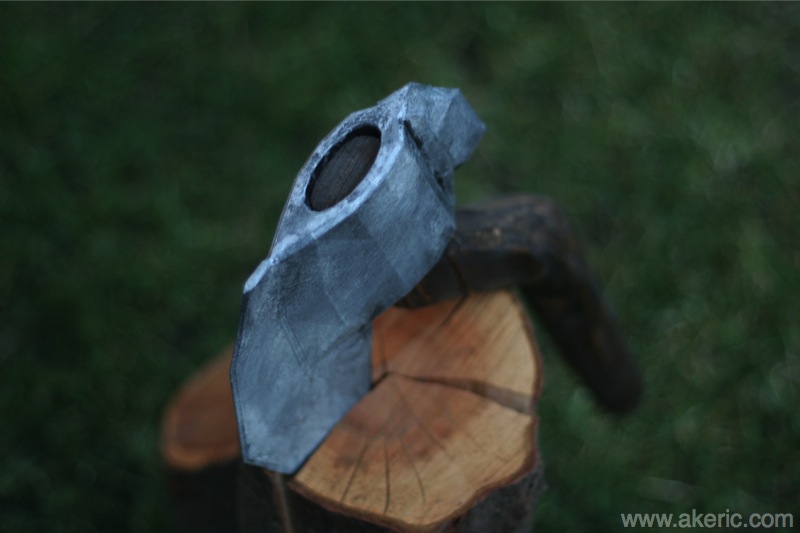
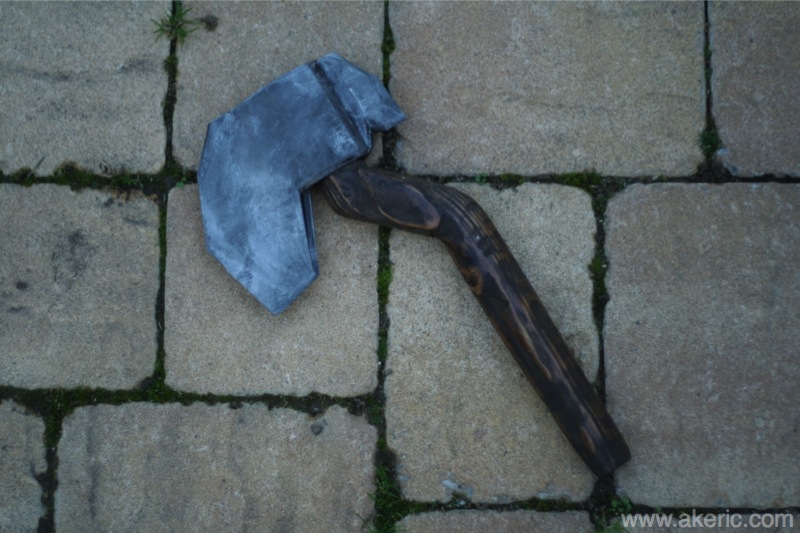
I thought I’d try my hand at “making a hatchet”: The print will obviously not hurt anything, but it was a fun process to design (in Maya), print, and combine with a hand-carved wooden handle. Printed on my Makerbot Replicator (1). Get more info and download the stl over on Thingiverse.
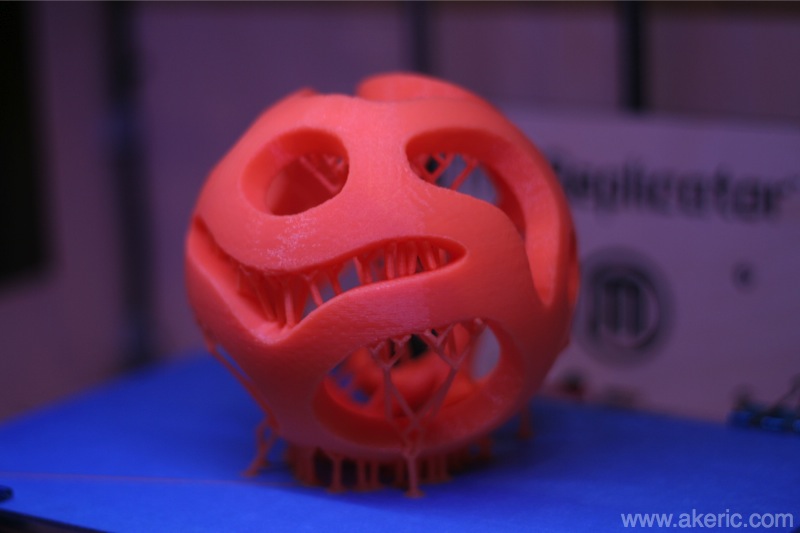
These two “orb” sculptures were the result of teaching myself the latest version (2.0) of MeshMixer: I wanted to see how easy it would be to draw a symmetrical stencil on a sphere and extrude it, turning it into it’s own volume. Turns out to be pretty easy. Get print info, see more pics, & download the stl’s over on Thingiverse. Printed on my Makerbot Replicator (1).
Hangin’ on the tree…
Showing the auto-generated support structures that MeshMixer creates.
I recently registered my Makerbot Replicator with 3D Hubs as a sort of experiment: I’ve been printing stuff for people I know, how would it be to print something for someone I don’t know (for $)? That site seems like a good vehicle, and I’m now part of the “San Francisco Hub“. But it’s all very new, a relatively recent startup, and they’re doing a nation-wide tour this month. Tonight they were at Techshop SF.
Kendra Egle from 3D Hubs started things out talking about their missions and vision for the company. She was followed by Aaron Kemmer from Made In Space. He discussed the process they went through to develop the first 3d printer that will be launched into space thanks to a grant from NASA. Finally Brian Allen from Smith|Allen talked about their 3d printed Echoviren installation in the redwood forests north of Mendocino. I found it to all be an engaging set of presentations.
In addition to milling about, talking to various folks, and drinking the free beer, Type A Machines was there with their latest Series 1 printer. It is big (cubic foot build volume) and looks beautiful. I can easily envision it in my workshop…..