Posts Tagged ‘ makerbot replicator

New 3d print: Lumihedron

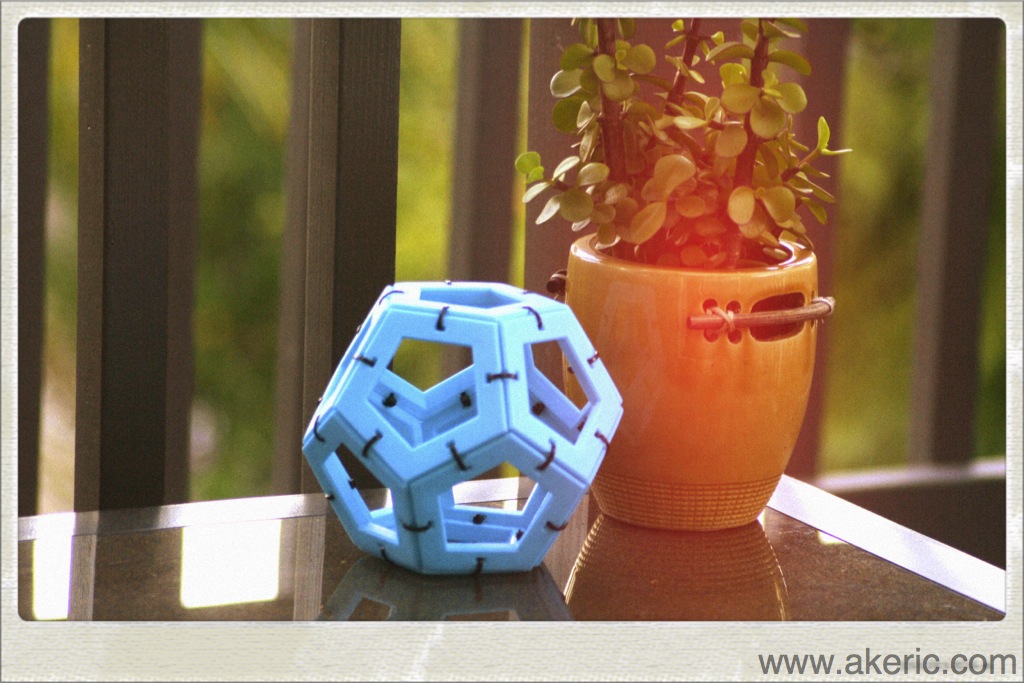
My previous “Dodecahedron” print was a trial run for making something bigger.  From my GeoLight print a year and a half ago, I’ve found the idea of making lighting via 3d-printing fascinating. Lumihedron is my current exploration.

You can download it for print over on Thingiverse.

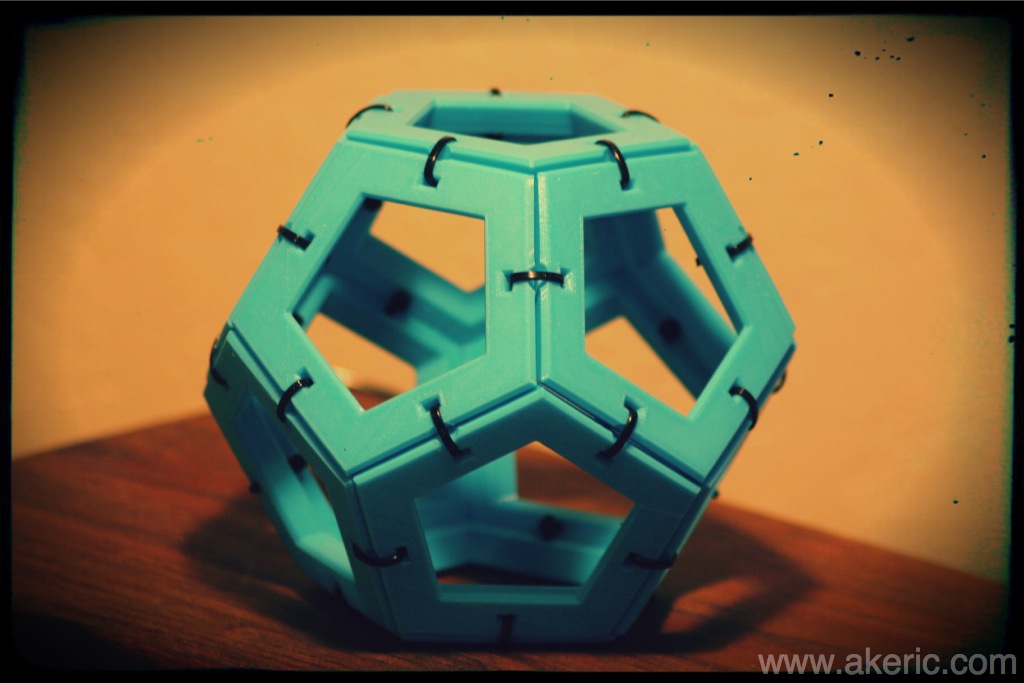
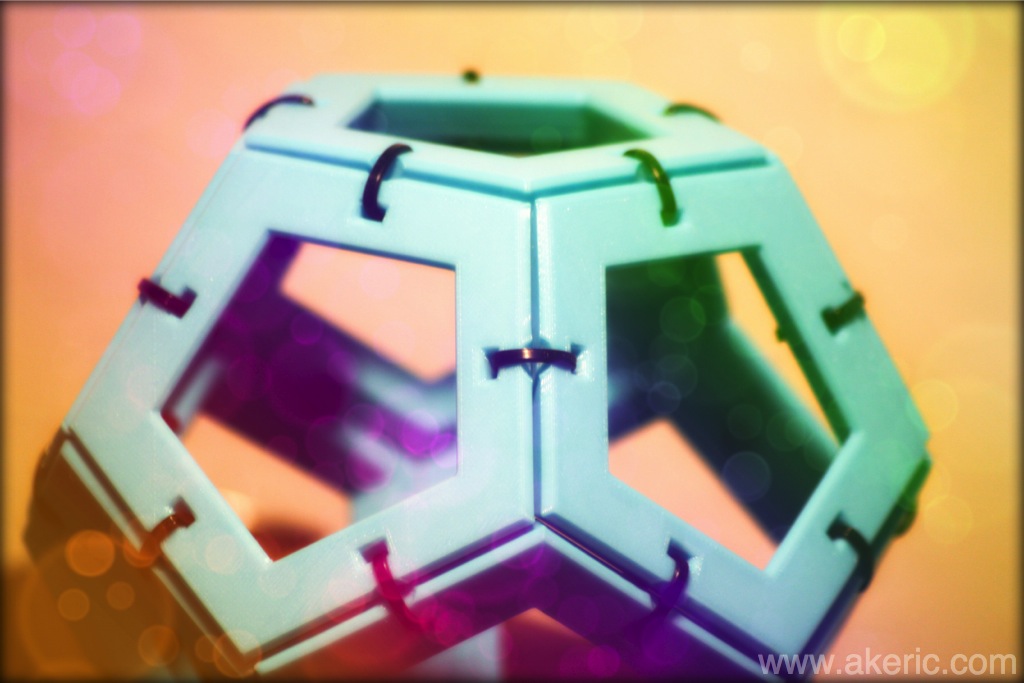
Fully printed its diameter is just under 10″:  I designed a single pentagonal volumes to nearly fill the build plate on my Makerbot Replicator (1).  Each  volume took 4 hours to print * 12 prints = 48 hours of print time.  All PLA.

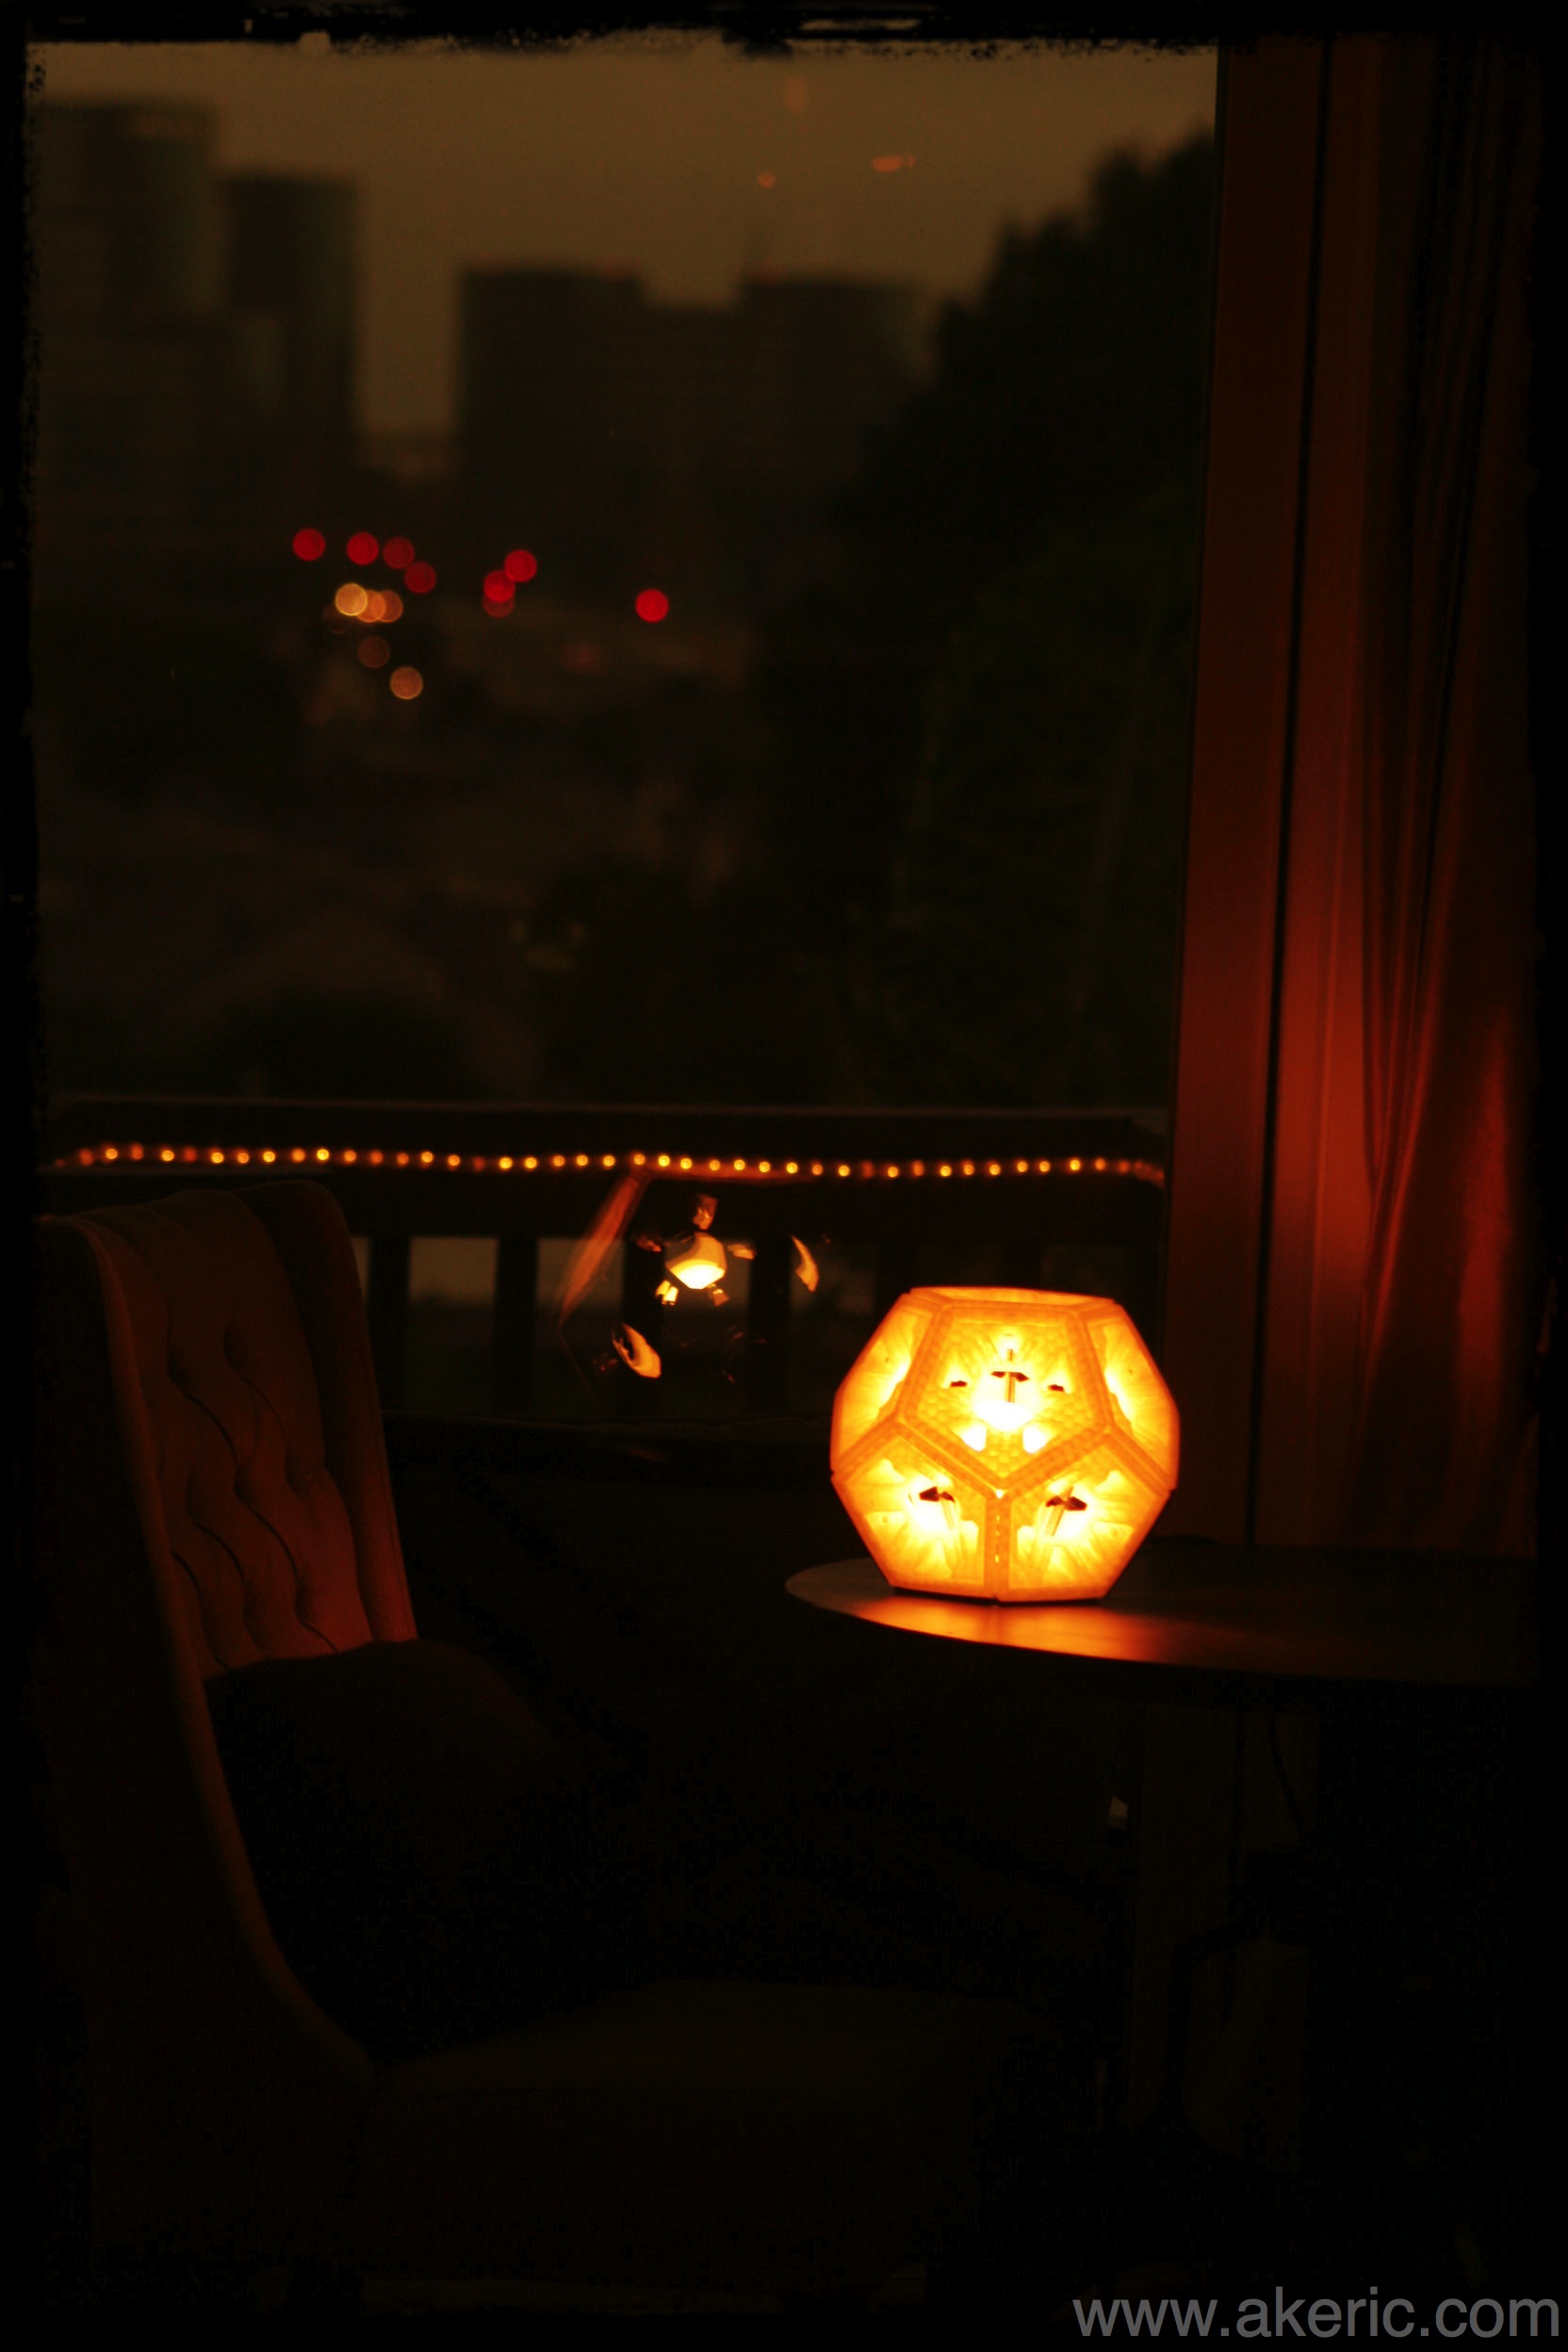
The whole fixture is held together via zip-ties except the bottom pentagon:  It’s held by neodymium magnets embedded into the print itself, held in place by super-glue:  By removing it, you can  replace the light.  A 60 watt Cree LED bulb is screwed into a repurposed shop-light from Home Depot fits perfectly in the top, while a custom printed clamp screws onto the base holding it in place.

I painted six of the twelve pentagons matte black on the outside, and gloss-white on the inside.  While looking pretty cool in person, they don’t photograph well, so have been turned away from the camera in all the below shots (you can see them in the window reflections though).  The other twelve pentagons are natural PLA.

I designed it in Autodesk Fusion 360, to help teach myself the software, going through 5 different revisions.  I’ve been enjoying the software, except the weekend where the cloud service went down and I couldn’t access any of my work:  They really need fix that ‘obstacle’ to design.

Really enjoyable & fulfilling project.

lumihedron_tableFar_fancy2

lumihedron_endtable_fancy lumihedron_tableClose_fancy

Small-scale 3D print tolerances

I picked up some small but powerful cylindrical magnets, 8mm diameter by 3mm tall, to incorporate into a new multi-part 3d print:  They’ll help hold the whole thing together.  I print mainly in PLA, and while it shrinks less than ABS, it still shrinks, so I needed to make sure that the cylindrical holes I design in my 3d model will actually allow the magnets to fit, based on how my Makerbot Replicator (1) prints things.

Using my micrometer, I checked the size of the magnets:  They were within a few hundredths of a mm of their spec:  Negligible change.

I designed & printed a simple rectangular volume to place my test holes:  It measured 60x30x3 mm.  In it I placed three different holes with diameters of 7.5, 8.0, and 8.5 mm.  For the record its print specs are:  300 micron layer resolution, 2 shells, 10% infill, blue PLA extruded @ 220 deg, HBP off, on blue painters tape.  My print nozzle is .4mm.  Took about 12 minutes, and was firmly affixed to the build platform before removal with no curling.

You can see the results below:

cylTolTest01

So what were the results?  Checking with my micrometer….

  • The outer dimensions of the printed rectangular volume were very close to the 3d model:  .1 mm larger (or less) on X, Y, & Z.
  • The printed cylindrical holes were each nearly exactly .5mm smaller from the 3d model:  As you can see from the above image, the modeled 7.5mm hole ended up being printed @ 7.0 mm, the 8.0 hole @ 7.5mm, and the 8.5mm hole @ 8.0 mm.
  • Because of this, the 8mm wide magnet fits snugly into the 8.5mm modeled hole, which ended up printing with a 8.0mm diameter.
  • Another interesting side effect:  Even though the rectangular volume and magnet were both 3mm high, and the magnet fit in the whole snugly but easily, I was unable to push it all the way through without some force:  I believe this is because the first few layers probably ‘squish out’ more on the build platform, causing a slight lip to form on the bottom edge.  Nothing a drill or file (or obsessive-compulsive magnet pushing) couldn’t fix though.

So this raises the question:  Why does the outer-volume of the rectangle match the 3d model within .1 mm larger, but the interior cylinders are all .5 mm smaller?

New 3D Print: Dodecahedron

Dodecahedron, created from 12 separate pentagon volumes. Each pentagonal face is circumscribed by a 10cm circle.
I’ve liked the concept of creating many small repetitious things that assemble into something larger: This is my first attempt at that. Modeled in Autodesk Fusion 360.

Printed on my Makerbot Replicator (1).

Get print info and downloadable files over on Thingiverse.

CG model -> 3d printed -> metal cast: v2.0

Based on my previous post, I wanted to get better results from my sand-cast.  Things I learned from last time:

  • Even though I had a split mold, the vertical edges caused the mold to tear-out during removal.  I have a feeling this is due to the ‘ridged’ sides the 3d-printing causes, making the walls ‘grip’ more.  Because of this, I adjusted my 3d model to have slightly tapered sides.
  • The extruded text on my first model suffered the same problem as the above issue.  To resolve, I simply made the text extruded much less.
  • The previous split mold only had one anchor point, in the middle, to join the two sides:  When connected it gave more yaw-play than I wanted.  The new version has two anchor points on either side.
  • I watched a bunch of sand casting videos and read over multiple sites to make sure I got the sand cast itself created properly.

Based on all that, the end result turned out really nice:  Sprue cut off with saws-all, imperfections ground off with an angle-grinder, and polished with a Dremel:

sledgehammer2

Here’s a shot of it freshly pulled from the cast with the sprue still connected:

SAMSUNG

And here’s a shot of the 3d-printed two-part mold.  It took just under 4 hours to print on my Makerbot Replicator.  200 micron layer resolutoin, gray PLA, 220 deg C on a glass build plate covered in blue painters tape:

printedForm

And finally, here’s a movie of the furnace just before it was time to pour:

I shot it with bare hands:  I got really hot, really fast 😉

CG model -> 3d printed -> metal cast

castSHG

3D print on the left, aluminum cast on the right.

I’ve had a “dream” for a number of years now to model something in 3d, 3d print it, and cast it in metal.  Based on the upgrade from my “flowerpot furnace” and the acquisition of new sand casting greensand, today was my first successful attempt (once again casting my companies logo).  I’d previously tried my hand at some “lost PLA casting“, but the end results weren’t satisfactory.  And honestly I’d give today’s attempt a C- : Being my first attempt, I had some flaws in my sand cast design, that resulted in defects in the end result.  I also learned that if you want to pull off embossed letters like shown, you need to bevel them, or the sand will stick to them upon removal (which is what happened to the S & G) even if using parting dust.  Regardless, the cleaned up results with some black paint added gives it a rustic \ worn look.  Next attempt I’ll shoot for a solid B 😉

The print itself took about 2hr 15min on my Makerbot Replicator (1), using gray PLA, 200 micron resolution, printed on a glass build plate with blue painters tape.  It’s about 13cm across, or just over 5”.