Archive for the ‘ projects ’ Category

New 3D print : SHG recognition coin holders

At Sledgehammer Games, we have a great way of recognizing those around us by giving out special coins.  The recognition could be for anything:  Hard work, a new tool, helping out, etc.

Many people have collected a number of coins over the years, and I wanted a way to show them off, other than stacks on their desks.  I came up with the below design as a response to that:  The sledgehammer and text were modeled in Autodesk Maya, and the whole thing was Booleaned together along with the hexagonal base in Tinkercad.  Each holder took 5.5 hours on my Makerbot Replicator (1) to print (2 shells, 10% infill, variety of colors in PLA), and then I put them through a two-step paint process to make them look a bit more… weathered.

They were a hit at work, and personally it was crazy to see my printer going 24/7 for over a week without a hitch.

New 3D print: Hanger Divider

The Mrs. & I were at a “container store” looking for home goods. Saw a 4-pack of hanger dividers for $12. That seemed like a crazy price to pay, so I decided to make my own.
Modeled in Autodesk Fusion 360. The hook has an ID of 40mm, which fits smaller metal, and larger wooden rods. Based on my print settings, it weighs 26g (and takes about an hour to print on my Makerbot Replicator 1), so based on the price I paid for filament, it works out to about a buck each.

Head over to Thingiverse to download the files for print and get more info.

Small-scale 3D print tolerances

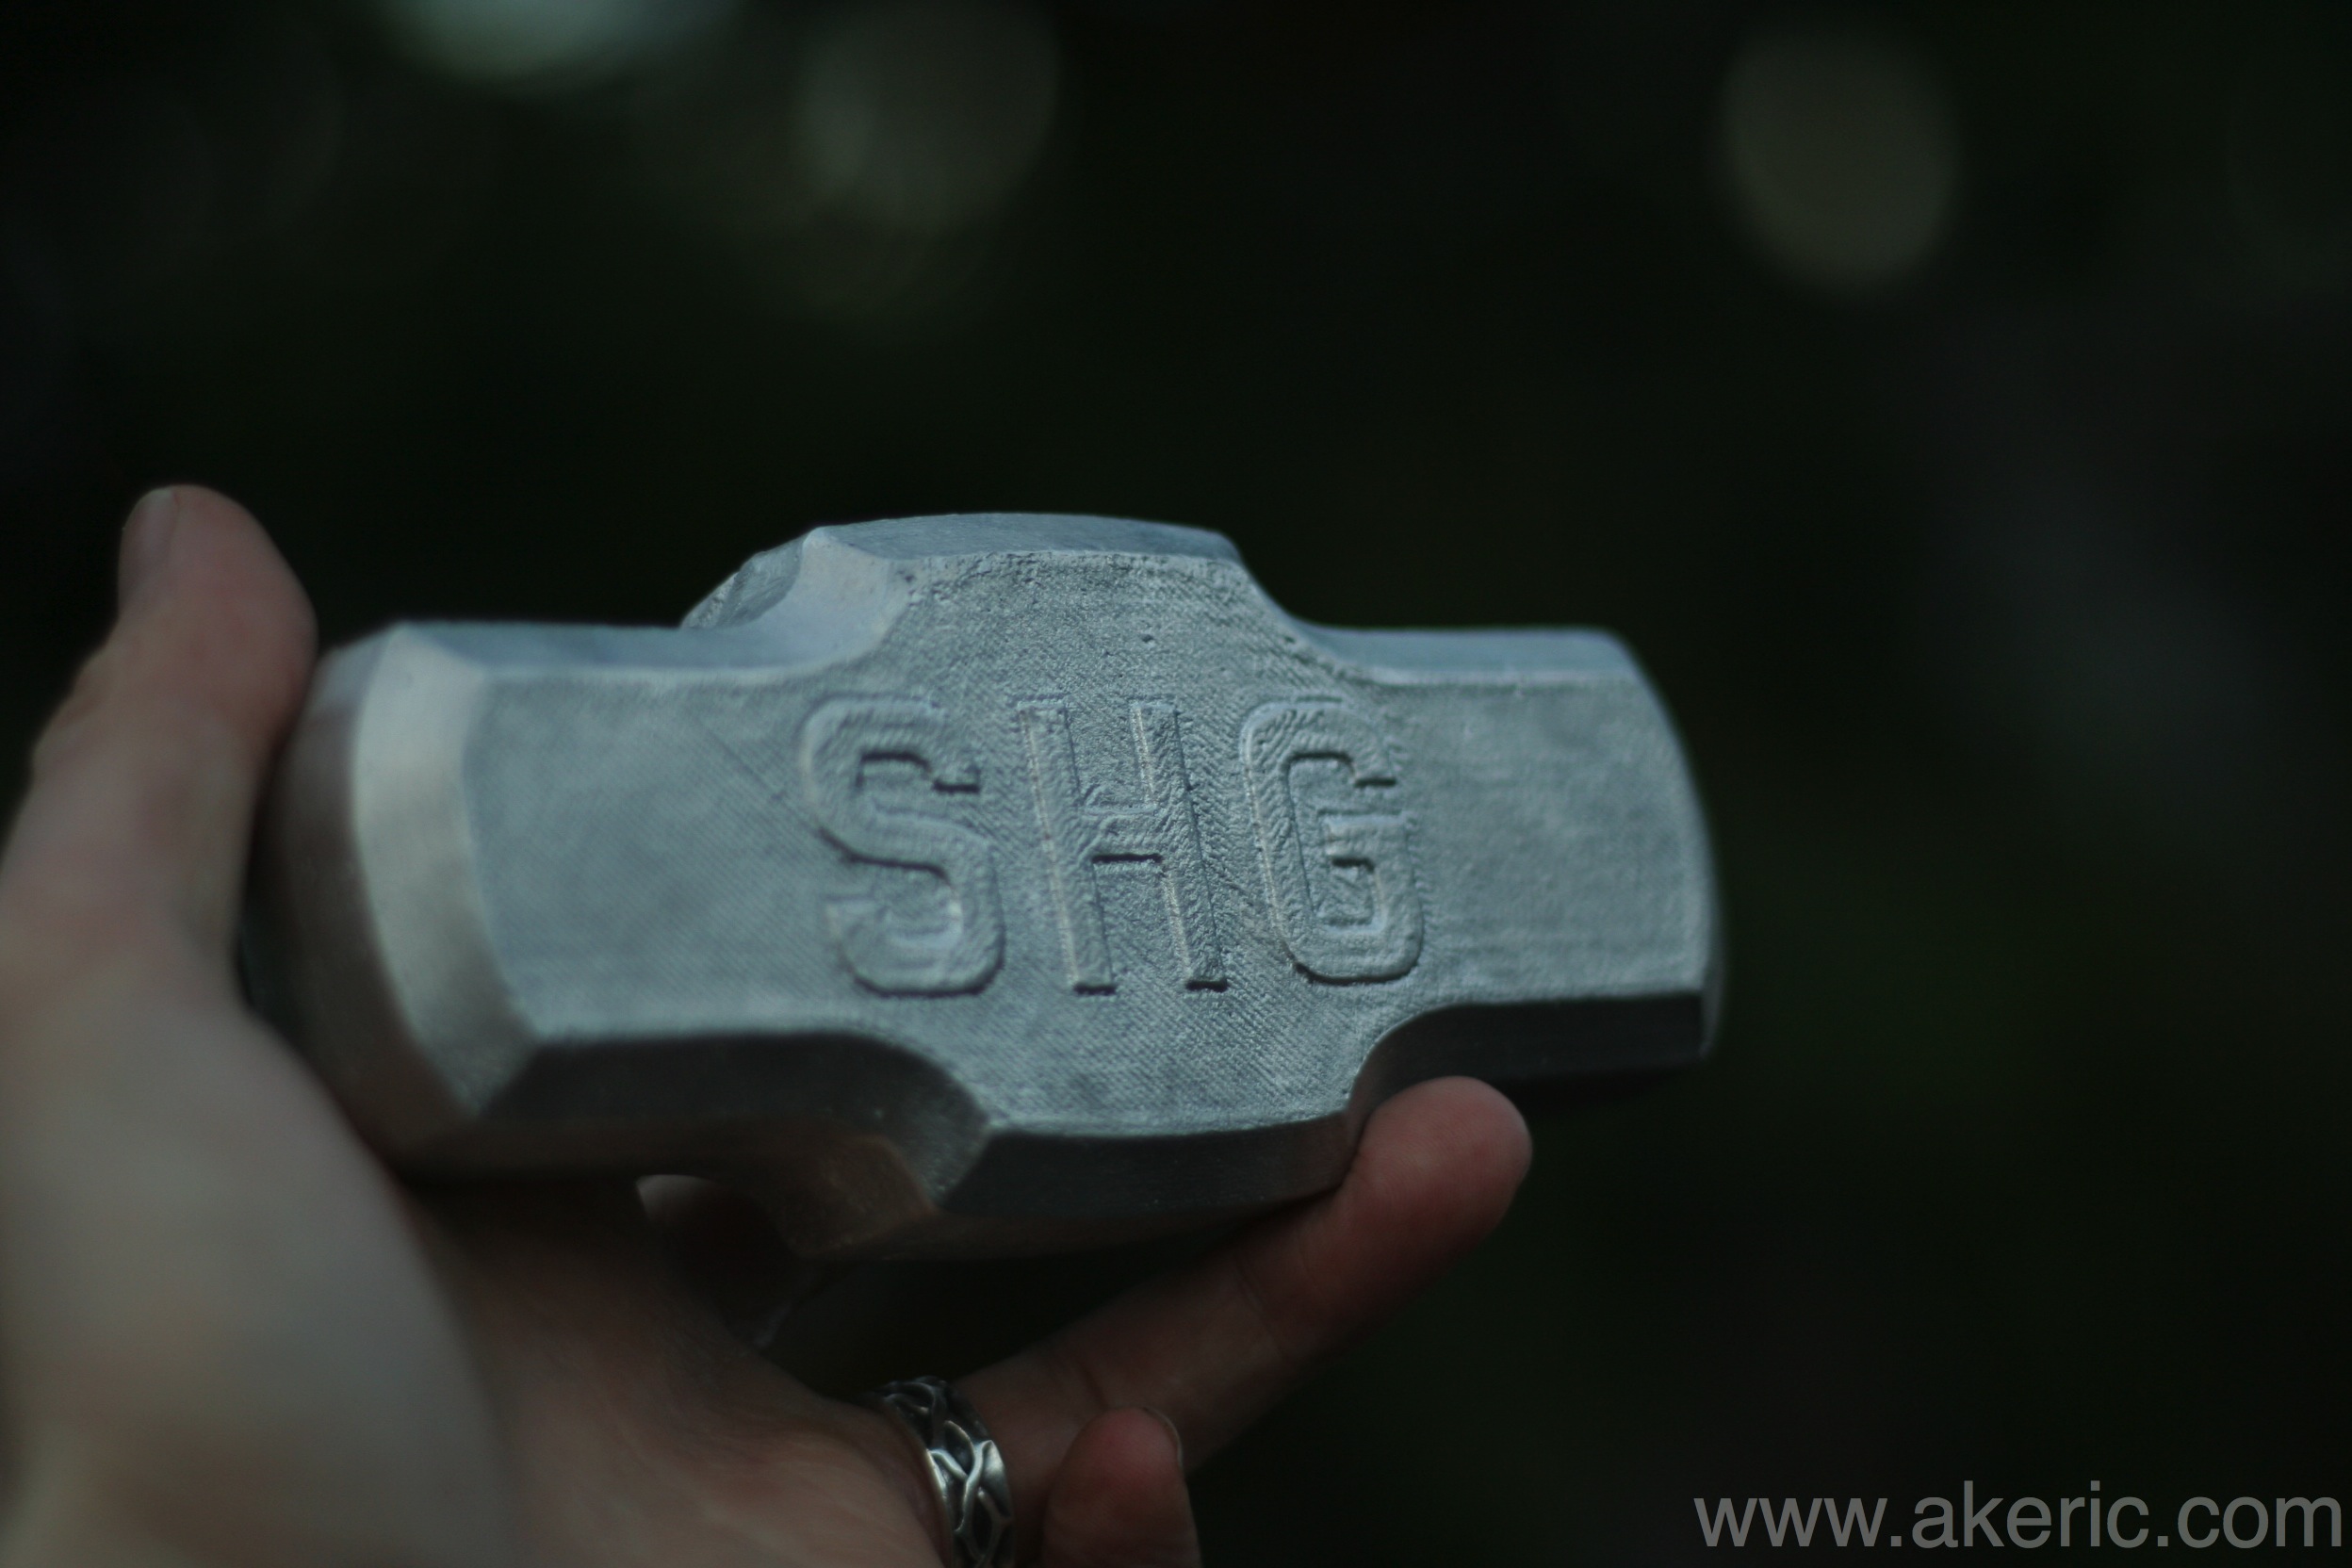
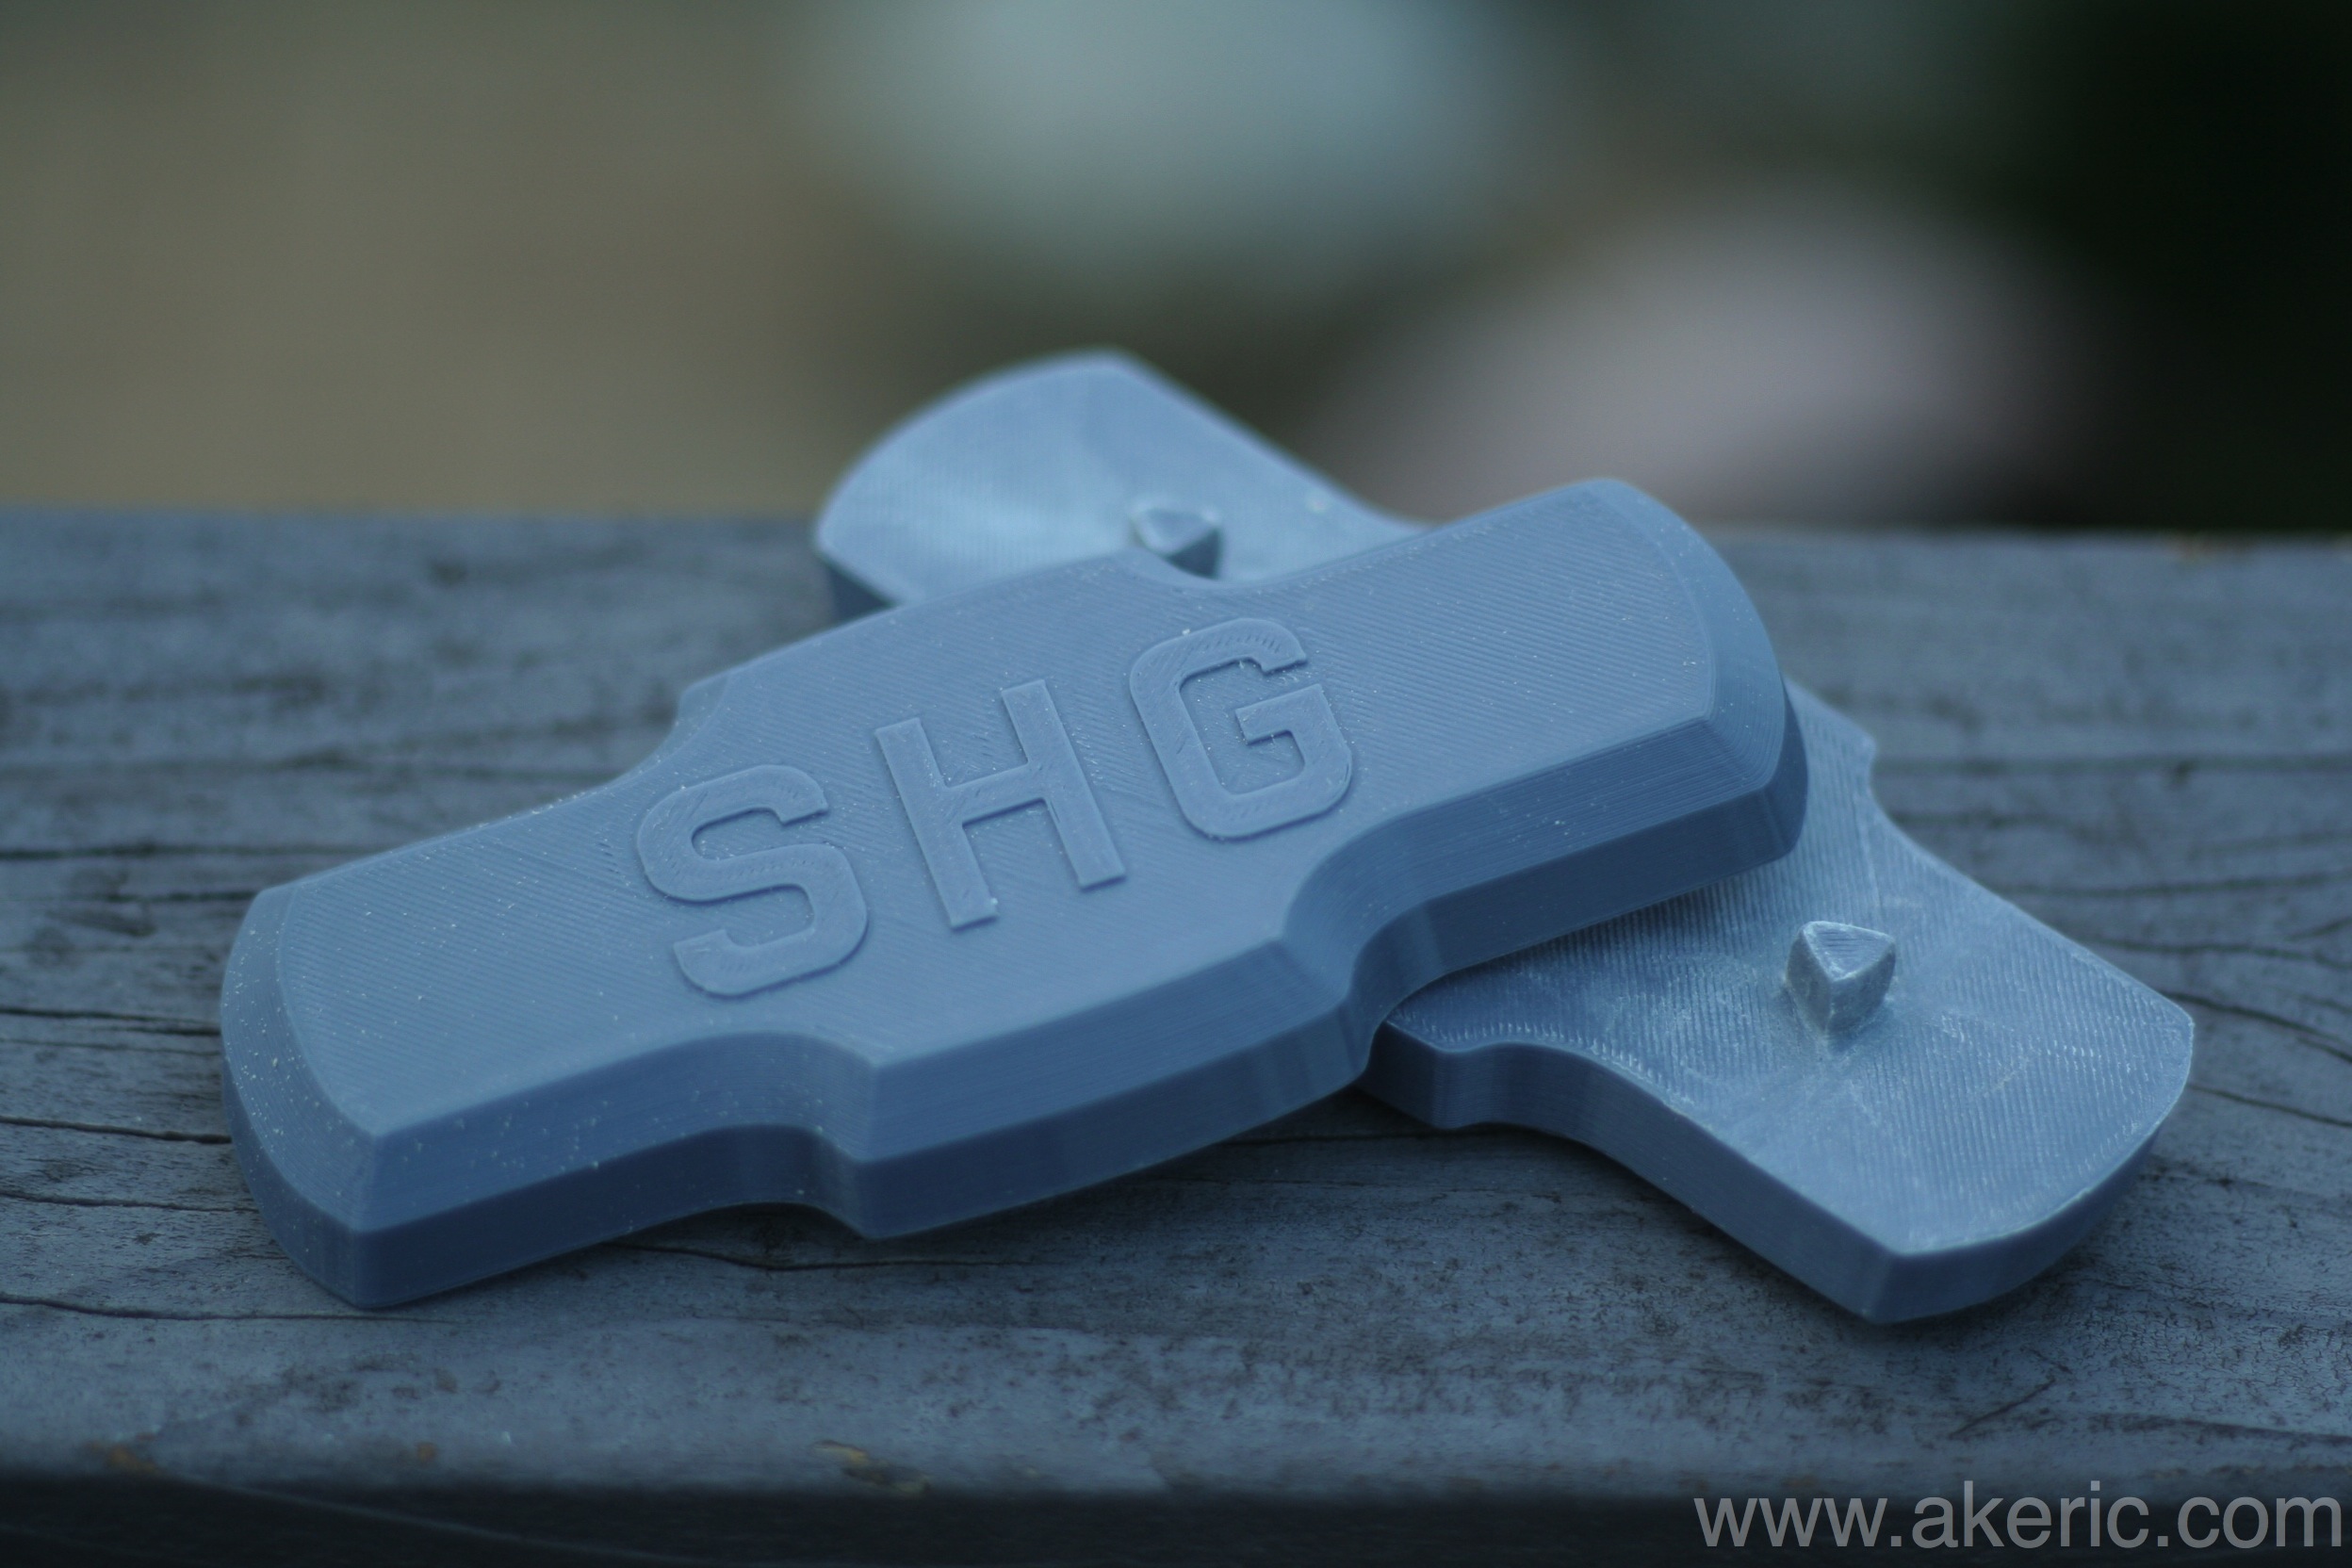
I picked up some small but powerful cylindrical magnets, 8mm diameter by 3mm tall, to incorporate into a new multi-part 3d print:  They’ll help hold the whole thing together.  I print mainly in PLA, and while it shrinks less than ABS, it still shrinks, so I needed to make sure that the cylindrical holes I design in my 3d model will actually allow the magnets to fit, based on how my Makerbot Replicator (1) prints things.

Using my micrometer, I checked the size of the magnets:  They were within a few hundredths of a mm of their spec:  Negligible change.

I designed & printed a simple rectangular volume to place my test holes:  It measured 60x30x3 mm.  In it I placed three different holes with diameters of 7.5, 8.0, and 8.5 mm.  For the record its print specs are:  300 micron layer resolution, 2 shells, 10% infill, blue PLA extruded @ 220 deg, HBP off, on blue painters tape.  My print nozzle is .4mm.  Took about 12 minutes, and was firmly affixed to the build platform before removal with no curling.

You can see the results below:

cylTolTest01

So what were the results?  Checking with my micrometer….

  • The outer dimensions of the printed rectangular volume were very close to the 3d model:  .1 mm larger (or less) on X, Y, & Z.
  • The printed cylindrical holes were each nearly exactly .5mm smaller from the 3d model:  As you can see from the above image, the modeled 7.5mm hole ended up being printed @ 7.0 mm, the 8.0 hole @ 7.5mm, and the 8.5mm hole @ 8.0 mm.
  • Because of this, the 8mm wide magnet fits snugly into the 8.5mm modeled hole, which ended up printing with a 8.0mm diameter.
  • Another interesting side effect:  Even though the rectangular volume and magnet were both 3mm high, and the magnet fit in the whole snugly but easily, I was unable to push it all the way through without some force:  I believe this is because the first few layers probably ‘squish out’ more on the build platform, causing a slight lip to form on the bottom edge.  Nothing a drill or file (or obsessive-compulsive magnet pushing) couldn’t fix though.

So this raises the question:  Why does the outer-volume of the rectangle match the 3d model within .1 mm larger, but the interior cylinders are all .5 mm smaller?

Est. 1938

This probably won’t mean a lot to you if your house wasn’t build in 1938, but it was still a fun project. Modeled the plaque while I taught myself Autodesk 123D Design. Was designed with angles in mind for sand-casting, and the final result both printed and cast very well.  Printed on my Makerbot Replicator (1), the sand-cast with aluminum.  Now hangs proudly by my front door.

Download the stl and get print instructions over on Thingiverse.

CG model -> 3d printed -> metal cast: v2.0

Based on my previous post, I wanted to get better results from my sand-cast.  Things I learned from last time:

  • Even though I had a split mold, the vertical edges caused the mold to tear-out during removal.  I have a feeling this is due to the ‘ridged’ sides the 3d-printing causes, making the walls ‘grip’ more.  Because of this, I adjusted my 3d model to have slightly tapered sides.
  • The extruded text on my first model suffered the same problem as the above issue.  To resolve, I simply made the text extruded much less.
  • The previous split mold only had one anchor point, in the middle, to join the two sides:  When connected it gave more yaw-play than I wanted.  The new version has two anchor points on either side.
  • I watched a bunch of sand casting videos and read over multiple sites to make sure I got the sand cast itself created properly.

Based on all that, the end result turned out really nice:  Sprue cut off with saws-all, imperfections ground off with an angle-grinder, and polished with a Dremel:

sledgehammer2

Here’s a shot of it freshly pulled from the cast with the sprue still connected:

SAMSUNG

And here’s a shot of the 3d-printed two-part mold.  It took just under 4 hours to print on my Makerbot Replicator.  200 micron layer resolutoin, gray PLA, 220 deg C on a glass build plate covered in blue painters tape:

printedForm

And finally, here’s a movie of the furnace just before it was time to pour:

I shot it with bare hands:  I got really hot, really fast 😉