Building the C-Bot 3d Printer : Part 38 : PID Autotune on RepRap Firmware, fix z-artifacts
Jump to C-Bot blog index to see all the posts.
In my last post on the subject, I described how I completely rebuilt my C-Bot printer. The main goal was to get better print quality based on some odd z-artifacting I’d been experiencing for some time. But, the z-artifacing still persisted.
This post is to talk about both the solution to the artifact issue, and how to PID Autotune your hotend and heated bed with RepRap Firmware.
Table Of Contents
Solving the Z-artifacting
After the rebuild, the z-artifact was still there. Was so frustrating to have a machine that printed so well, yet on the Z-axis, I’d get this:
 <- Click on it to make bigger, and look on the inside of the print.
The real oddity was that the artifact didn’t match the pitch of my leadscrew, which seemed like the obvious culprit, and the period of the artifact could vary based on what you were printing. For example, a 20mm calibration cube showed off the issue much more than the above cylinder. And it was more of a square-wave, not an s-curve.
3D printer people to the rescue: I posted my issues to the ‘3D Printer Tip, Tricks and Reviews‘ Google Group, and through a lot of back and forth discussion (thanks JetGuy + several others), the users figured it was either one of two things:
- Thermal expansion of the bed during the bang/bang heat cycle was causing these anomalies.
- The hit the heated bed was making on my power supply: When I built my machine 2 years ago I was recommended a fancy PC power supply (Corsair CTX 500), but as it turns out, this may not have been the right choice for a 3D printer.
Check Thermal Expansion
To troubleshoot the thermal expansion, user Joseph Chiu suggested a great idea: Shine a laser off a mirror on the bed during the heat cycle, and track the dot on the wall. If the dot moves during the bang/bang cycle, then it’s thermal expansion. So, I gave it a shot: Heated up the bed, waited for the temp to start banging back and fort, and then stared a dot on the wall…
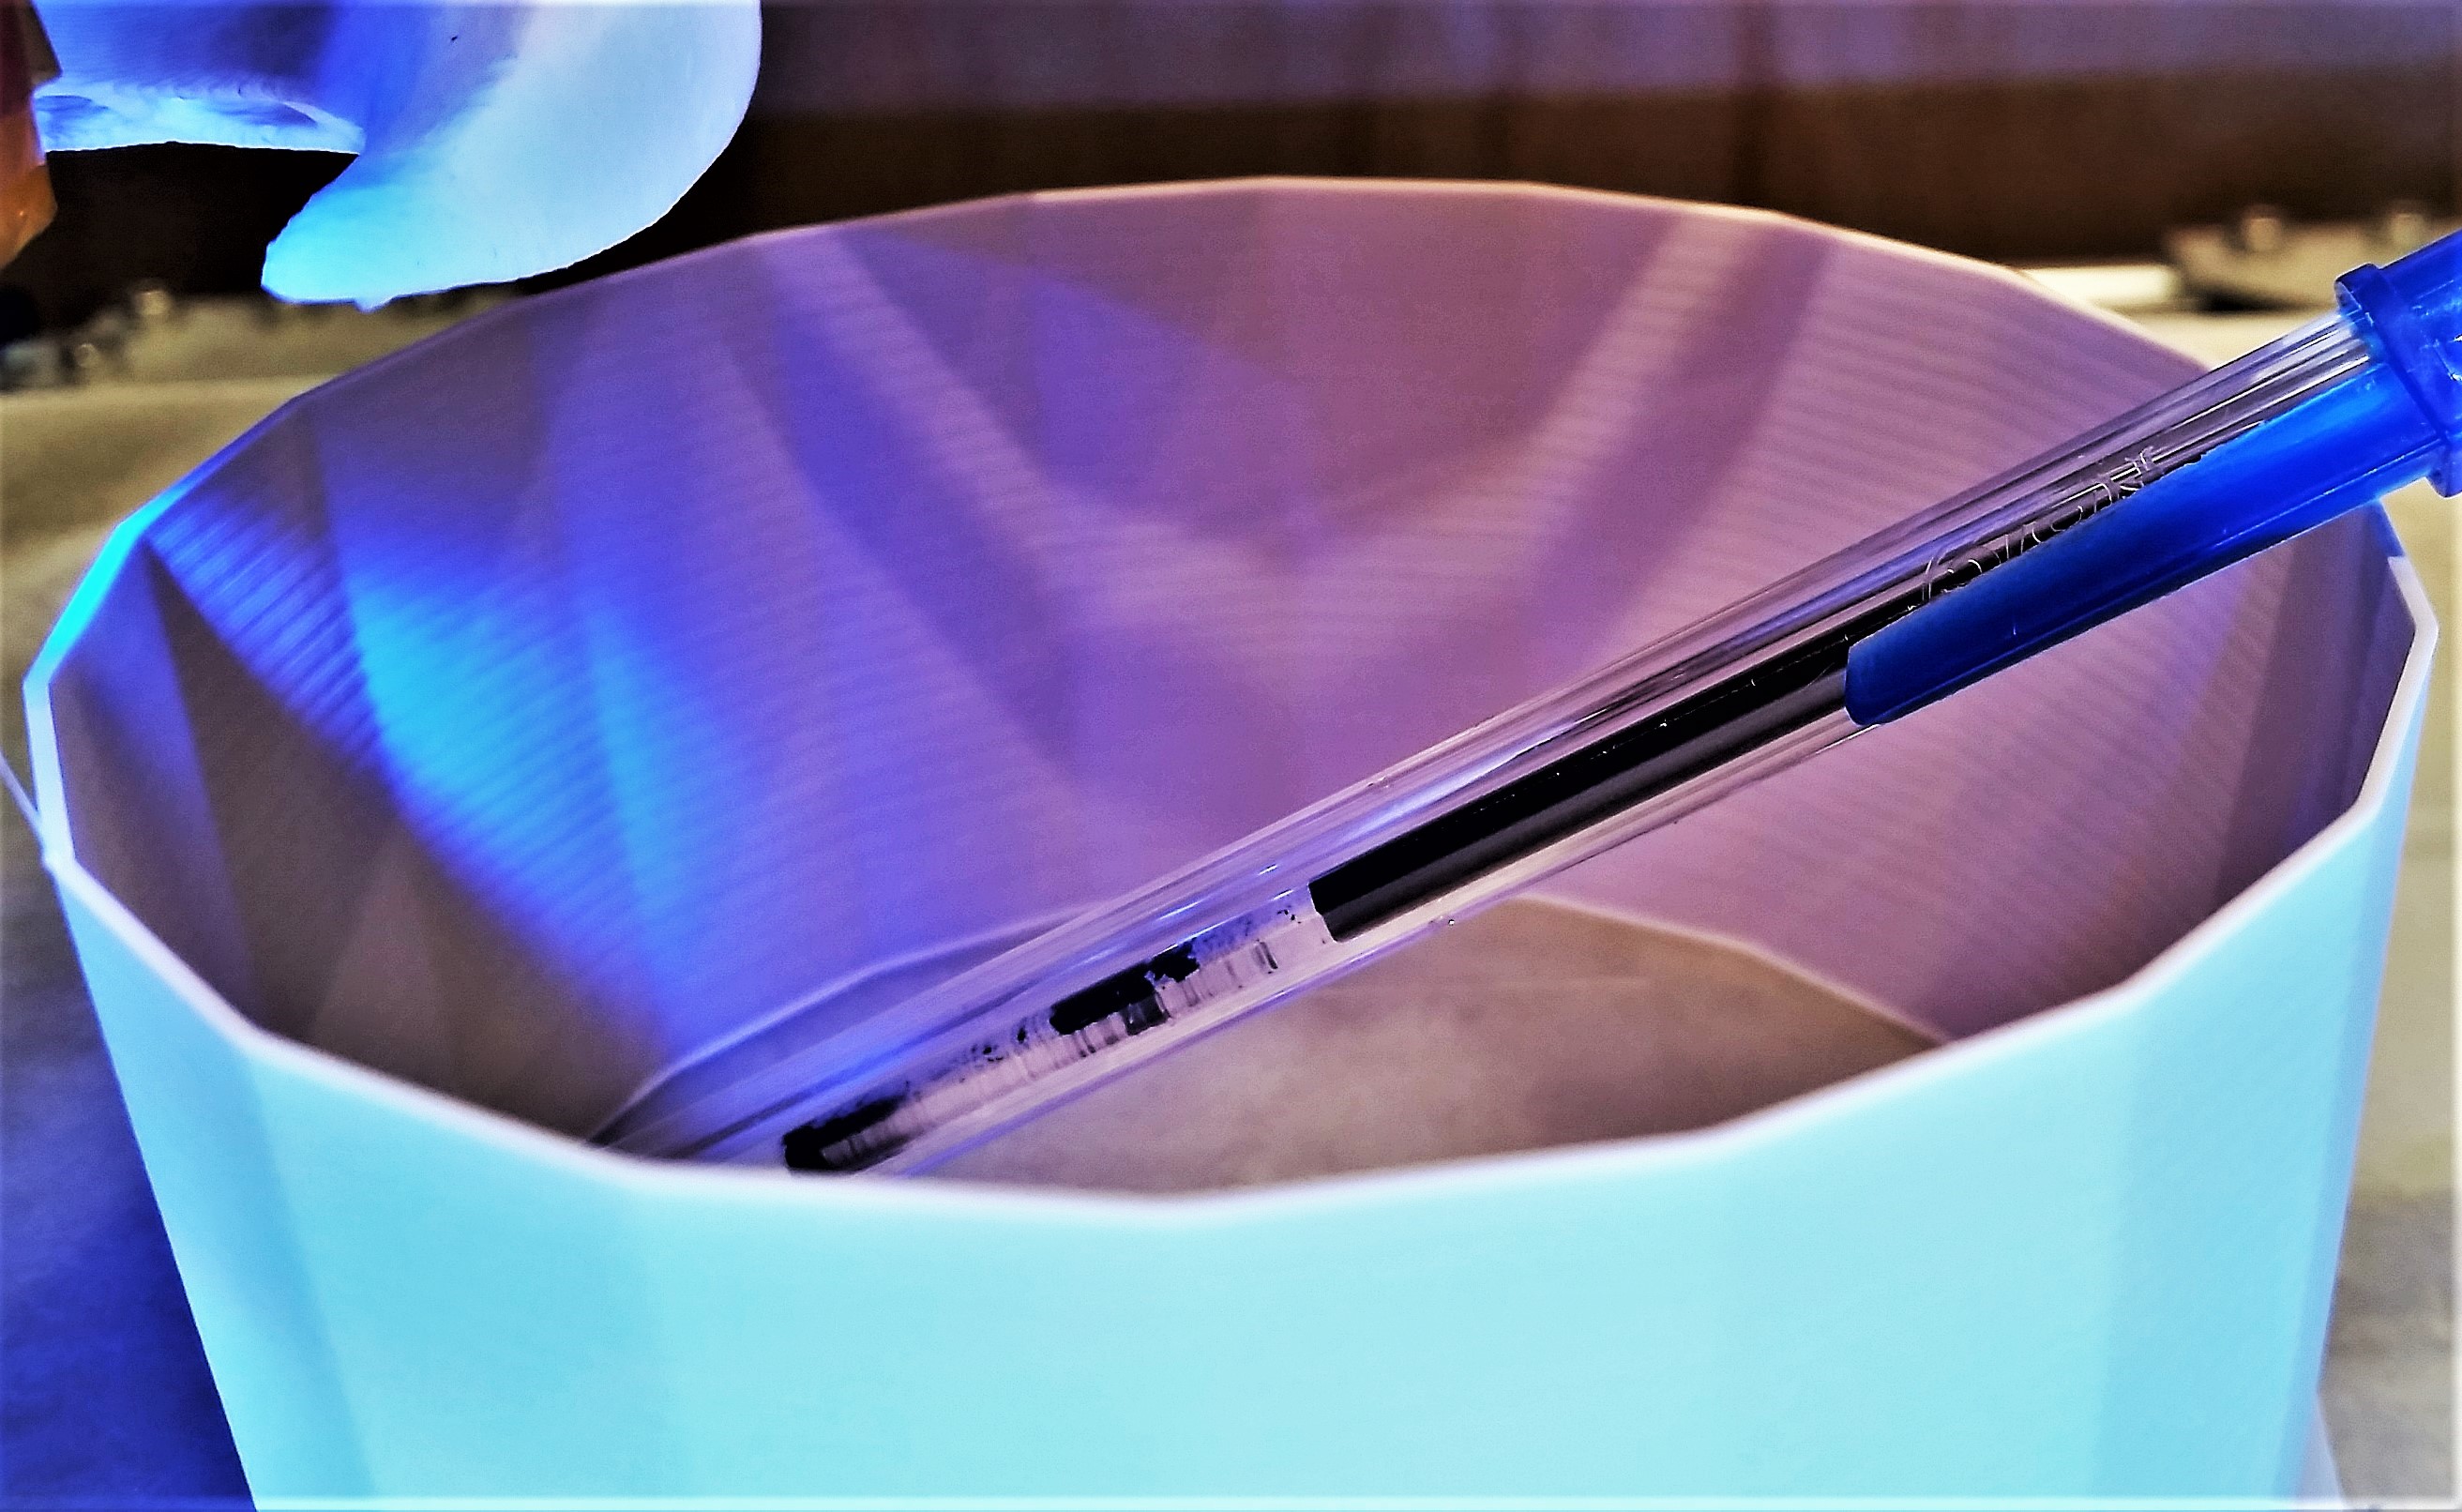
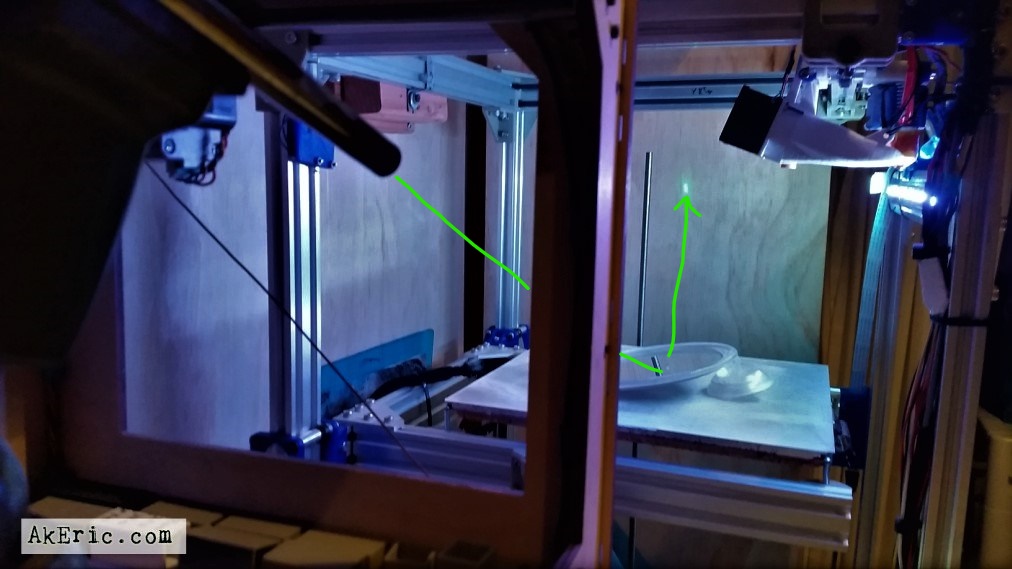 The ol’ Replicator1 served as a based for the vice holding the laser.
That laser was bright, so I moved the mirror so it hit a “splotch” on it, and gave a nice diffusion pattern on the wall. This was much easier to look at, and track the specks to see if the changed / moved : The did not. This is not a thermal expansion issue.
Check Power Supply
The easiest way to check if this is a power supply issue? Just ‘not print with the heated bed on’: I normally always do, at 60c: Not required, but sometimes helps large PLA prints stick better over time.
So, I did the same cylinder print with no heated bed and: The z-artifacting was gone! Can’t believe I’ve been having this issue for a year-ish, and never realized it was the amp-draw the heated bed puts on the PSU, even though the PSU is rated for it, based on numbers.
Compare PID Tuning vs no heatbed
One thing I’d never done since upgrading the bot to RepRap Firmware, was PID autotune the hotend, or bed: The defaults seemed fine, and the temp curves as shown in my slicer seemed “good enough” : I could easily see the bed overshoot based on the bang/bang setup, and a slight wobble on the hotend. But I figured this would be a good time to PID autotune both the hotend and bed (discussed in more detail in the next section): Would this help any of the z-artifacting?
Why, in fact it does. Here’s a comparison shot:

‘Bed off’ and ‘Bed with PID Autotune’ are nearly the same: The artifacing caused by the bang/bang is completely removed, and only a very slight, larger-period artifact remains (which I’m happy enough with at this point).
I should also note that my temp curves, for both hotend and bed, are now dead flat. PID tuning completely makes a difference.
However, I noticed that while the pid-tuned bed works, the LED strips on my bot flicker with the same frequency as the SSR controlling the bed: The same power-hit that caused the bang/bang artifact is still there, it’s just happening at such a high rate, the artifact is being averaged out of existence.
For future improvement, I need to choose one of these:
- Get a separate power supply for just the 12v bed.
- Switch to an entirely separate 120v AC heated bed. This is the option I’m currently investigating.
- Switch all my electronics out to 24v (ugh).
But in the meantime, at least the stupid z-artifact is gone.
PID Autotune your hotend and heated bed in RepRap Firmware
These are the steps I went through to PID autotune my hotend and heated bed in RepRap Firmare: None of it hard, just took a good amount of digging online to figure out what exactly needed to be done.
In RRF gcode, ‘H’ Is the heater number: H0 is the bed, H1 is the first hot end, H2 the second etc.
PID Autotune the hotend
To PID autotune the hotend, these were the steps I took:
- Position nozzle over bed
- Turn on cooling fan 50% to simulate real printing environment.
- Start with a cold hotend.
- Enter this gcode, + the result returned as it’s ran:
- I chose 230c as the target temp, since I print a lot of filament at that temp.
- If you get an temp overshoot error during the tune, you may need to add / adjust your M143 in config.g: The default value for hotends is 262c.
M303 H1 S230
READ: Auto tuning heater 1 using target temperature 230.0C and PWM 1.00 – do not leave printer unattended
READ: Auto tune phase 2, heater off
READ: Auto tune phase 3, peak temperature was 234.6
READ: Auto tune heater 1 completed in 228 sec
READ: Use M307 H1 to see the result, or M500 to save the result in config-override.g
- Then entered this gcode, + the result returned as it’s ran:
M307 H1
READ: Heater 1 model: gain 325.3, time constant 117.3, dead time 5.0, max PWM 1.00, mode: PID
READ: Computed PID parameters for setpoint change: P12.9, I0.110, D45.0
READ: Computed PID parameters for load change: P12.9, I1.026, D45.0
- Finally entered this gcode to save the results out to config-override.g
M500
- Which in turn, added this info (actually more, but this is what’s important to this operation) to config-override.g
M307 H1 A325.3 C117.3 D5.0 S1.00 B0
- Note, the B0 = PID tuned. B1 = bang/bang.
PID Autotune the heated bed
To PID autotune the heated bed, these were the steps I took. Note, it’s very similar to the hotend above.
- Start with a cold heated bed.
- Enter this gcode, + the result returned as it’s ran.
- I chose 60c as the target temp, since I print a lot of filament at that temp.
- If you get an temp overshoot error during the tune, you may need to add / adjust your M143 in config.g: The default value for heated beds is 125c.
M303 H0 S60
READ: Auto tuning heater 0 using target temperature 60.0C and PWM 1.00 - do not leave printer unattended
READ: Auto tune phase 2, heater off
READ: Auto tune phase 3, peak temperature was 61.2
READ: Auto tune heater 0 completed in 1105 sec
READ: Use M307 H0 to see the result, or M500 to save the result in config-override.g
- Note, it took forever for this to finish, since it wants the bed to cool down before it completes. I had to point a fan at it to help it along after ‘phase 3’.
- Then entered this gcode, + the result returned as it’s ran:
M307 H0
READ: Heater 0 model: gain 111.6, time constant 814.0, dead time 20.5, max PWM 1.00, mode: PID
READ: Computed PID parameters for setpoint change: P63.5, I0.078, D911.1
READ: Computed PID parameters for load change: P63.5, I1.082, D911.1
- Finally entered this gcode to save the results out to config-override.g
M500
- Which in turn, added this info (actually more, but this is what’s important to this operation) to config-override.g
M307 H0 A111.6 C814.0 D20.5 S1.00 B0
- B0 = PID. Previously, it was B1, bang/bang.
Configure config-override.g
The M500 command entered above does a live update to the config-override.g script living on the SD card, which is a great feature. However, I’d never used this feature before, so my config.g had no idea to execute this script.
To do so, simply (I did mine a the bottom), enter this gcode in your config.g
M501
This will then execute the contents of config-override.g from within your config.g, when the machine boots up.
Optionally, you could simply copy the M307 lines (as generated by M500) from config-override.g and paste them directly into config.g, and remove the M501 call. Either will work.
- M135 : Set PID sample interval
- M301 : Set PID parameters
- M303 : Run PID Tuning
- M304 : Set PID Parameters – Bed : This command is identical to M301 except that the H parameter (heater number) defaults to zero.
- M307 : Set or report heating process parameters
Jump to C-Bot blog index to see all the posts.