Building the C-Bot 3D printer: Part 31 : Setting up Octoprint
Jump to C-Bot blog index to see all the posts.
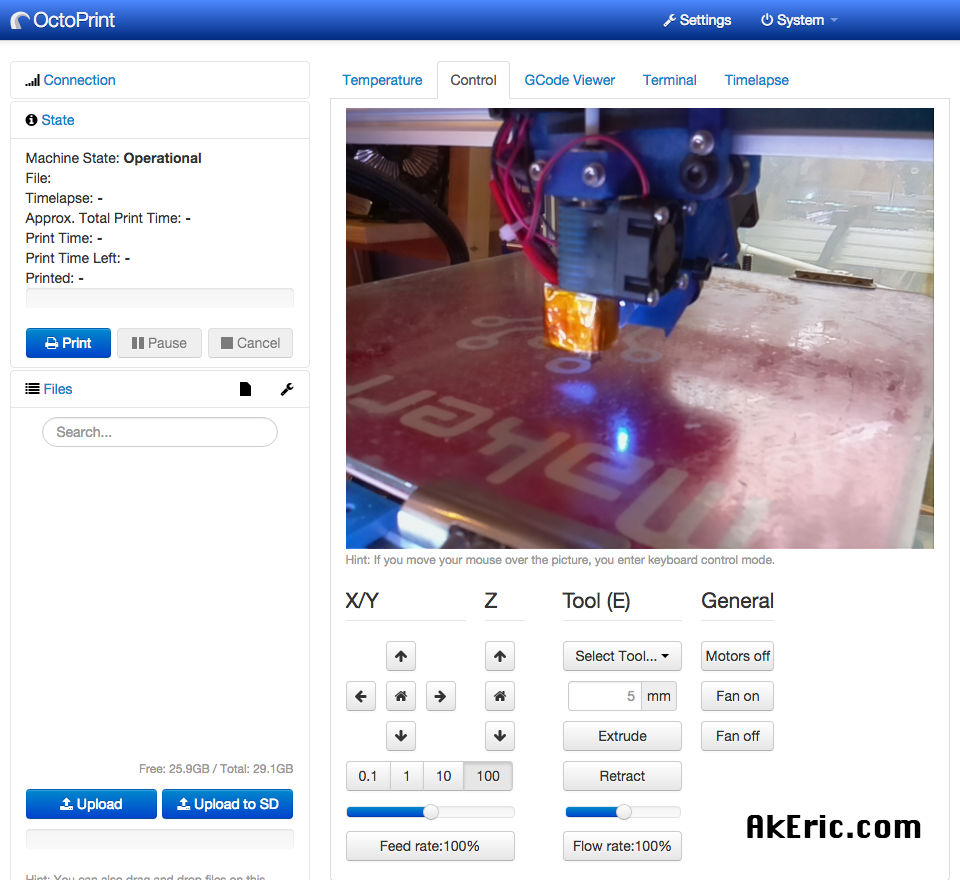
My previous post talks about the specifics of getting Octoprint setup, in general. Here, I’ll talk about actually integrating it with my C-Bot 3D printer.
Up to this point I had a Raspberry Pi (upgraded to a v2 at this point) connected to my router via a USB wifi dongle, with a RaspberryPi Camera hooked to it, connected via a 3′ ribbon cable. This was all sitting like a pile of spaghetti on my table. I needed a way to get all this strapped to the C-Bot itself, which is what this post mainly talks about. I should comment that during this process I gave up on the USB wifi dongle and switched to direct ethernet: Just too many problems getting the wifi to stream the picam correctly.
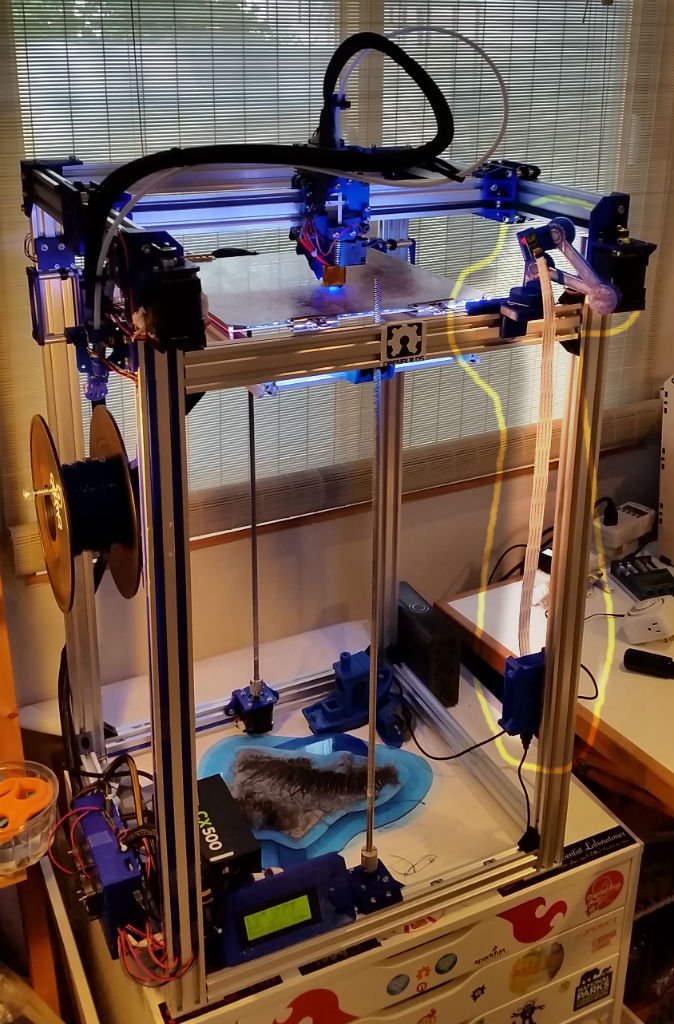
Before we get into it, the end result:
3D Printed Items:
I needed a way to mount both the RPi2 to the frame of the C-Bot, and have some sort of adjustable mount for the camera. Both of the below items were printed on my Makerbot Replicator 1.
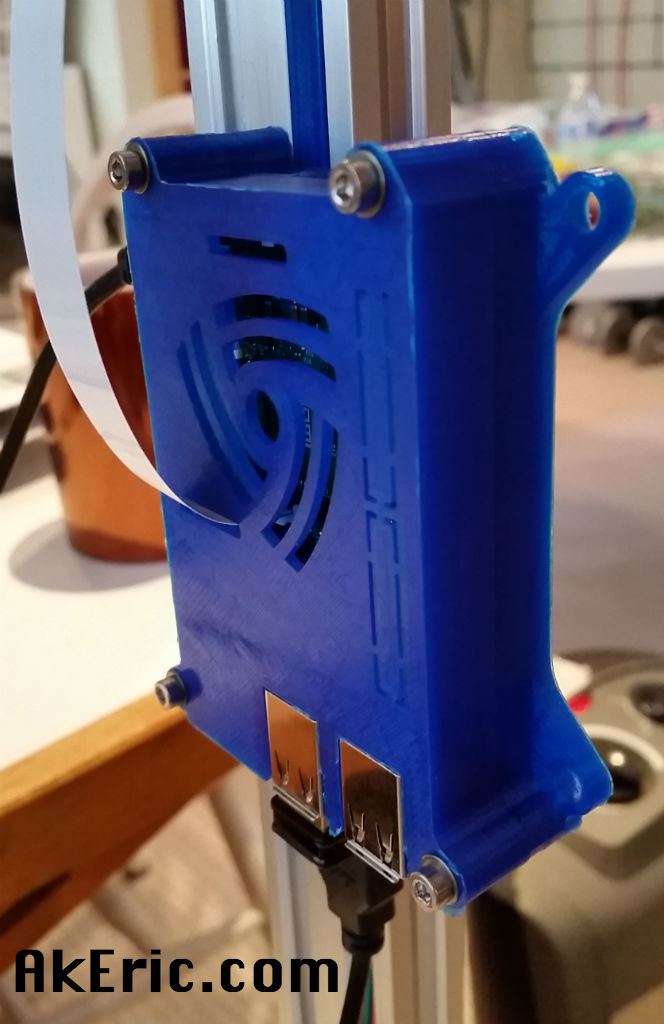
RPi2 case: After searching Thingiverse, I found this great looking “Raspberry Pi 2/B+ case with VESA mounts and more” file: It both looks slick, has a slot for the RPiCam ribbon cable, and had holes to bolt it directly into the OpenBuilds V-Slot. I should note the holes provided were too small for the V-Slot bolts: I had to drill them out slightly, but once that was done it was easily mounted (see above pic, it sits on the right-front vertical arm).
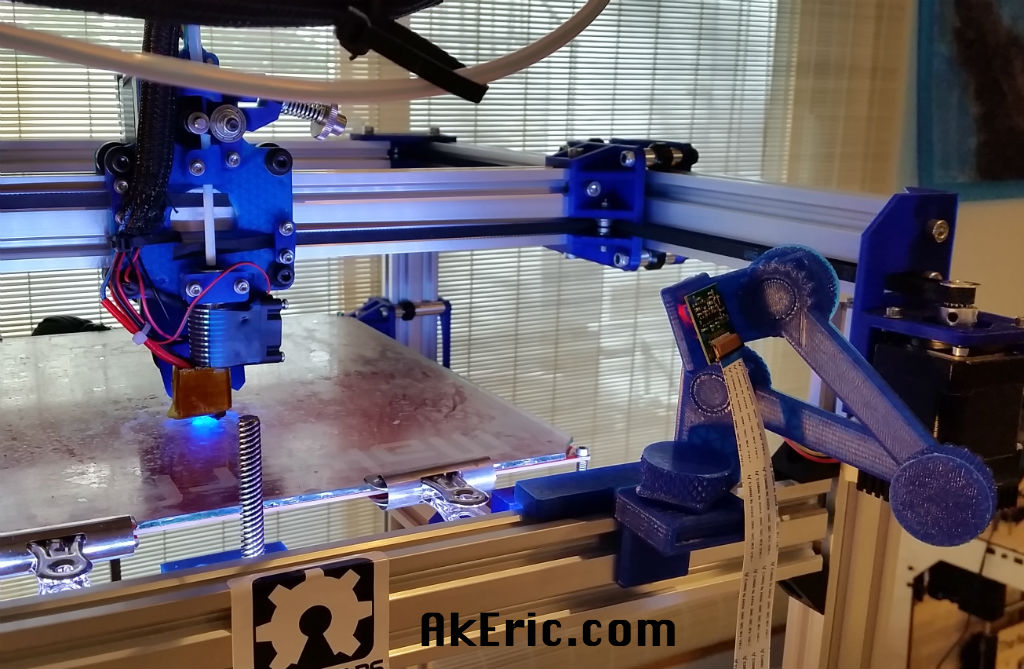
PiCam Mount: After more Thingiverse searching, I tracked down “B+ PiCam Ultimaker 2 timelapse harness” : This is both an adjustable arm to hold the cam, and a separate bracket for the cam: I printed out all the files needed for the cam, and realized that it didn’t fit the 20×40 V-Slot: The ‘hook front’ piece was too wide to clamp properly. I’d figured this would be the case, and created a modified version in Maya to narrow it, which is currently installed on the bot. But if you don’t want to have to deal with this, I realized you can get a pack of small sticky-notes, and just tear-off the appropriate amount to create an easy-sized shim. You can download my modified version on Thingiverse here.
Assembly:
- I bolted the RPi2 case to the right-front 20×40 V-Slot extrusion.
- I attached the PiCam mount on the right side of the top-front x-extrusion. Zip-tied it down for safety.
- My Rumba’s USB now runs directly into the Raspberry Pi 2.
Issues:
- RPiCam ribbon: Not easy to route, easy to catch things on.
- Power to the RPi, the way I mounted it sticks out the side of the bot. Easy to catch things on.
Final thoughts: I’ve literally just started printing with it: I usually print from either the C-Bot’s LCD, or from Simplify3D : So this is a whole new interface to learn (although, obviously similar to what I’m used to). But I’m excited to start nocking out some timelapse movies 