New Project: Adafruit Trinket NeoPixel LED Longboard
My son and I recently tackled the “Adafruit Trinket NeoPixel LED Longboard” project: Seemed like it would be a good cross between 3d-printing, electronics, and skateboards. After running through it though, I found a number of problems with the instructions which I submitted here (if you’re going to do this project, be sure to read them). Unfortunately at the time of this authoring they haven’t updated their project page to address the problems.
In a nutshell, this is what you need to look out for:
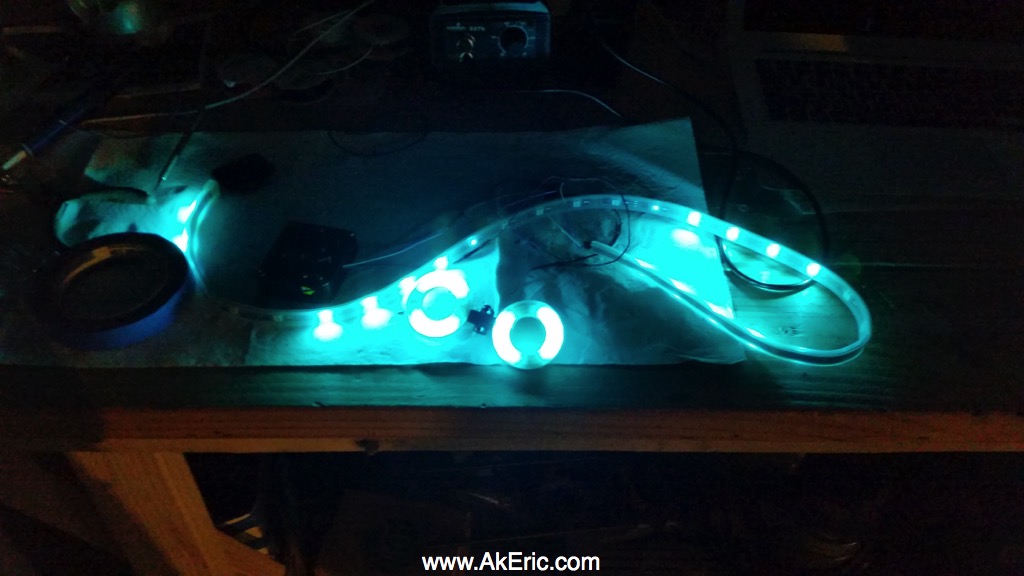
- Need to order two Neopixel LED strips, not one.
- There are problems with the wiring instructions, based on missing data.
- Unless you have ninjaflex or nylon, you may want to entirely skip printing/assembling the front ring enclosures: I printed mine in solid PLA, and they vibrated apart after the first ride (snapping the internal wiring in the process).
- If you do print the rings, you really do need to use “wire wrap” to do all the wiring: Larger gauge wire just won’t fit based on the printed models. The problem I have with this is although you only need a small amount of wire wrap for the project, it’s best if everything is color coded, and buying wire-wrap in multiple colors actually gets a bit expensive. I ended up using just two colors, and having to label all the wires (which pretty-much makes it impossible to fix if they snap after everything is assembled).
Overall it was a fun project, just seriously hindered by the confusing instructions, based on other issues I list in the above link.
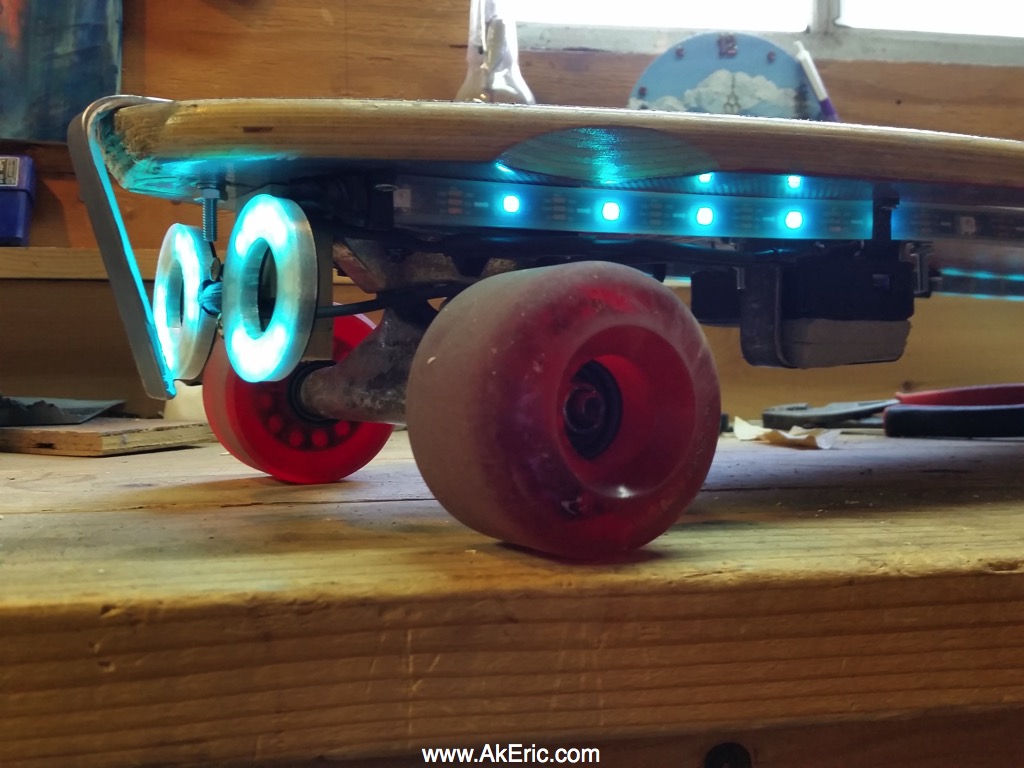
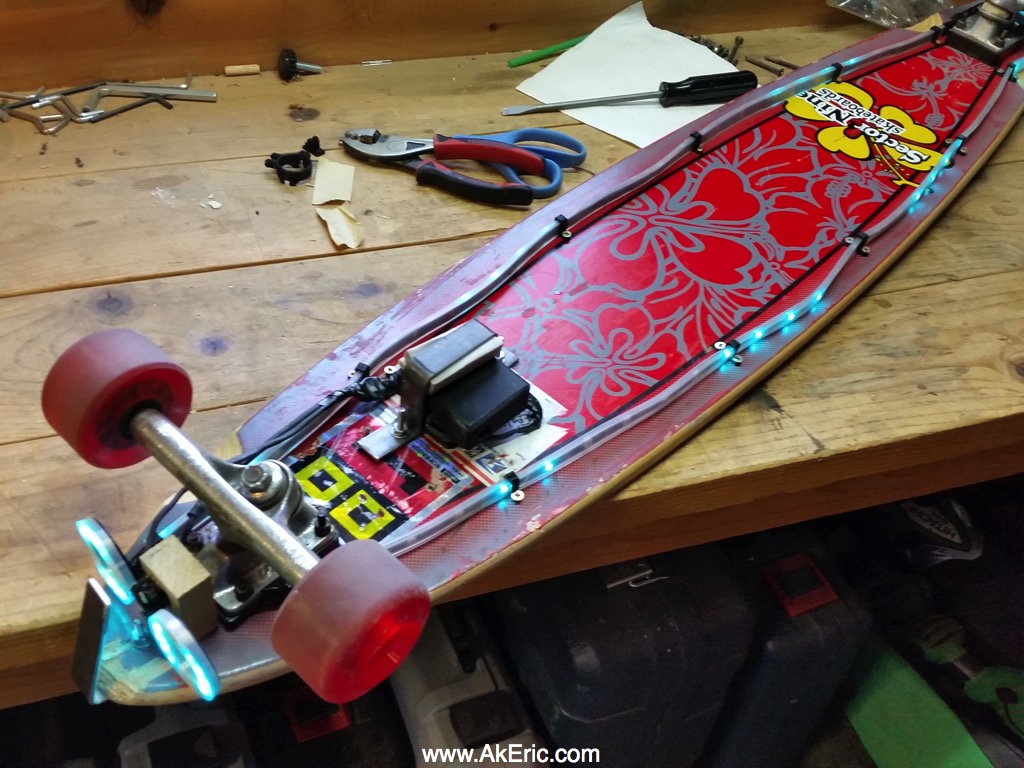
Here’s the end result before the rings fell apart (and I removed them). Note the metal bracket over the electronics enclosure and front of the skateboard: One jumped curb and you’ll have some smashed equipment without it.